
There is a dead spot in the boat, in the forward v-berth, where the air is still. We plan to add vents to create more air movement there, but for now we added two box fans to the space. These fans make it bearable to be inside the v-berth on hot summer days in the boatyard, in Puerto Penasco, Mexico.
It took us a couple of weeks to figure out how to keep inching forward, to keep making progress in the v-berth, in the heat. But, now we gain a little in the v-berth every workday. We set our alarms for 0400 Monday – Saturday, and we walk to work during twilight. We spent the early hours working in the v-berth, and if it gets too hot to continue, we move outside to other jobs. We have hit our stride with this schedule. It is a slow stride, but it is a stride nonetheless. We were slow to design and execute our plan for the overhead frames too, but now we have some progress to show on this puzzling project.
Project notes:
We took a step backwards and examined the fiberglass on the forward bulkhead. When we tabbed in the v-berth bulkhead, the thick 1708 fiberglass did not adhere well. So, Brian ground off parts of the 1708 fiberglass installation. With that out of the way, we laid up thinner, 10 ounce glass to complete the tabbing.


That done, we fiberglassed in foam along the hull where it meets the deck. We also fiberglassed in foam on the overhead along the forward bulkhead. The foam is a cheap, lightweight spacer. We intend to glue wood in on top of the foam where we need to attach the headliner and side panels in the future.


We narrowed our focus to the overhead for the next steps. We installed frames on two sections of the overhead.
First section: We added four framing layers on the cabin-top sides, where the port lights are. The layers include: 1/4 inch thick spacer pieces that were glued to low areas to create a level surface, two layers of 1/2 inch thick plywood that were dry fit in with screws, and one 3/16 inch layer that was screwed to the upper frames (not pictured, look for this in the next post). These four layers together are almost 1 1/2 inches thick. There will be space enough for insulation.


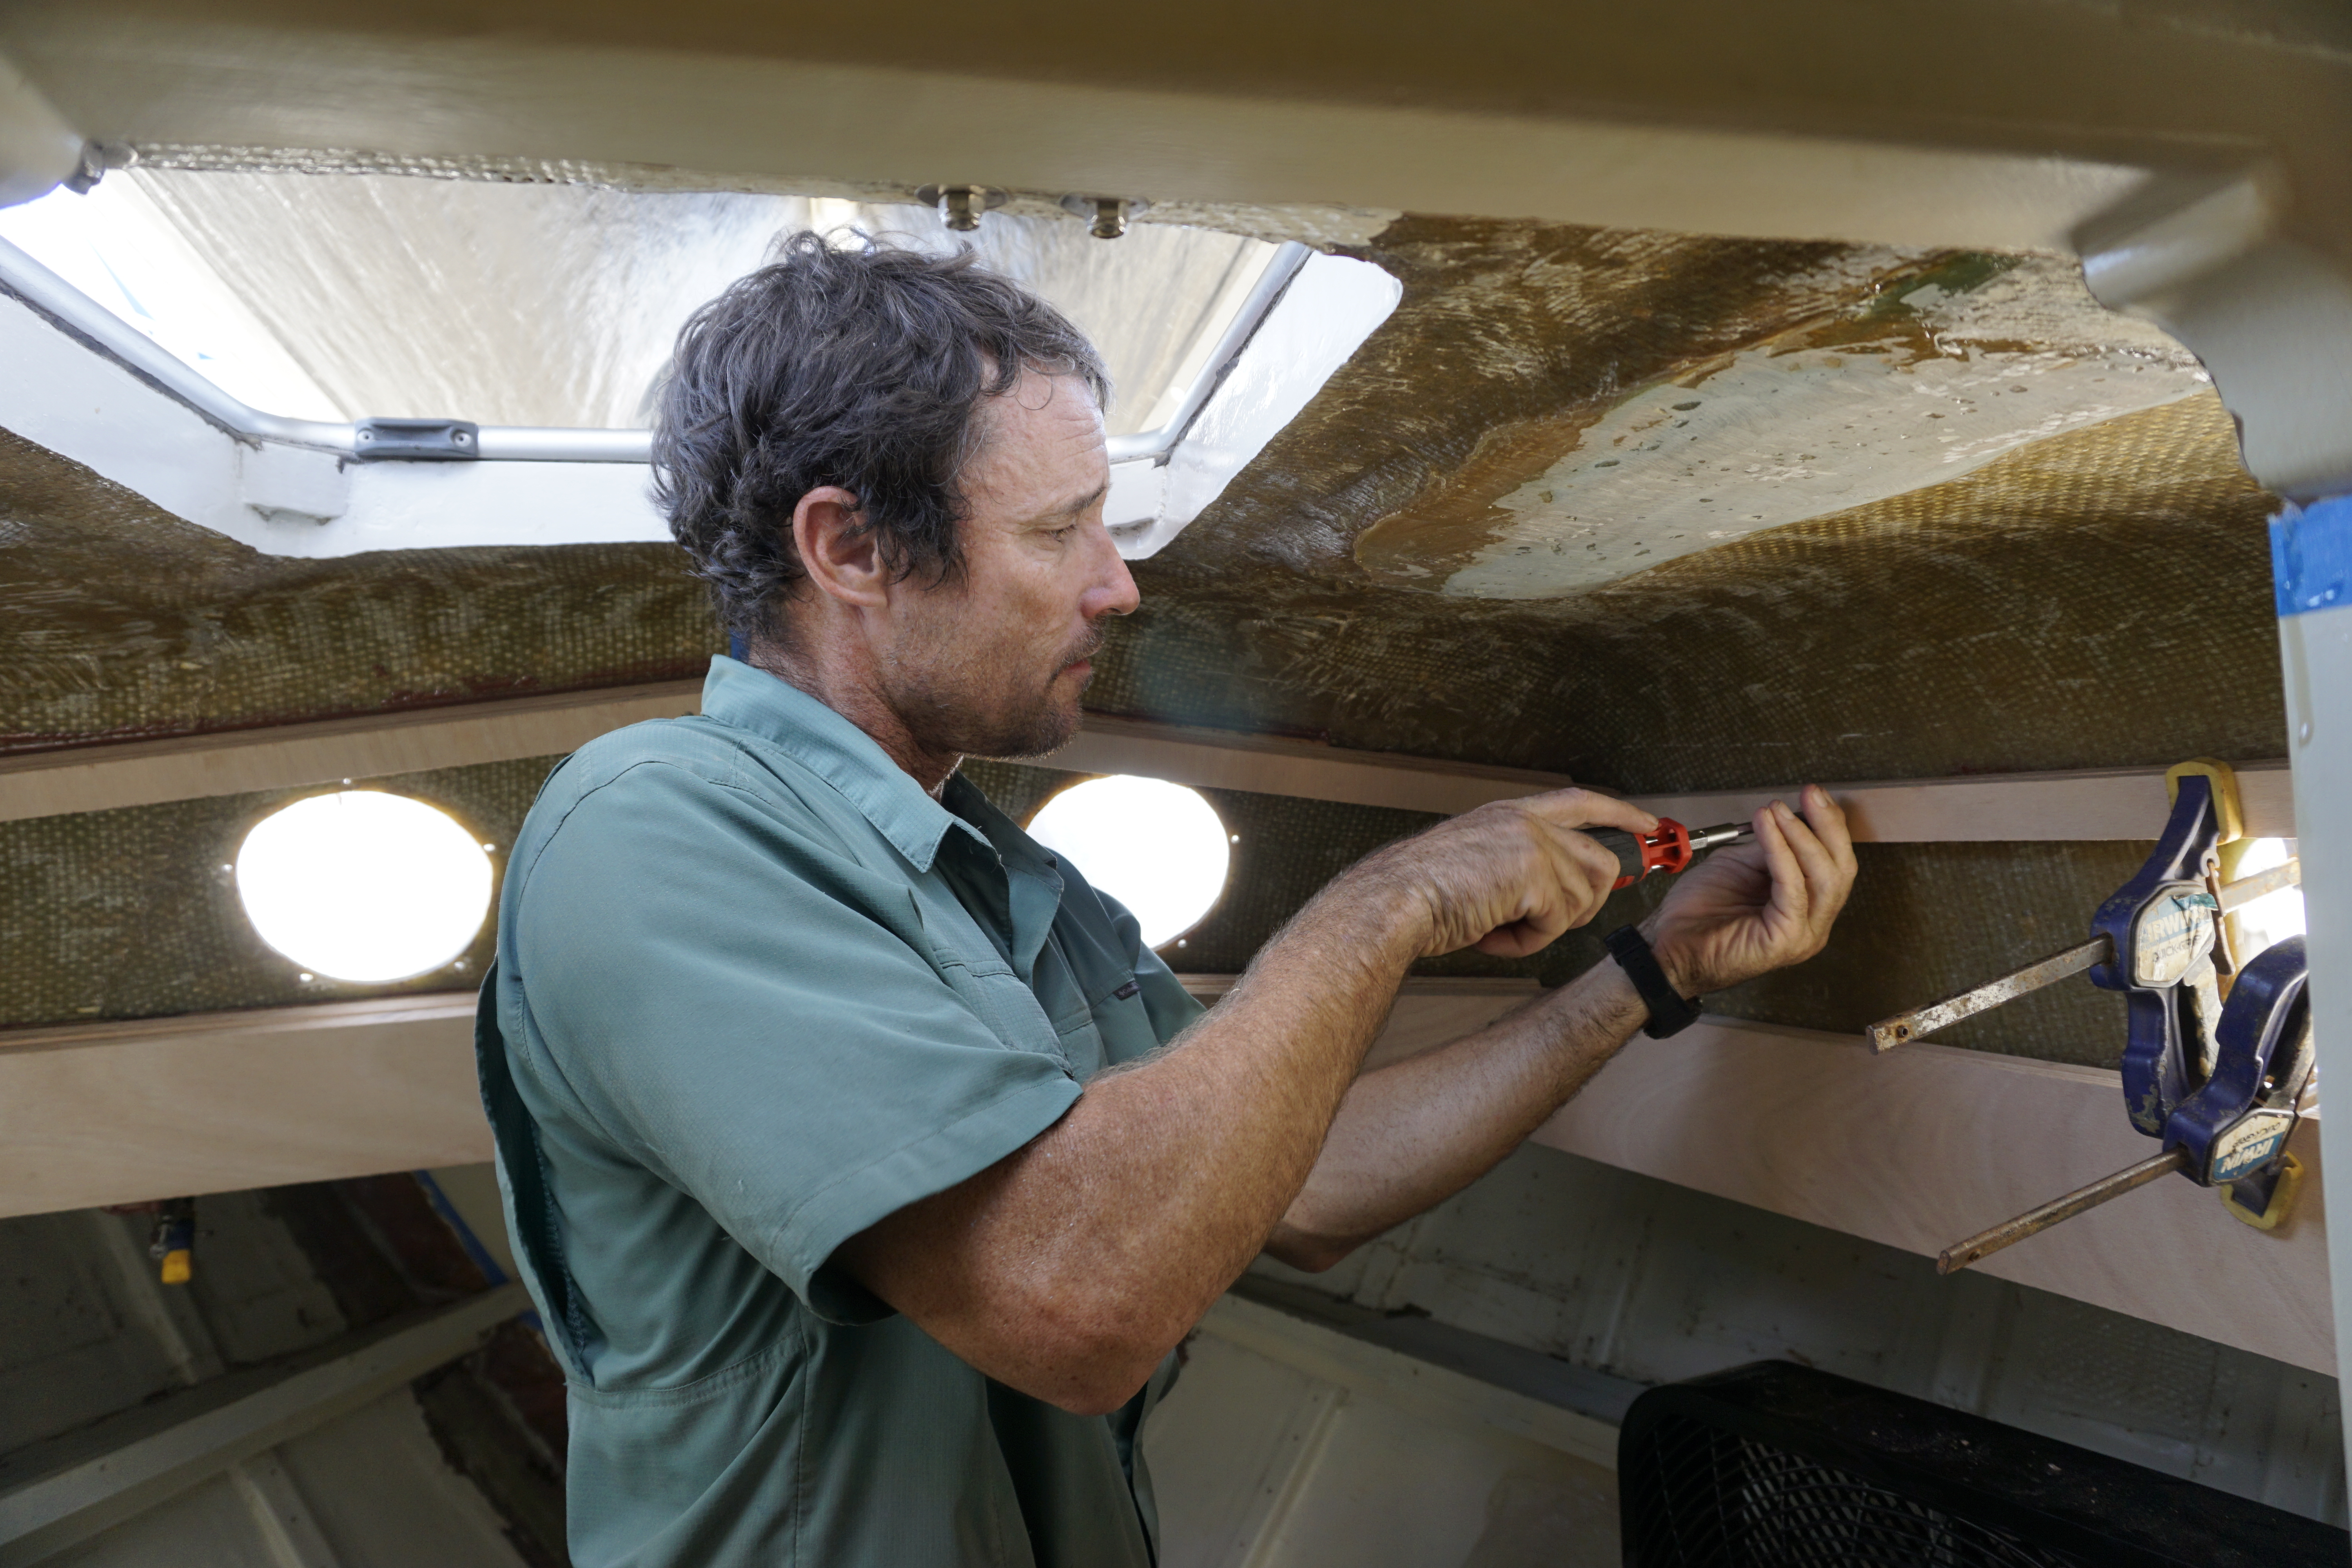
The widest piece of plywood overhangs the upright section by a 2 1/2 inches. This overhanging piece was key to helping us divide the overhead into workable sections. It will hide all the layers of the section below. We may trim it later in the project, but we left room to spare because we are dealing with uneven surfaces, and we are amateur joiners.
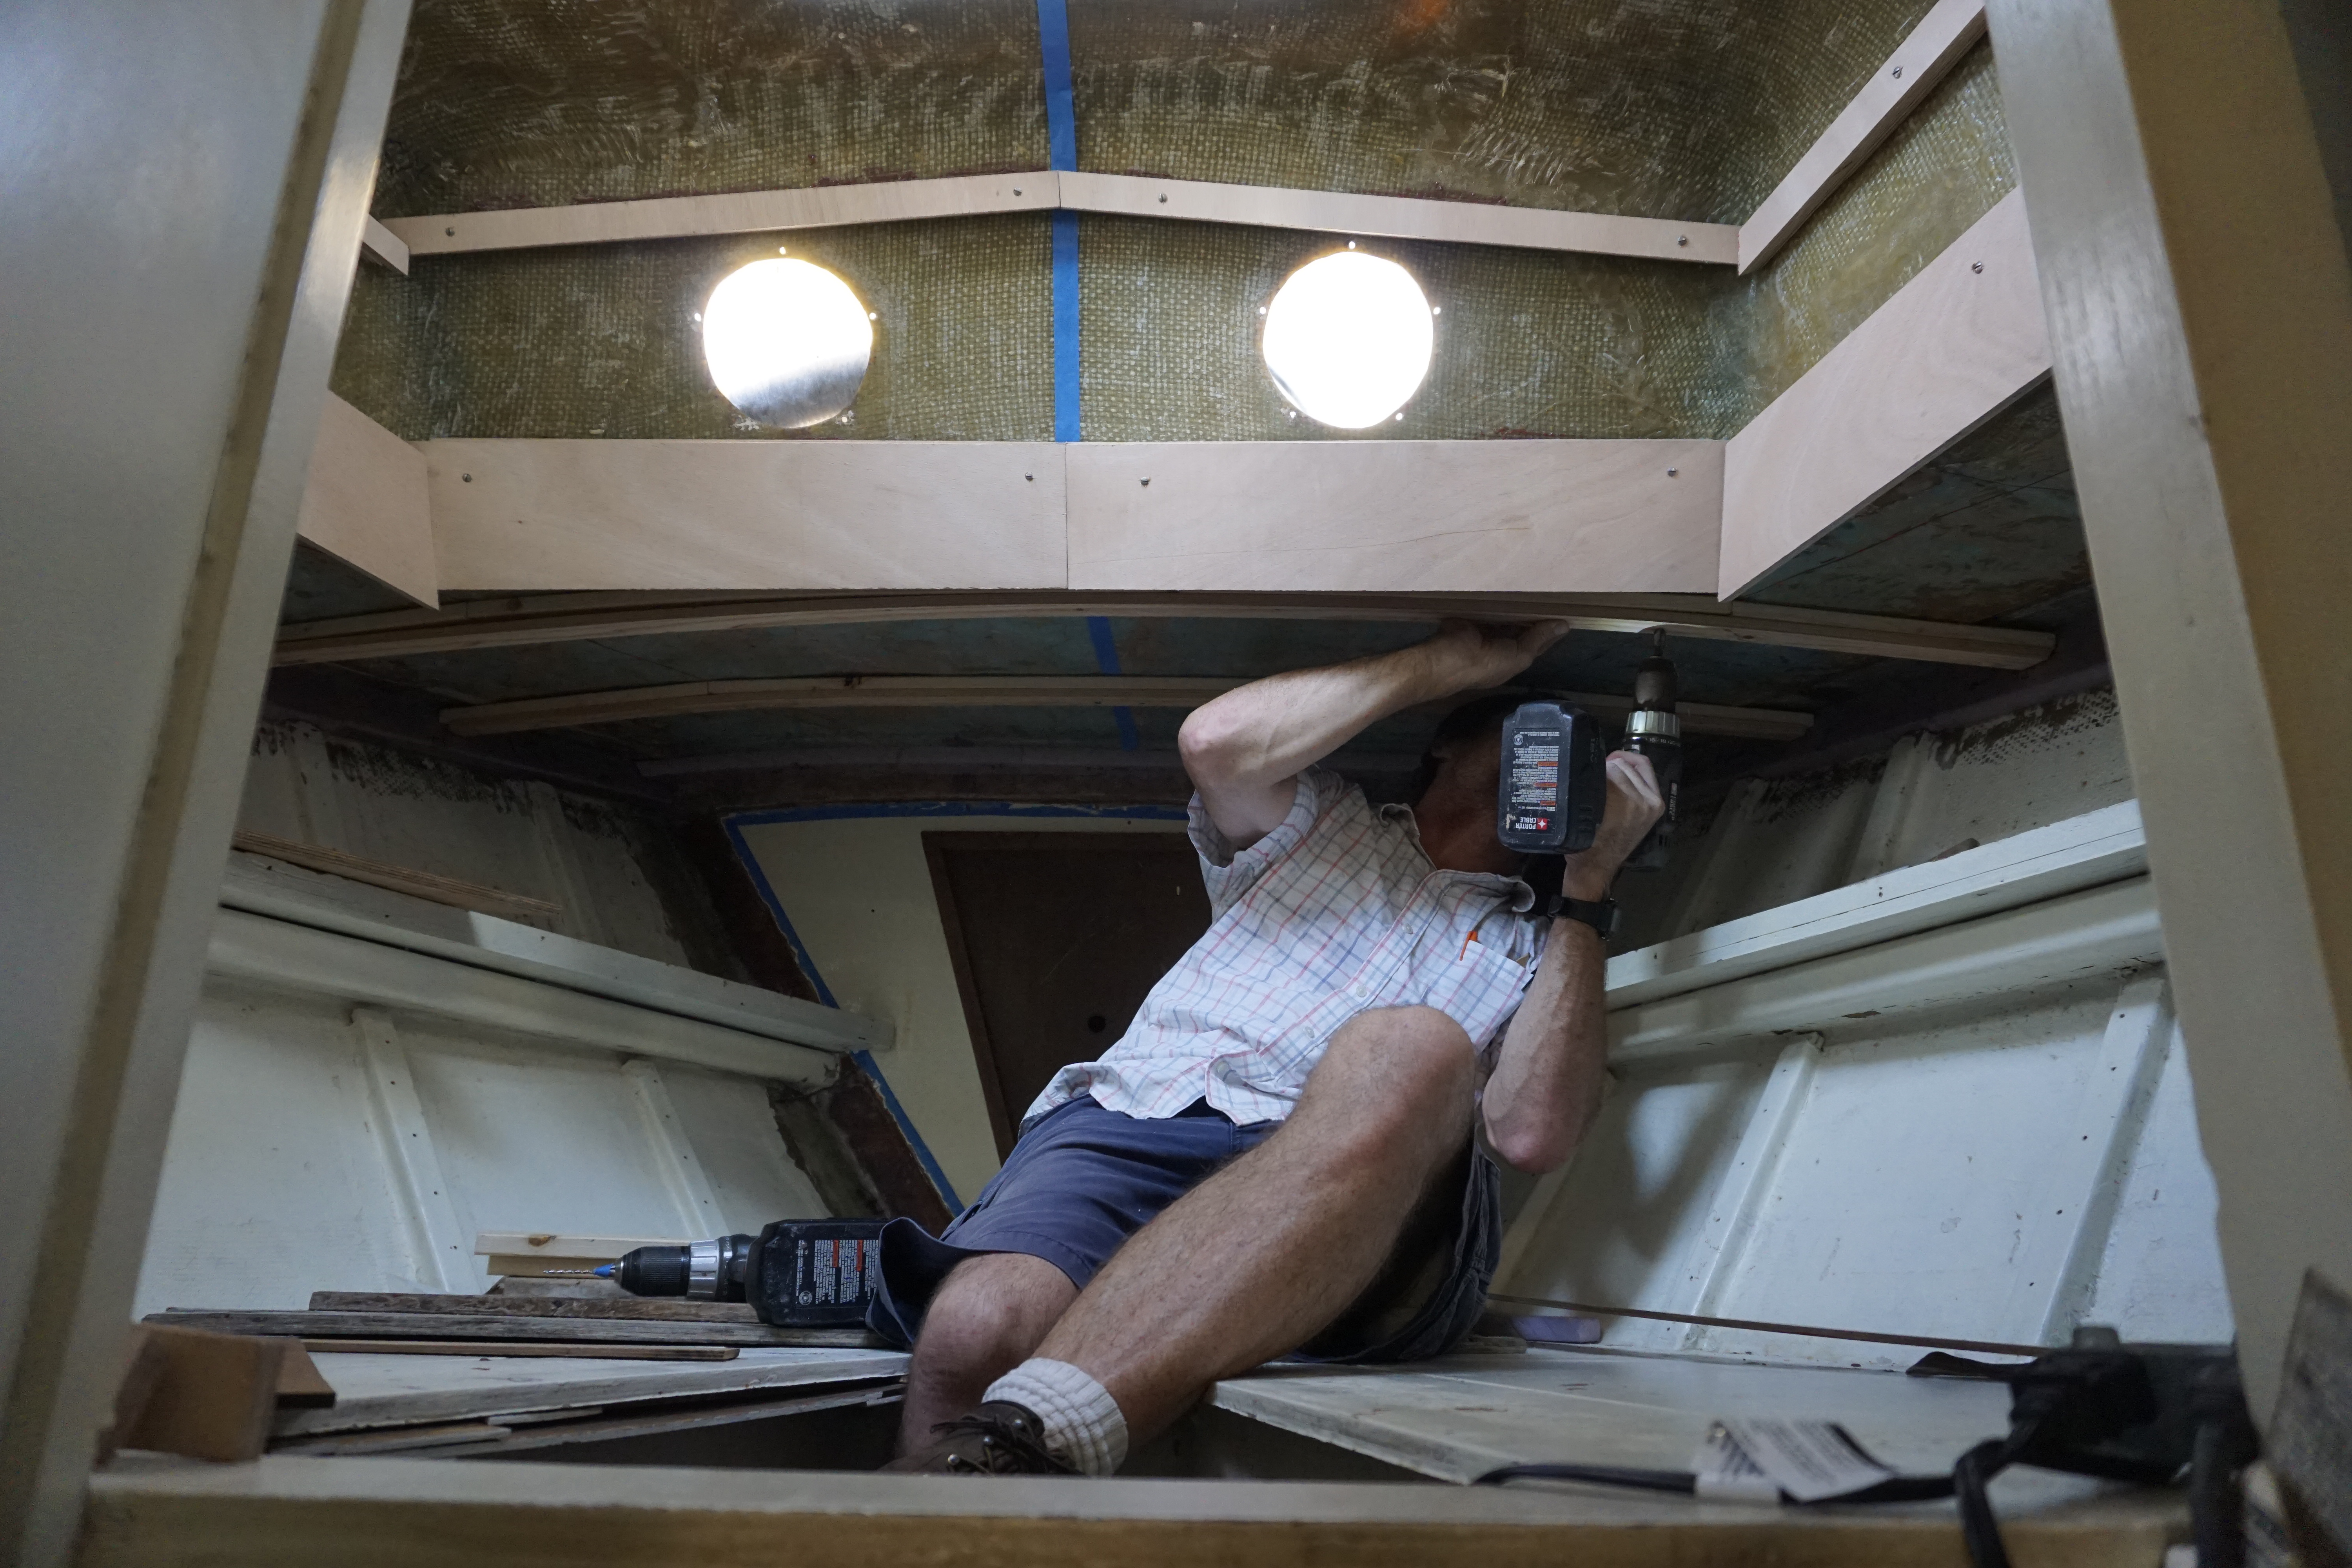
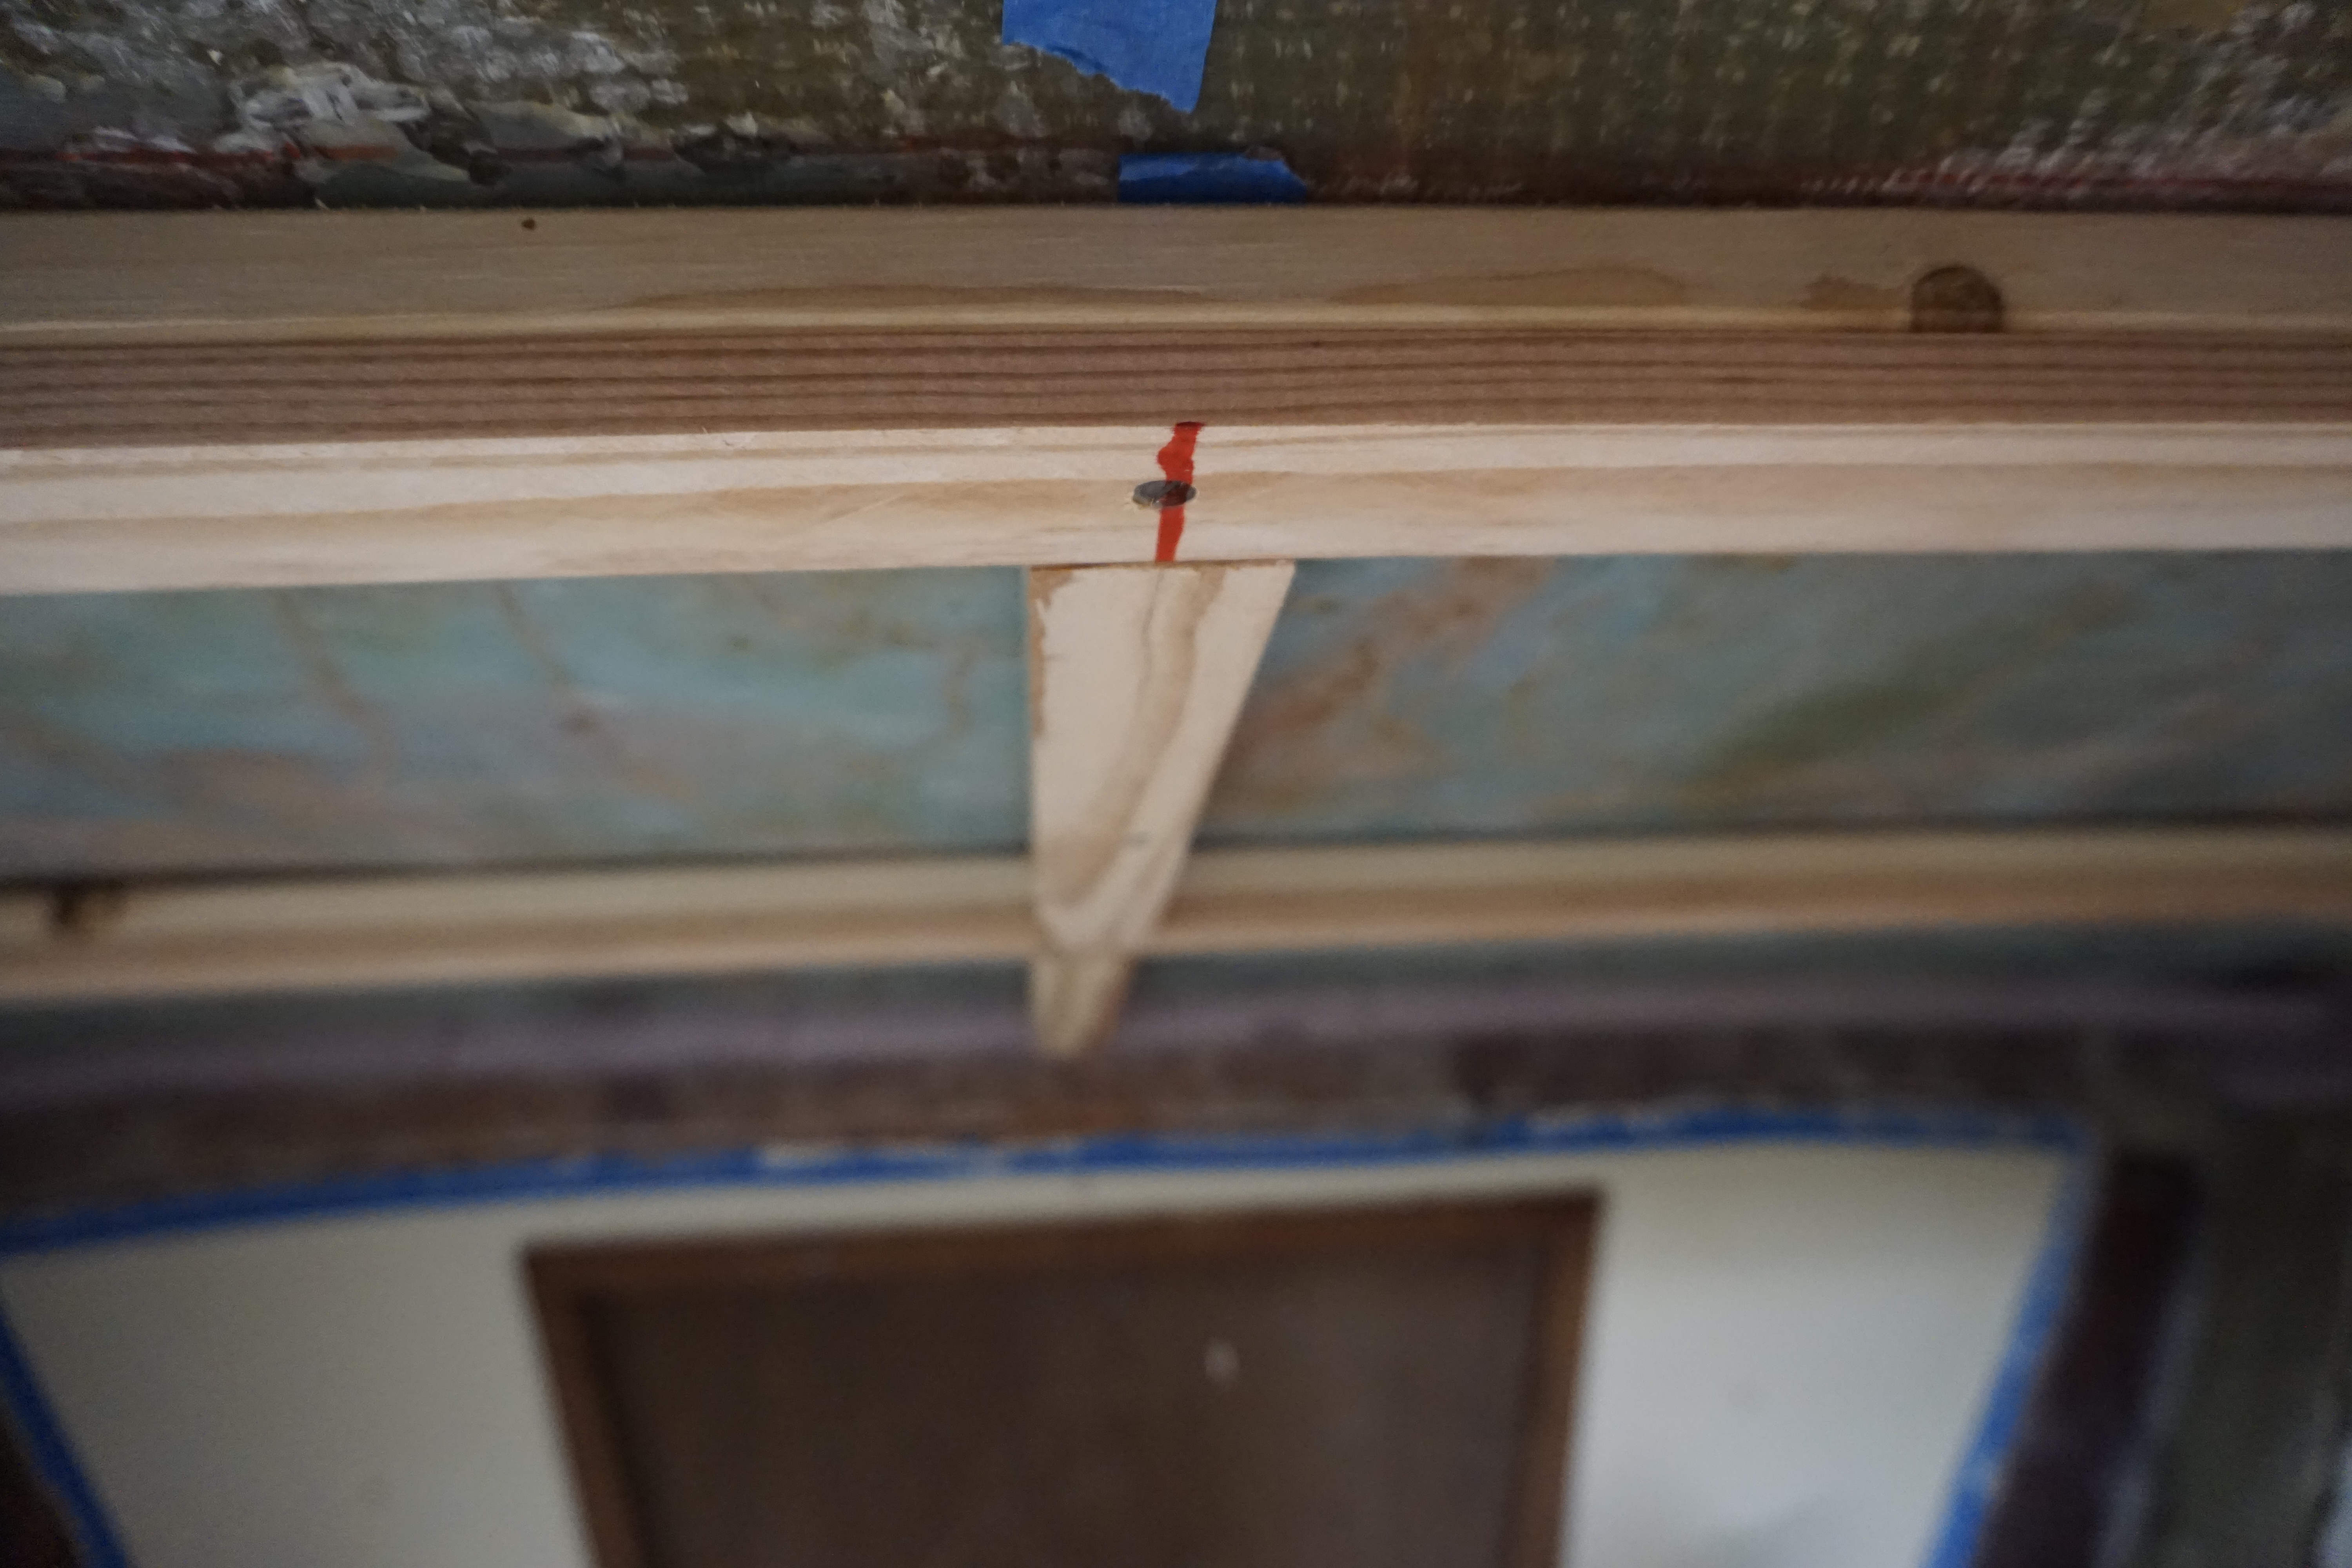
Second Section: The outlines of the second section were defined by the first (by the sides of the overhanging plywood). We dry fit two framing layers to this area: one layer of 3/4 inch whitewood furring strips and one layer of 1/2 inch douglas fir. The furring strips are lightweight spacers. They were installed in 3 pieces across the forward area. We cut them into pieces so that we could follow the shape of the overhead more easily and reduce gaps between the overhead and the frames.
The douglas fir is stronger, heavier material. We installed longer strips of douglas fir, intact, across the span of the forward area. These springy strips of wood give support to the deck above. Our deck is generally in good shape, but it does flex, just barely. These two layer frames will be multipurpose. They will create space 1 1/4 inch space for insulation, provide a place to mount the overhead liner panels, and support the deck.


We plan to remove everything so that we can coat all of the pieces in epoxy. Then we will laminate the layers together as we epoxy them to the overhead. When all these frames are firmly in place we will build upward and install frames on the last section of the v-berth overhead, where the overhead hatch is.
