Anchors (Stowed) Away!

A search for better anchor stowage

Anchors are a sailor’s conundrum. When menacing storm clouds approach our boat in harbor, we want the heaviest anchors possible. But when sailing, excess anchor weight on the bow becomes burdensome to our vessel, perhaps even dangerous. 

An approaching squall at anchor in Moody Brook, Stanley Harbor, East Falkland

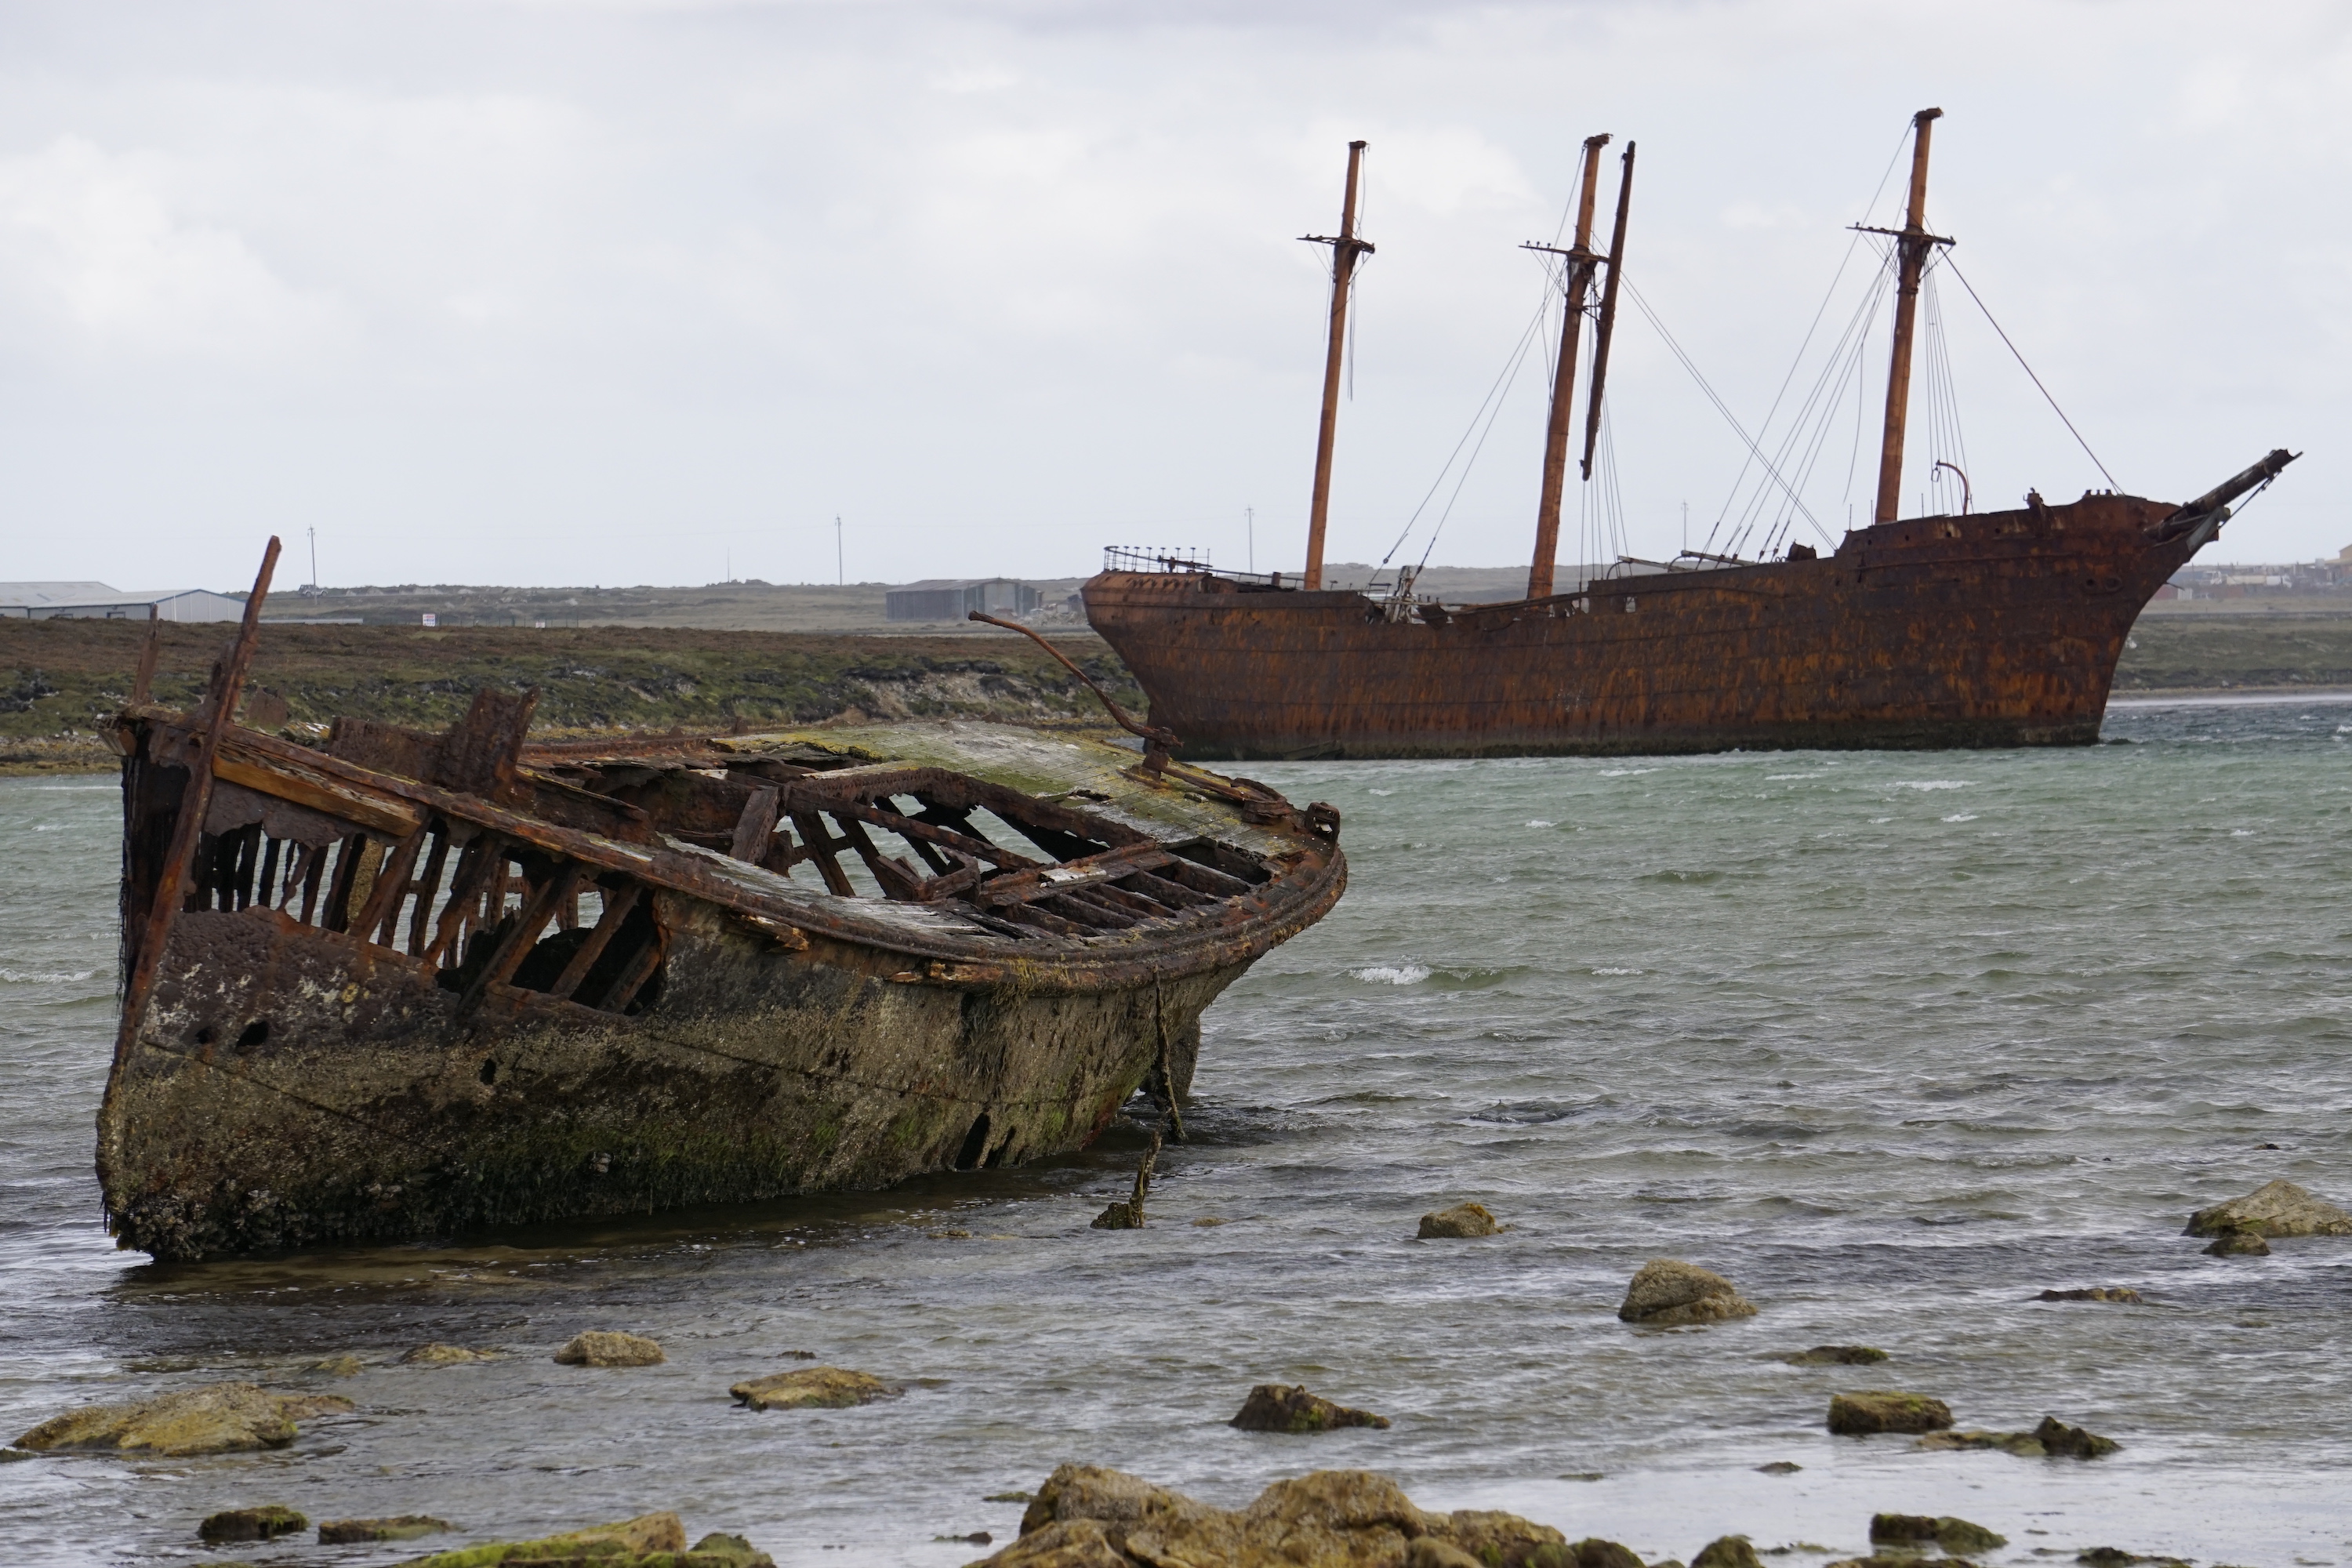
When a summer storm approached us in the Falkland Islands, 300 miles east of Cape Horn, Brian and I took stock of the ground tackle aboard our Allied Seawind 30. We deployed three of our four anchors. As the wind backed Brian managed the anchor rodes until they were all tensioned and holding Dawn Treader in position against sustained winds over 60 knots. Our largest anchor lay straight ahead and two others flanked it, 30 degrees to port and starboard.We stood at the port-lights eating popcorn, watching dense clouds of spray fly by and listening to the wind hiss as it hit the water, like bacon in a hot pan.  

Using three anchors in Watt Cove, East Falkland
The Plym (foreground) and The Lady Elizabeth, two of The Falkland Islands’ many shipwrecks, were blown into Whalebone Cove in 1936 and 1945. Ground tackle is serious business in The Falkland Islands.

Later that same month, as depression after depression passed through, we searched the forecast for favorable weather to sail west. With no weather window in sight, we eventually chose to sail upwind in a force seven. We hardened the sheets, heeled Dawn Treader to new limits, and tacked 150 miles against the near gale. As we punched through steep seas, the bow plunged heavily with each wave. 

Although we had stowed much of our ground tackle low and amidships in preparation, the bow still carried an anchor and chain, or 200 pounds, for the coastwise trip. The laden bow amplified our boat’s motion in the waves and caused her to hobby-horse and lose drive. Nevertheless, we bashed on. It felt like the bow was hitting solid blocks instead of waves. We heard our forward toe rail crack and lost part of it to the sea. 

The anchor conundrum grabs our attention in extreme conditions like these, but the problem also exists in-between extremes. Most cruising boats need heavy holding power, and most boats sail best without extra weight on the bow, especially upwind. 

How much weight on the bow is too much? It is difficult to know where the line is, to know what exact weight creates problems. Instead of dwelling on a question that we cannot answer, we ask: how much weight can we remove from the bow? This question guides our search for better anchor stowage. Our search started well before our trip to the Falkland Islands and continues today.

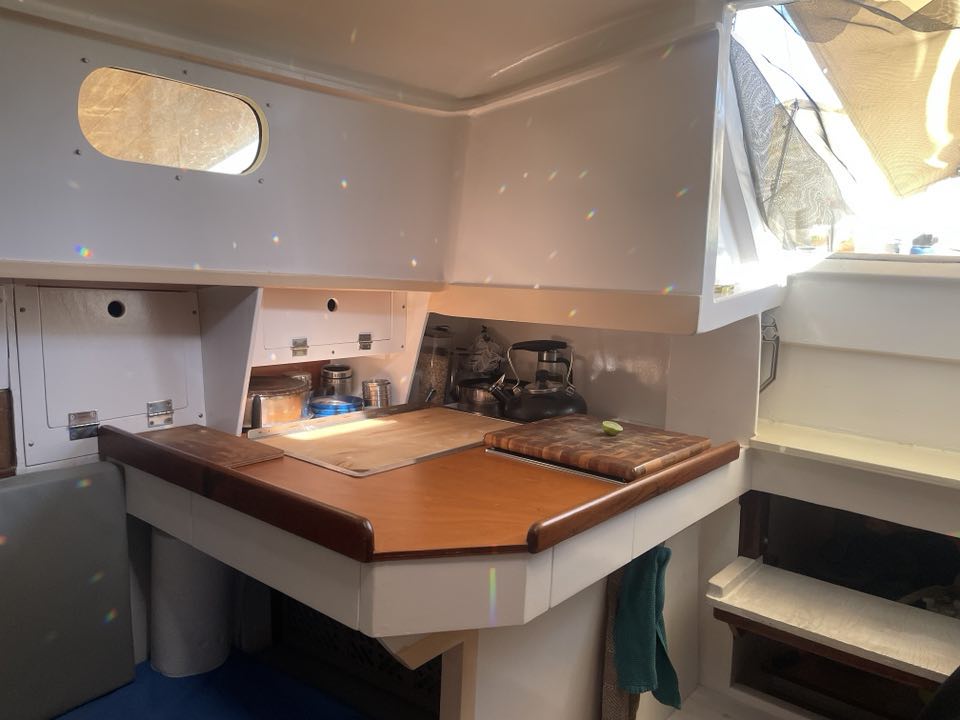
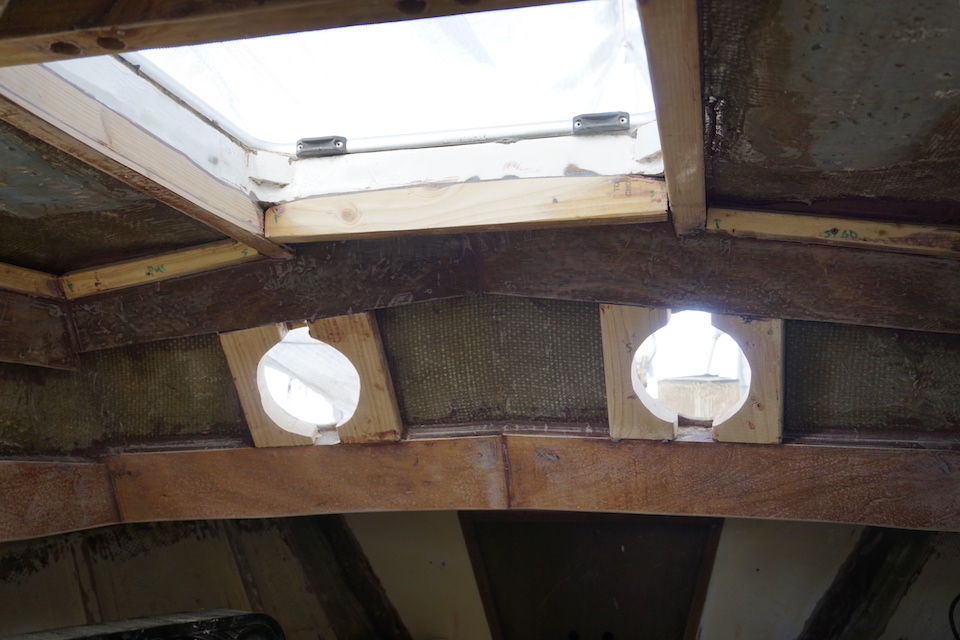
In 2015 we built a below deck anchor locker while alongside a dock in southeast Georgia. We converted the center walkway notch in Dawn Treader’s v-berth into storage. We enclosed the notch with two pieces: a 30-inch high plywood panel on the aft side and an opening hatch on the top. This created a triangular compartment underneath the bunk. With the notch gone, the bunk was flush all the way across. Although the notch had been valuable, because it made entry into the forward bunks comfortable and easy, the space was amidships and low, and perfect for storing anchors. 

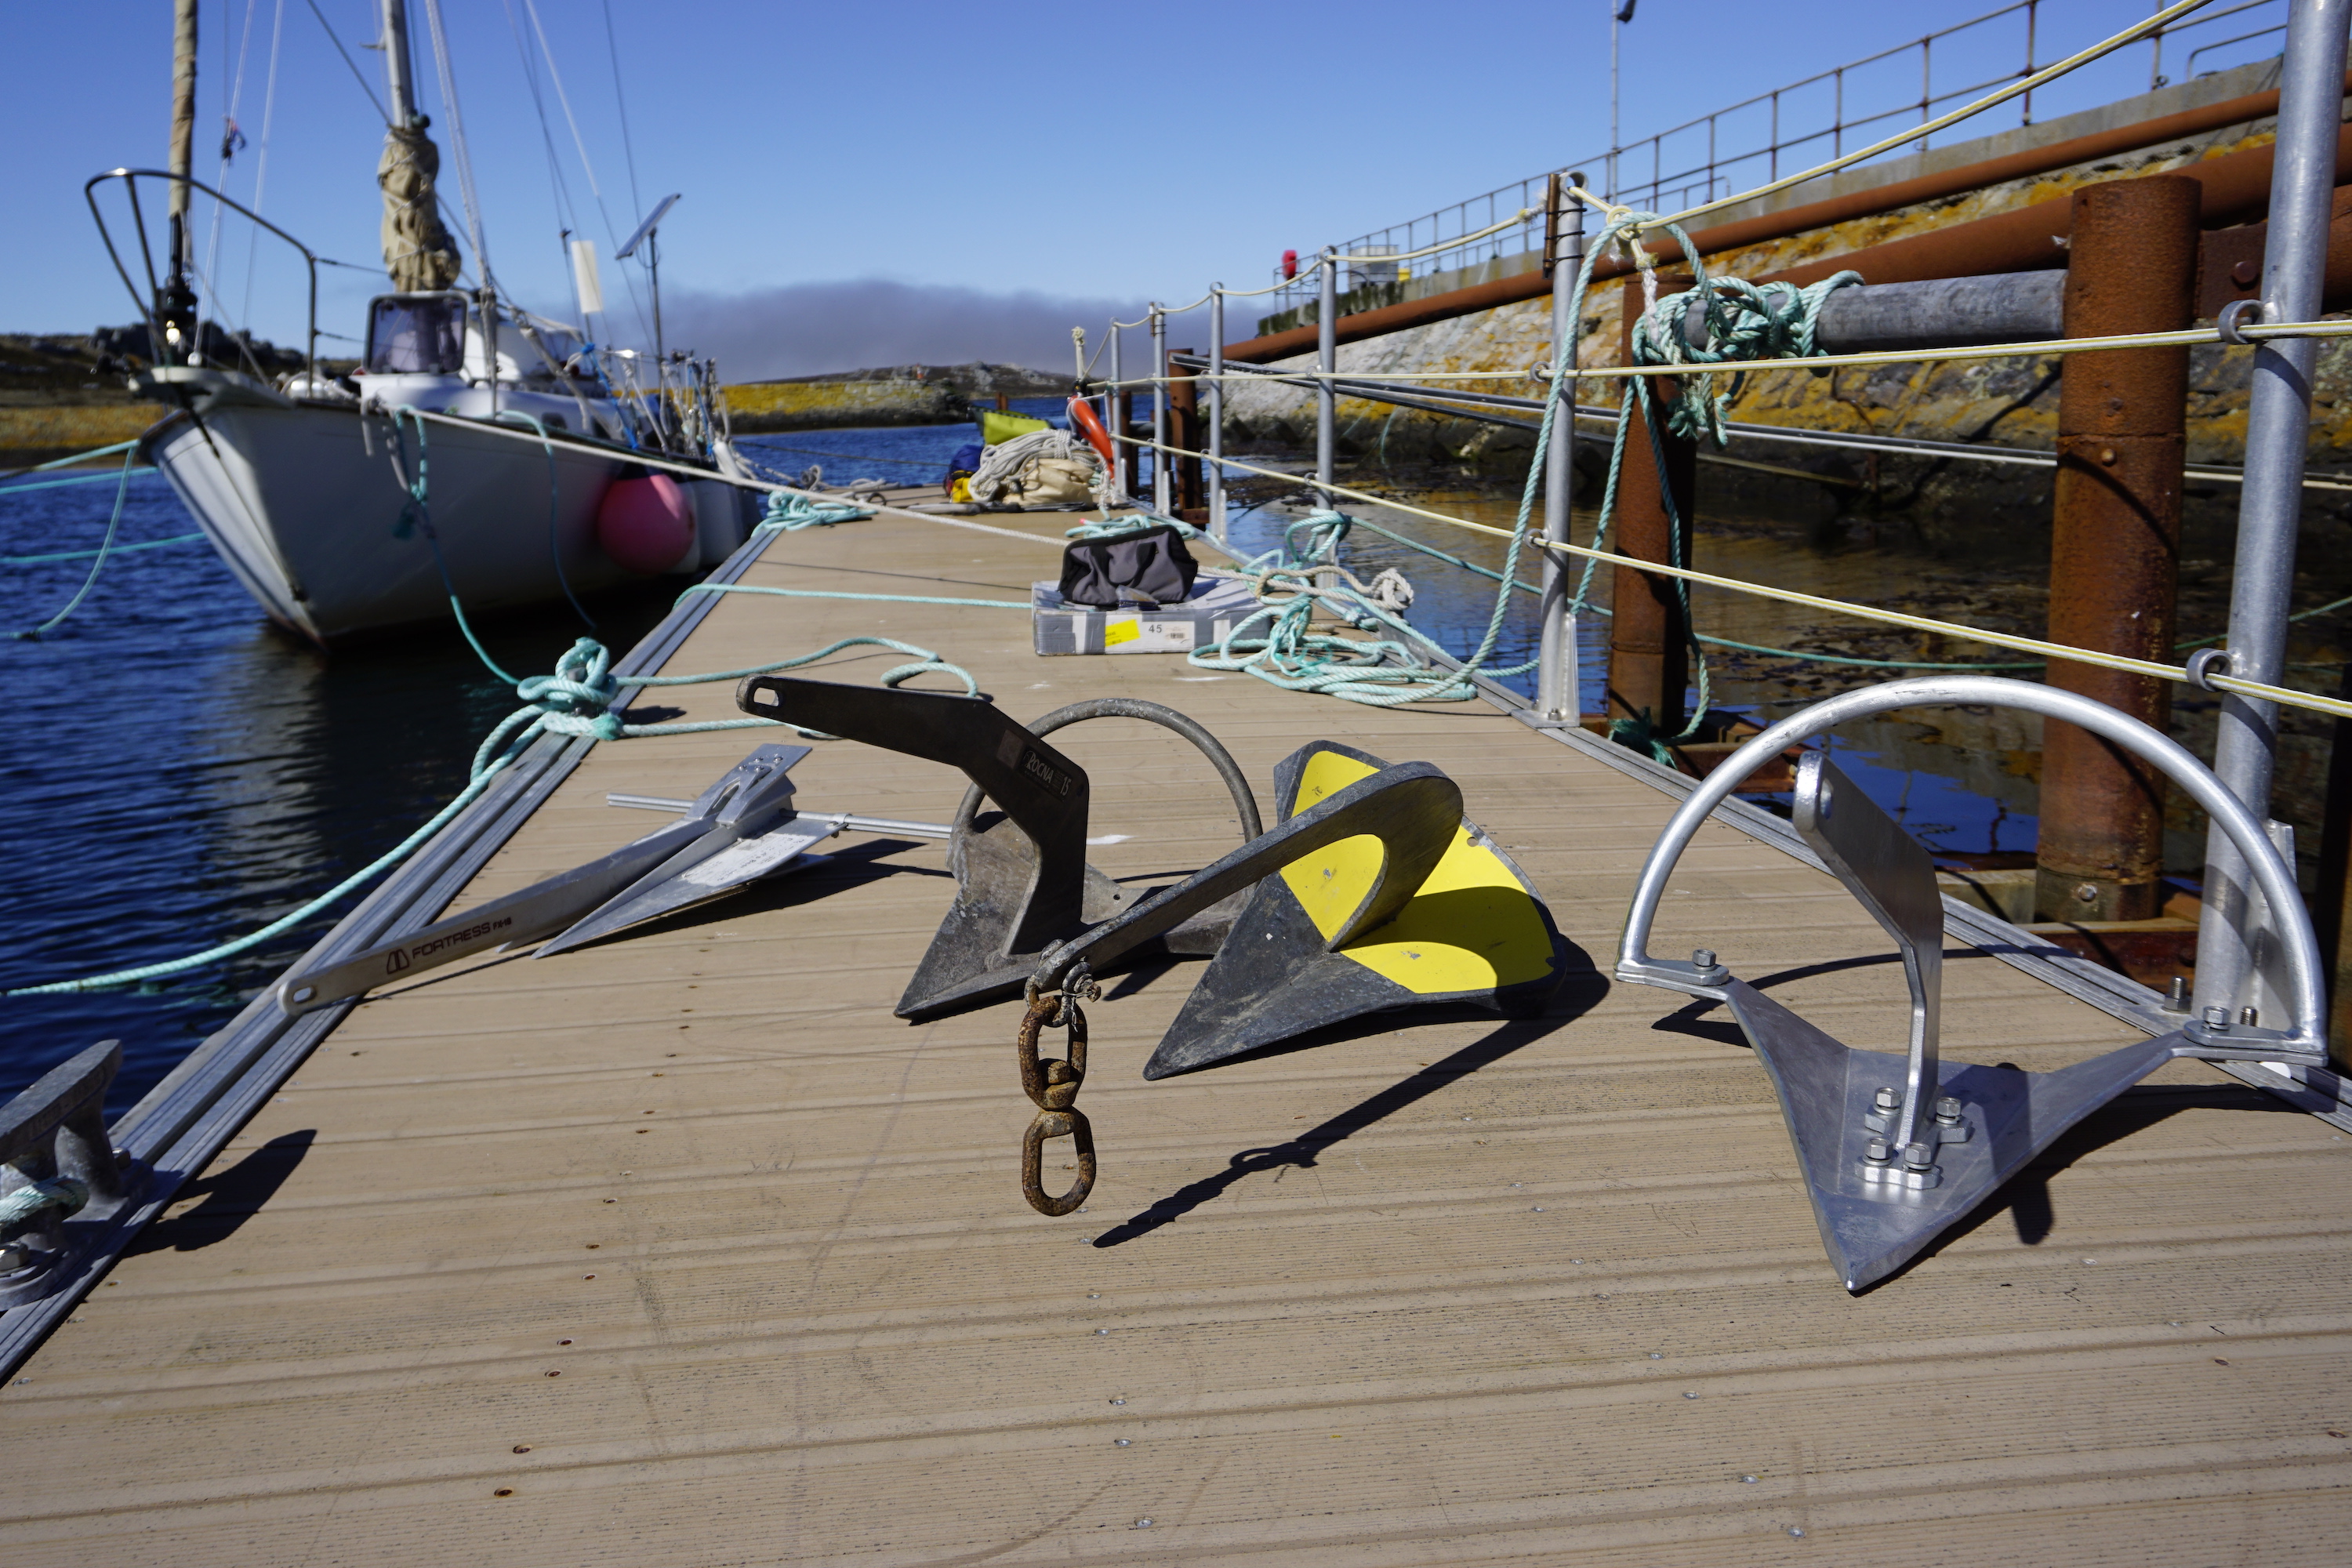
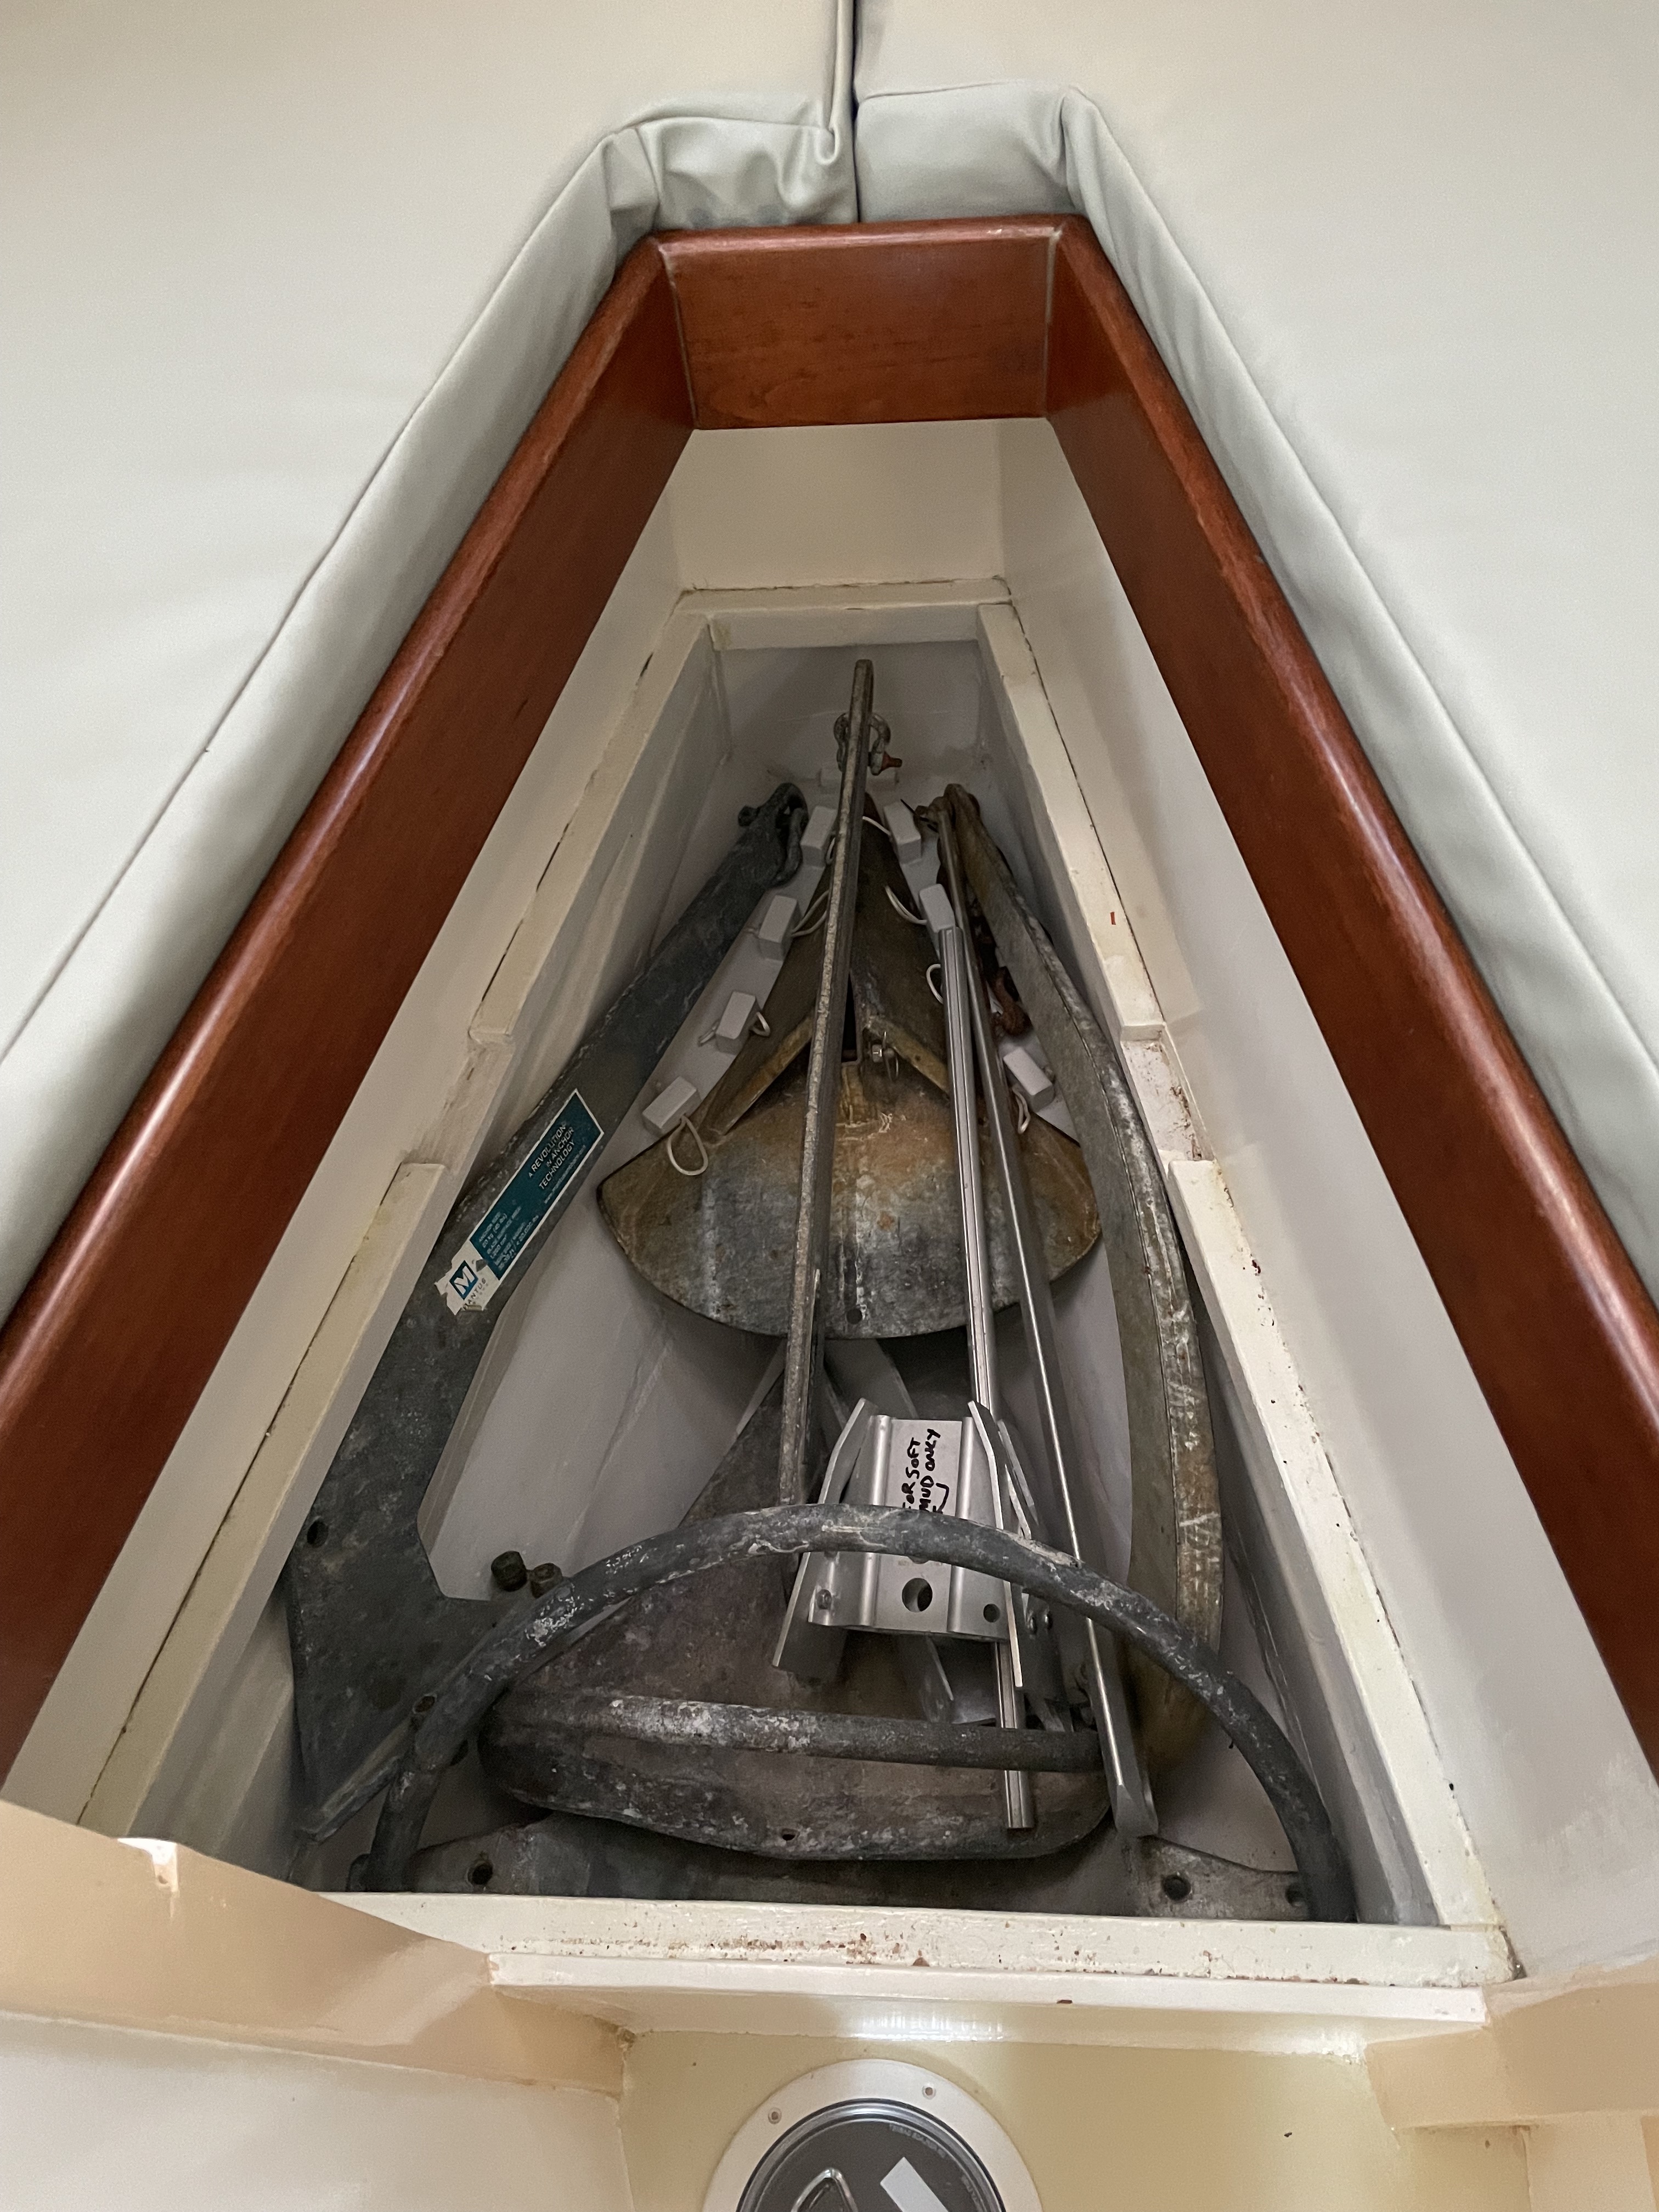
The locker allowed us to carry our ideal anchor collection. It easily fit a 45-pound Mantus, a 44-pound Spade, a 33-pound Rocna, and an 11-pound Fortress. We passed these anchors in and out of the locker via the convenient overhead hatch. On deck, we used a Lofrans Manual windlass and two bow rollers to deploy and retrieve ground tackle. 

Anchor collection at the Camber in Stanley Harbor, 2019

Our anchor collection was complemented by four rodes. We carried 275 feet of chain in four lengths (150, 50, 50, and 25 feet), 3 of the four had 150 feet of nylon rode attached. We kept the longest chain in the chain locker. The two 50-foot long rodes were stowed in buckets atop the anchors in the anchor locker, and the last was typically kept attached to our Jordan Series Drogue.

In 2016 we sailed away from the east coast of the United States with our ground tackle secure in our new anchor locker. We crossed the Atlantic twice: first eastbound to the Azores, and then westbound across the equator to Brazil. From Brazil we sailed deeper south, into the Southern Ocean to the Falkland Islands. We were in those wind-swept islands in the Furious Fifties for over a year, and we put our anchor collection to work. When in doubt, put another anchor out, and we did, often. 

The anchor locker we built served its purpose, however, it also caused problems. We knew we had compromised ergonomics by converting the notch. But it was startling that such a small shift made a fundamental impact on our life aboard. As time went on, we accessed the v-berth less and less. Ultimately, we stopped living in the forward third of our boat.

The aft bulkhead of the locker was an obstacle at the end of a squat, narrow passageway into the v-berth. To reach our bunk, we hunched over, squeezed through, and climbed up—all at the same time. Once we reached the v-berth platform we spun, 180 degrees into the horizontal position. It felt like break-dancing, not the start to a restful night’s sleep. If we forgot to turn on the anchor light, the scramble out and in again was even more annoying. 

Brian climbs into the v-berth

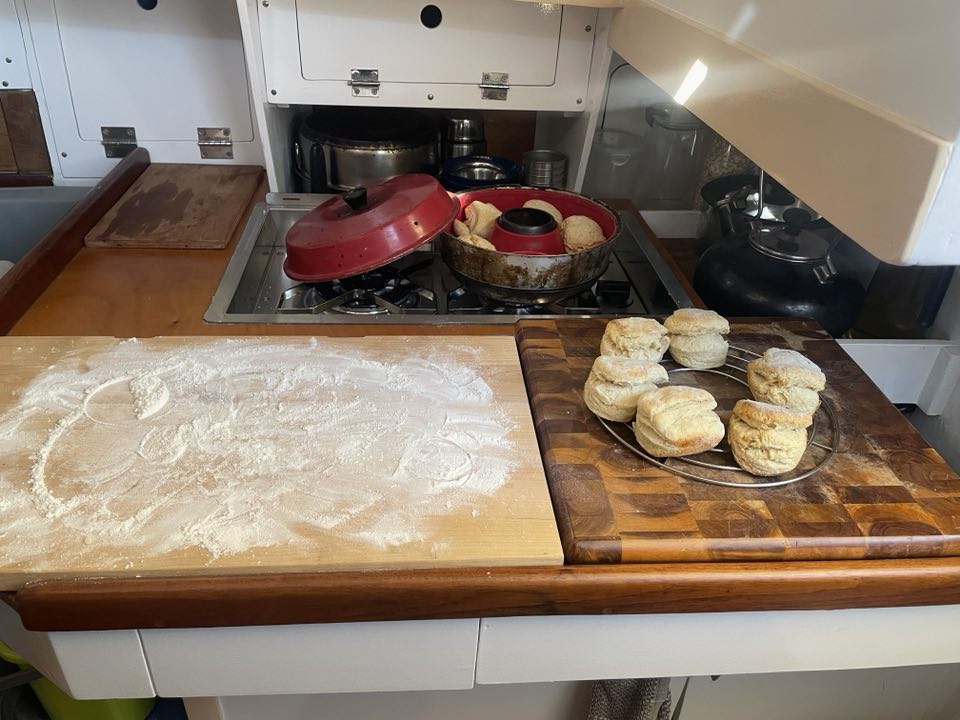
After the Falkland Islands, we sailed to Chile and Tierra del Fuego, where it was cold and damp. Airflow was hindered by the locker as much as we were. The air in the v-berth was stagnant and cold. We began sleeping in the main cabin near the wood stove, away from the condensation and mold that formed unchecked up forward.  

For a couple of years we made the most of the otherwise uninhabitable v-berth by filling it with waterproof bags of assorted gear. We also added large produce hammocks between the fore and aft bulkheads. We had room for melons and pumpkins, and all sorts of stores. No matter how much we stored in the v-berth, however, it never made up the loss of our small boat’s living space. We were stuck in the main cabin.

In 2021 we set out to solve the problem, and others, on our growing jobs list. After months in the wilderness, sailing through the through the Straits of Magellan and north through Chilean Patagonia, we departed Chile. We sailed a 40 day nonstop passage to Mexico. We aimed for Mexico’s dry climate and a DIY friendly boatyard. Dawn Treader was situated on the hard there by the summer of 2022. Our primary goal was to prepare her for high latitude sailing. Step one: we needed to make the v-berth livable again. It was time to modify the anchor locker. 

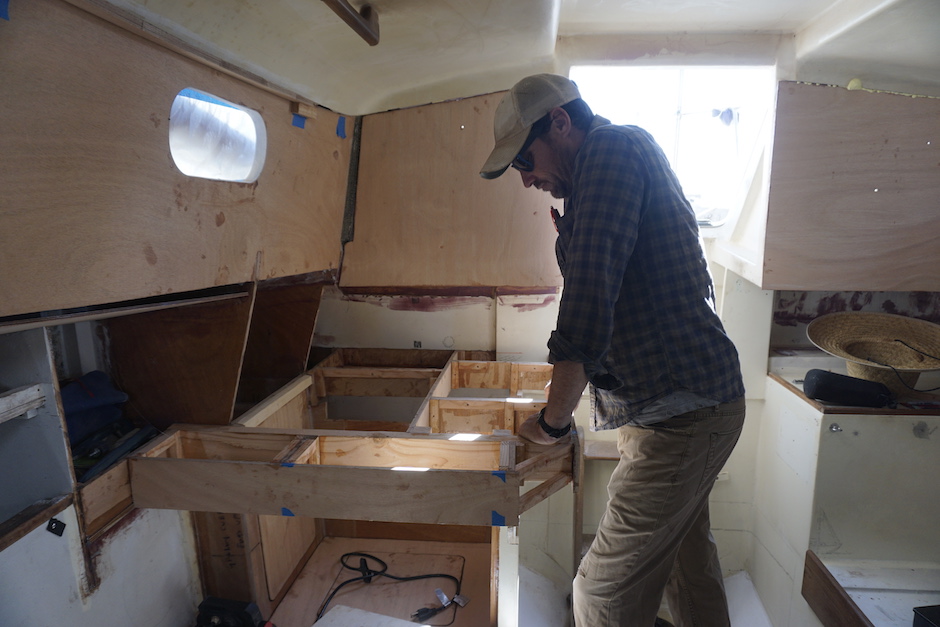
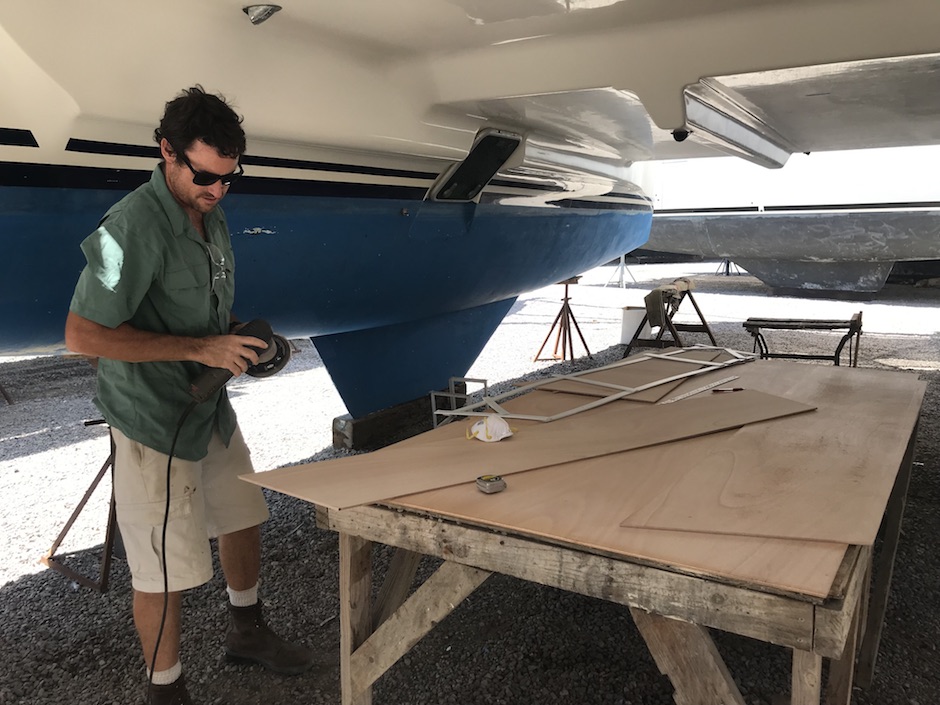
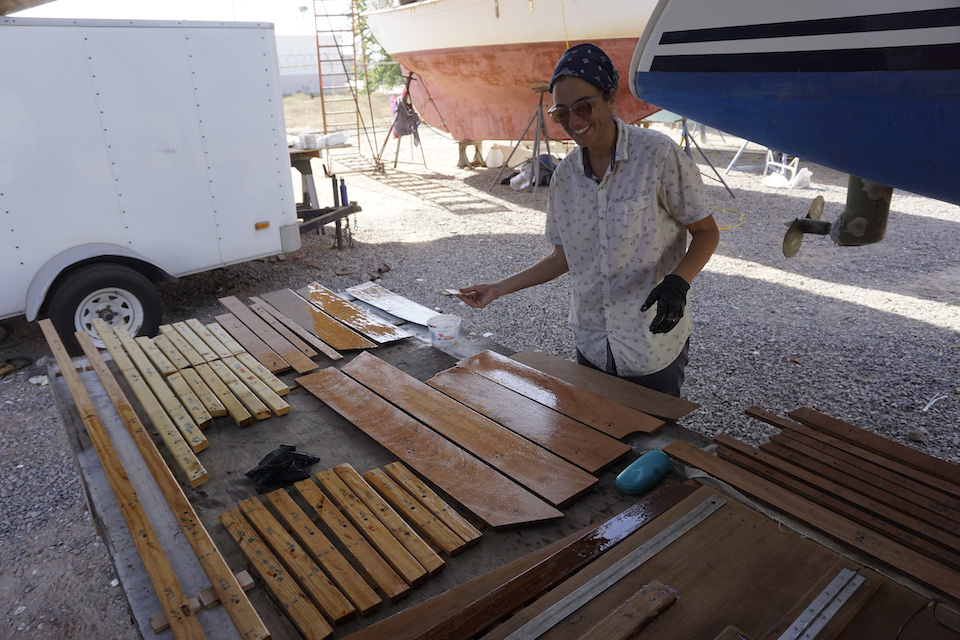
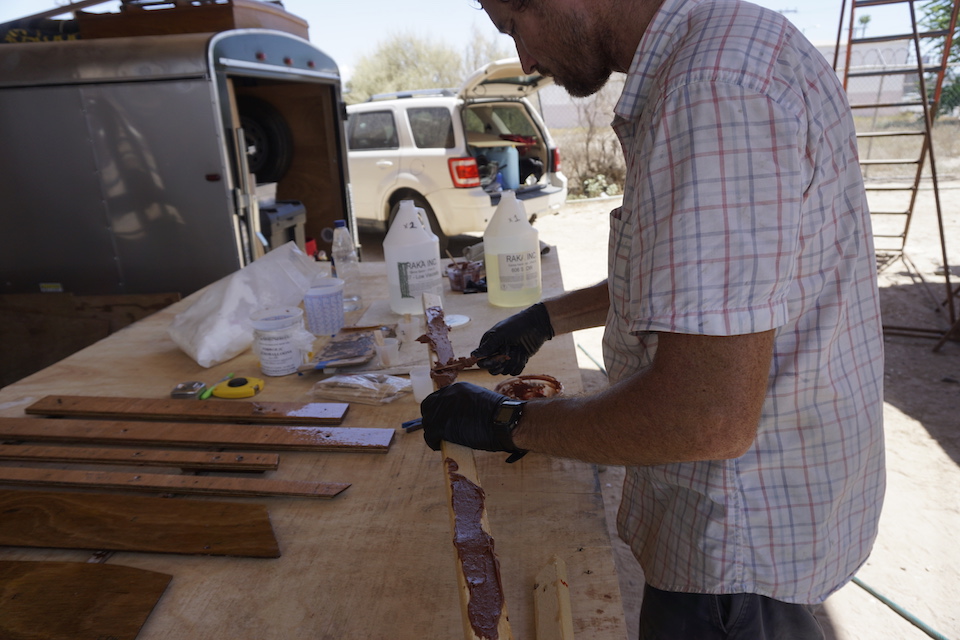
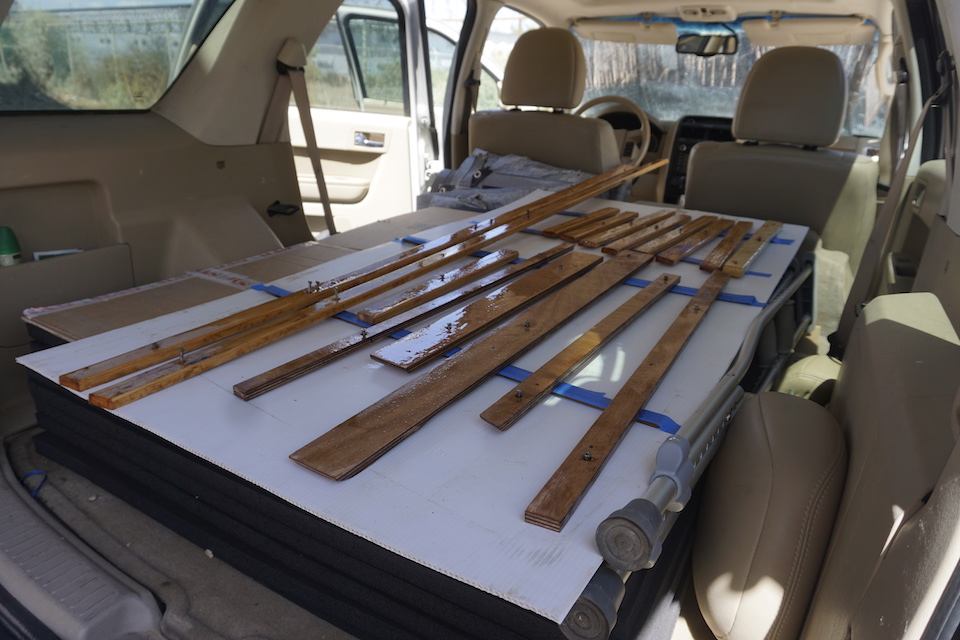
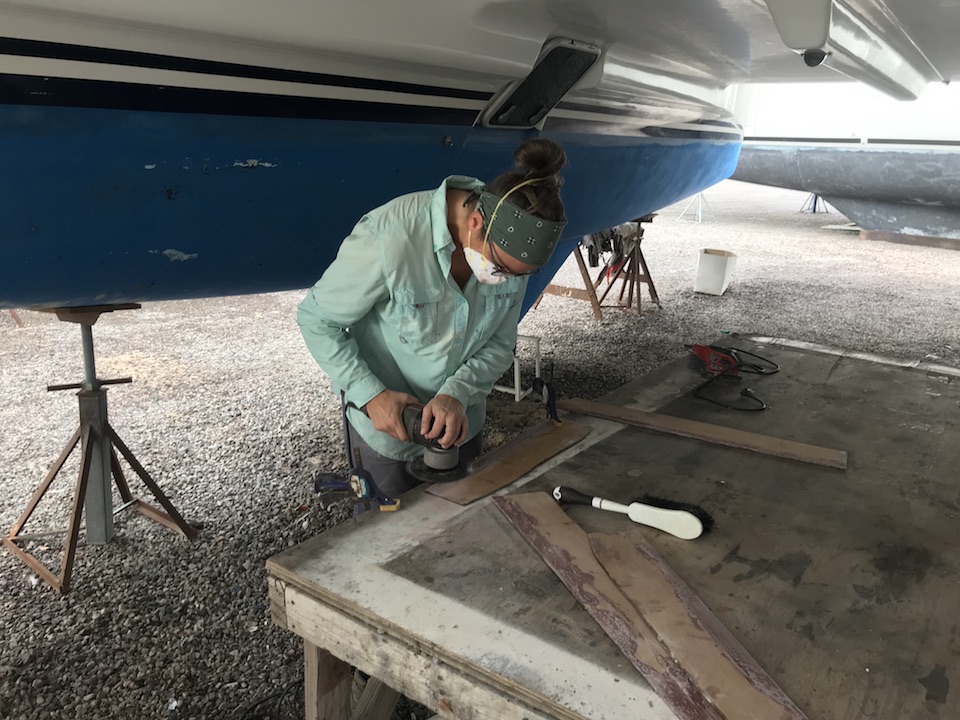
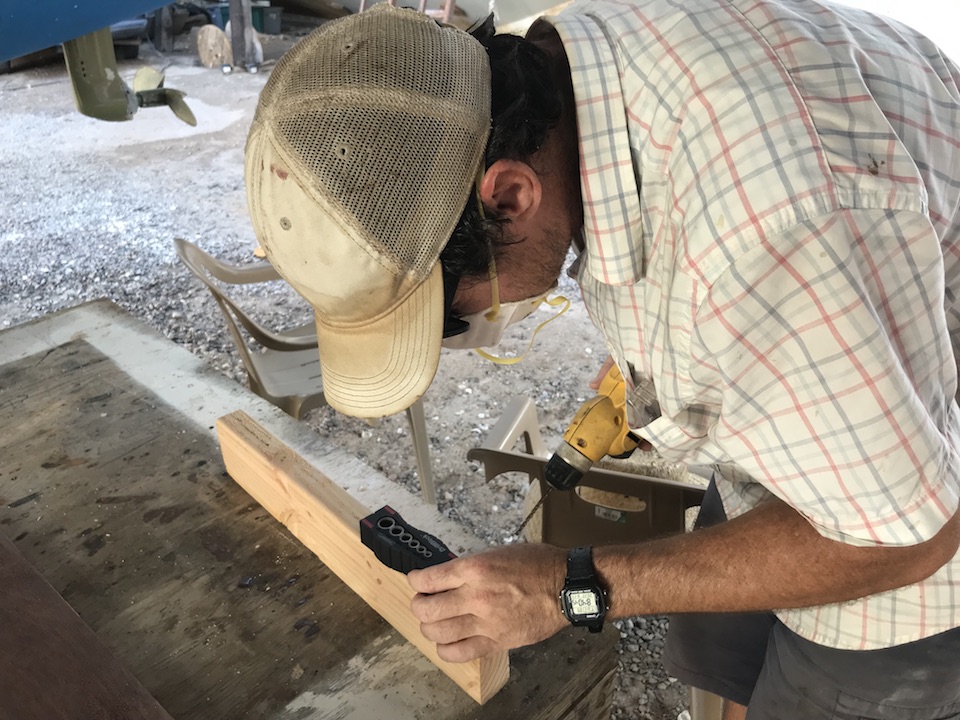
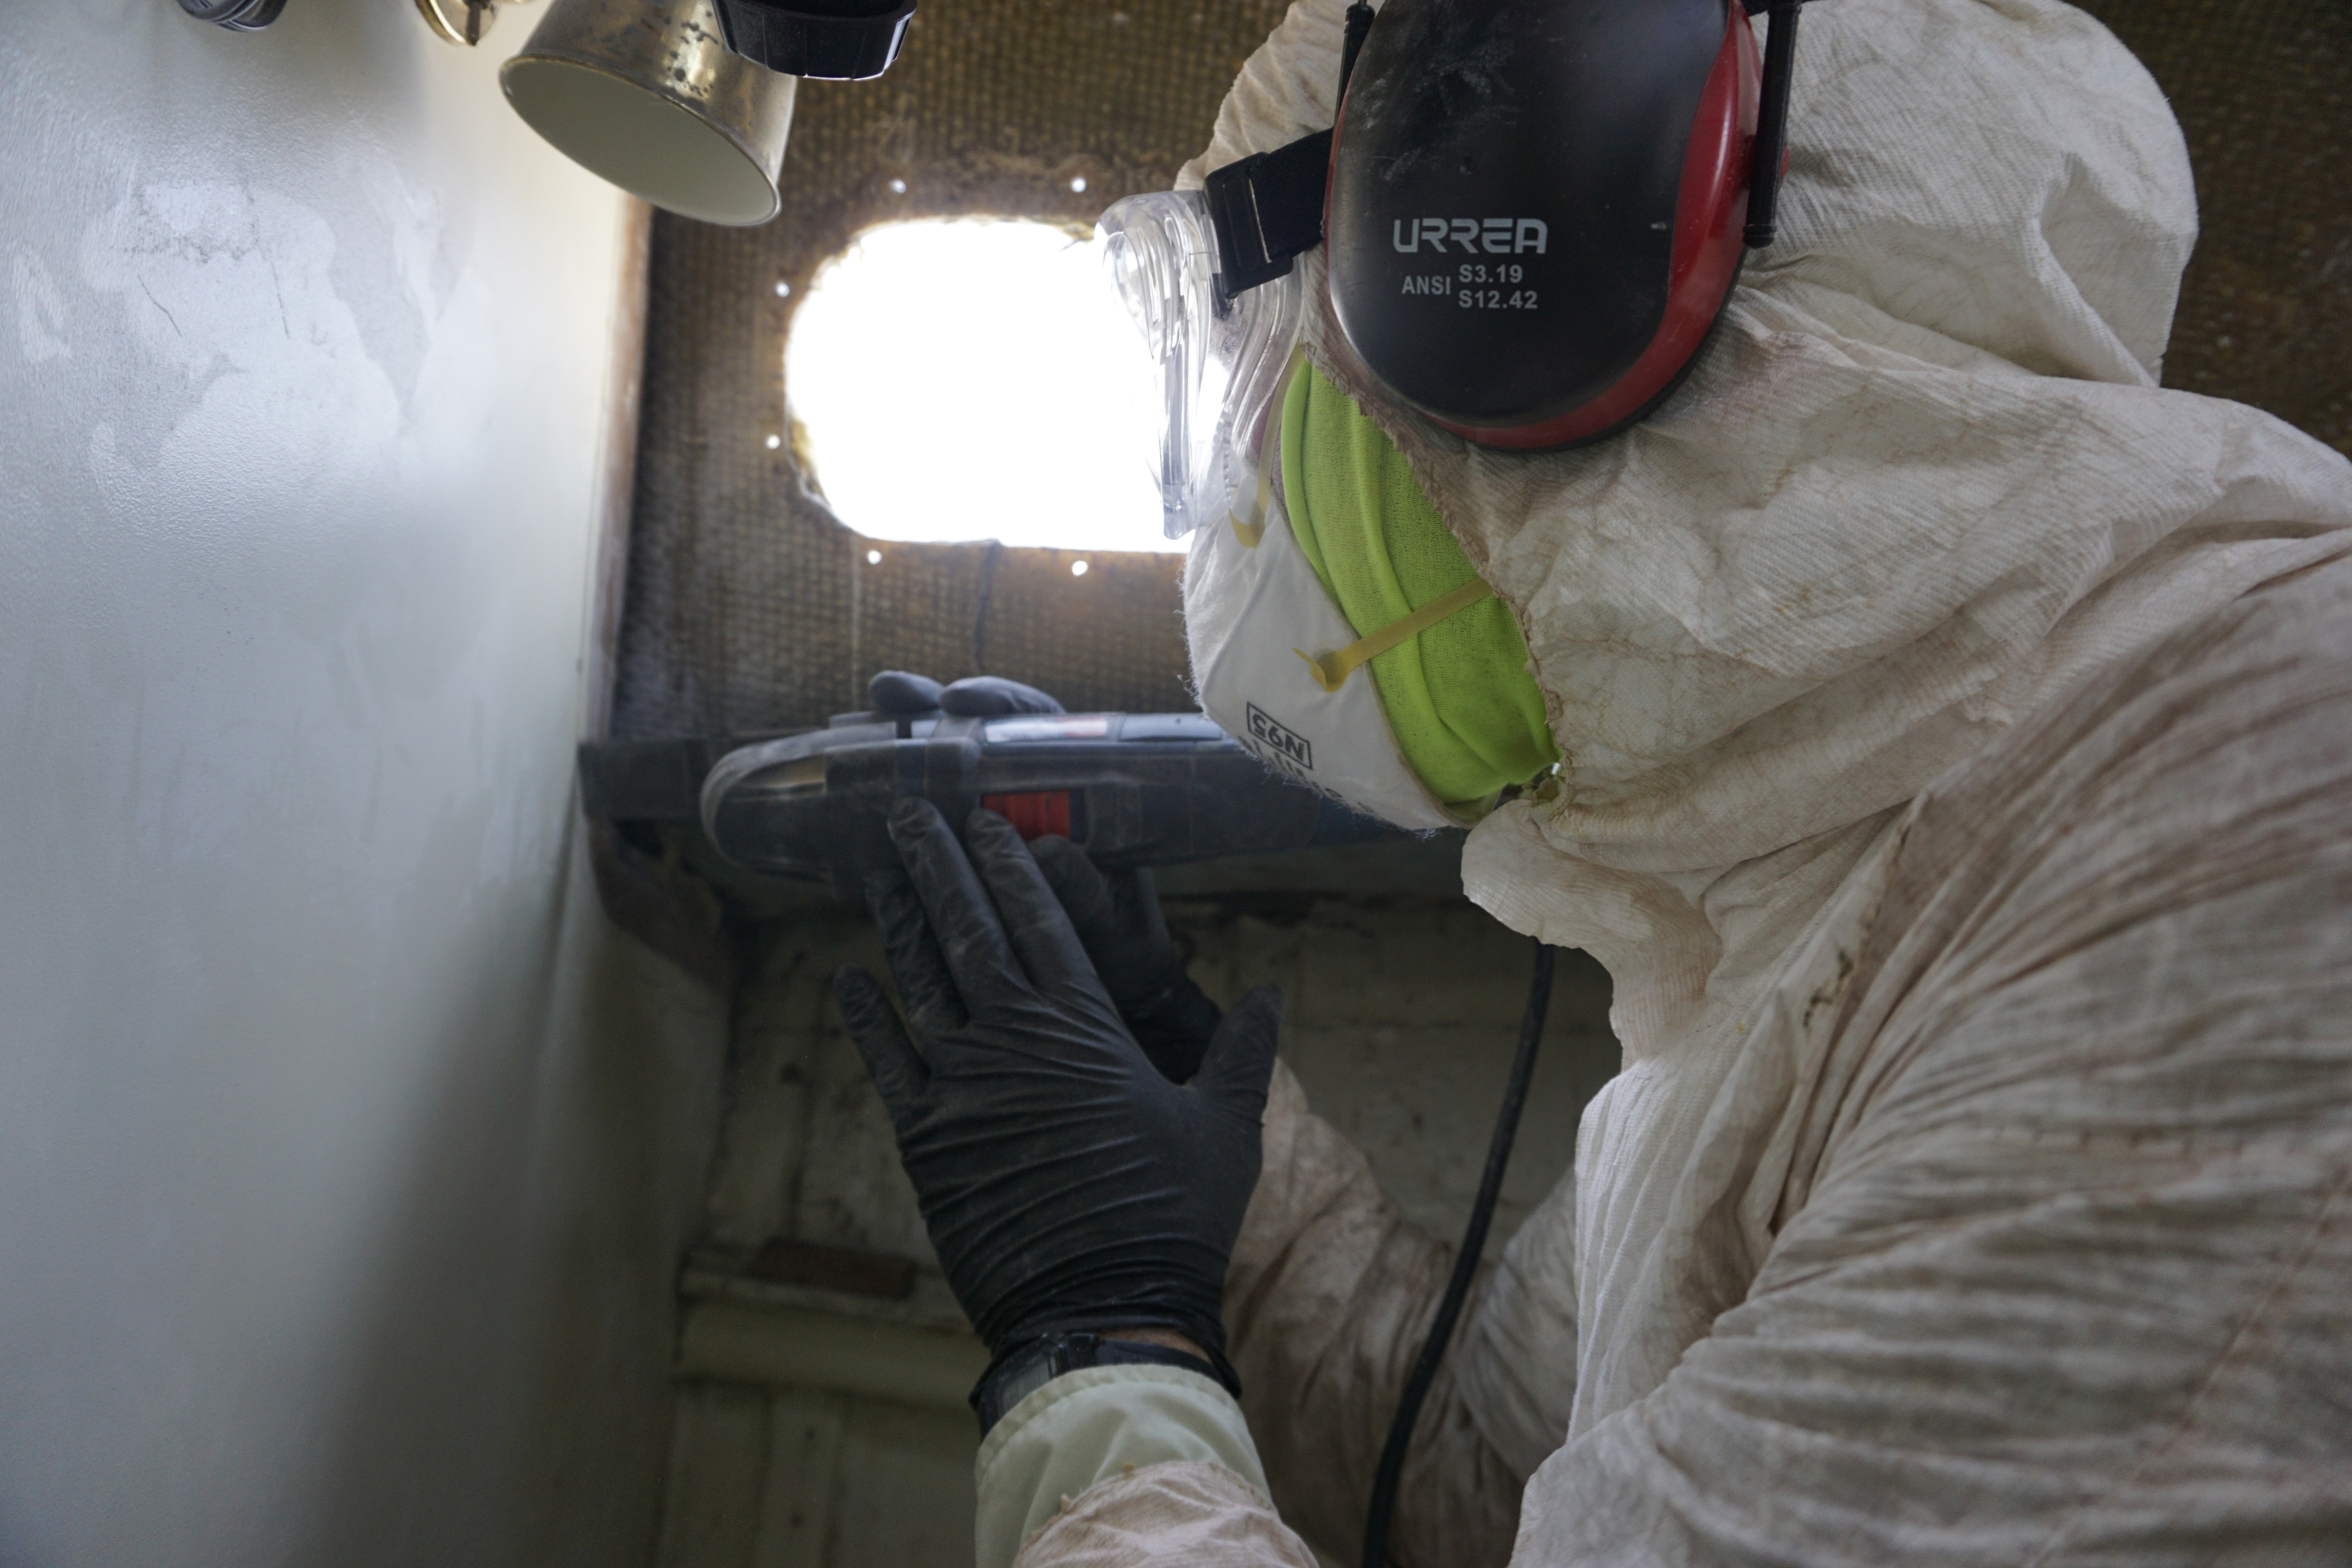
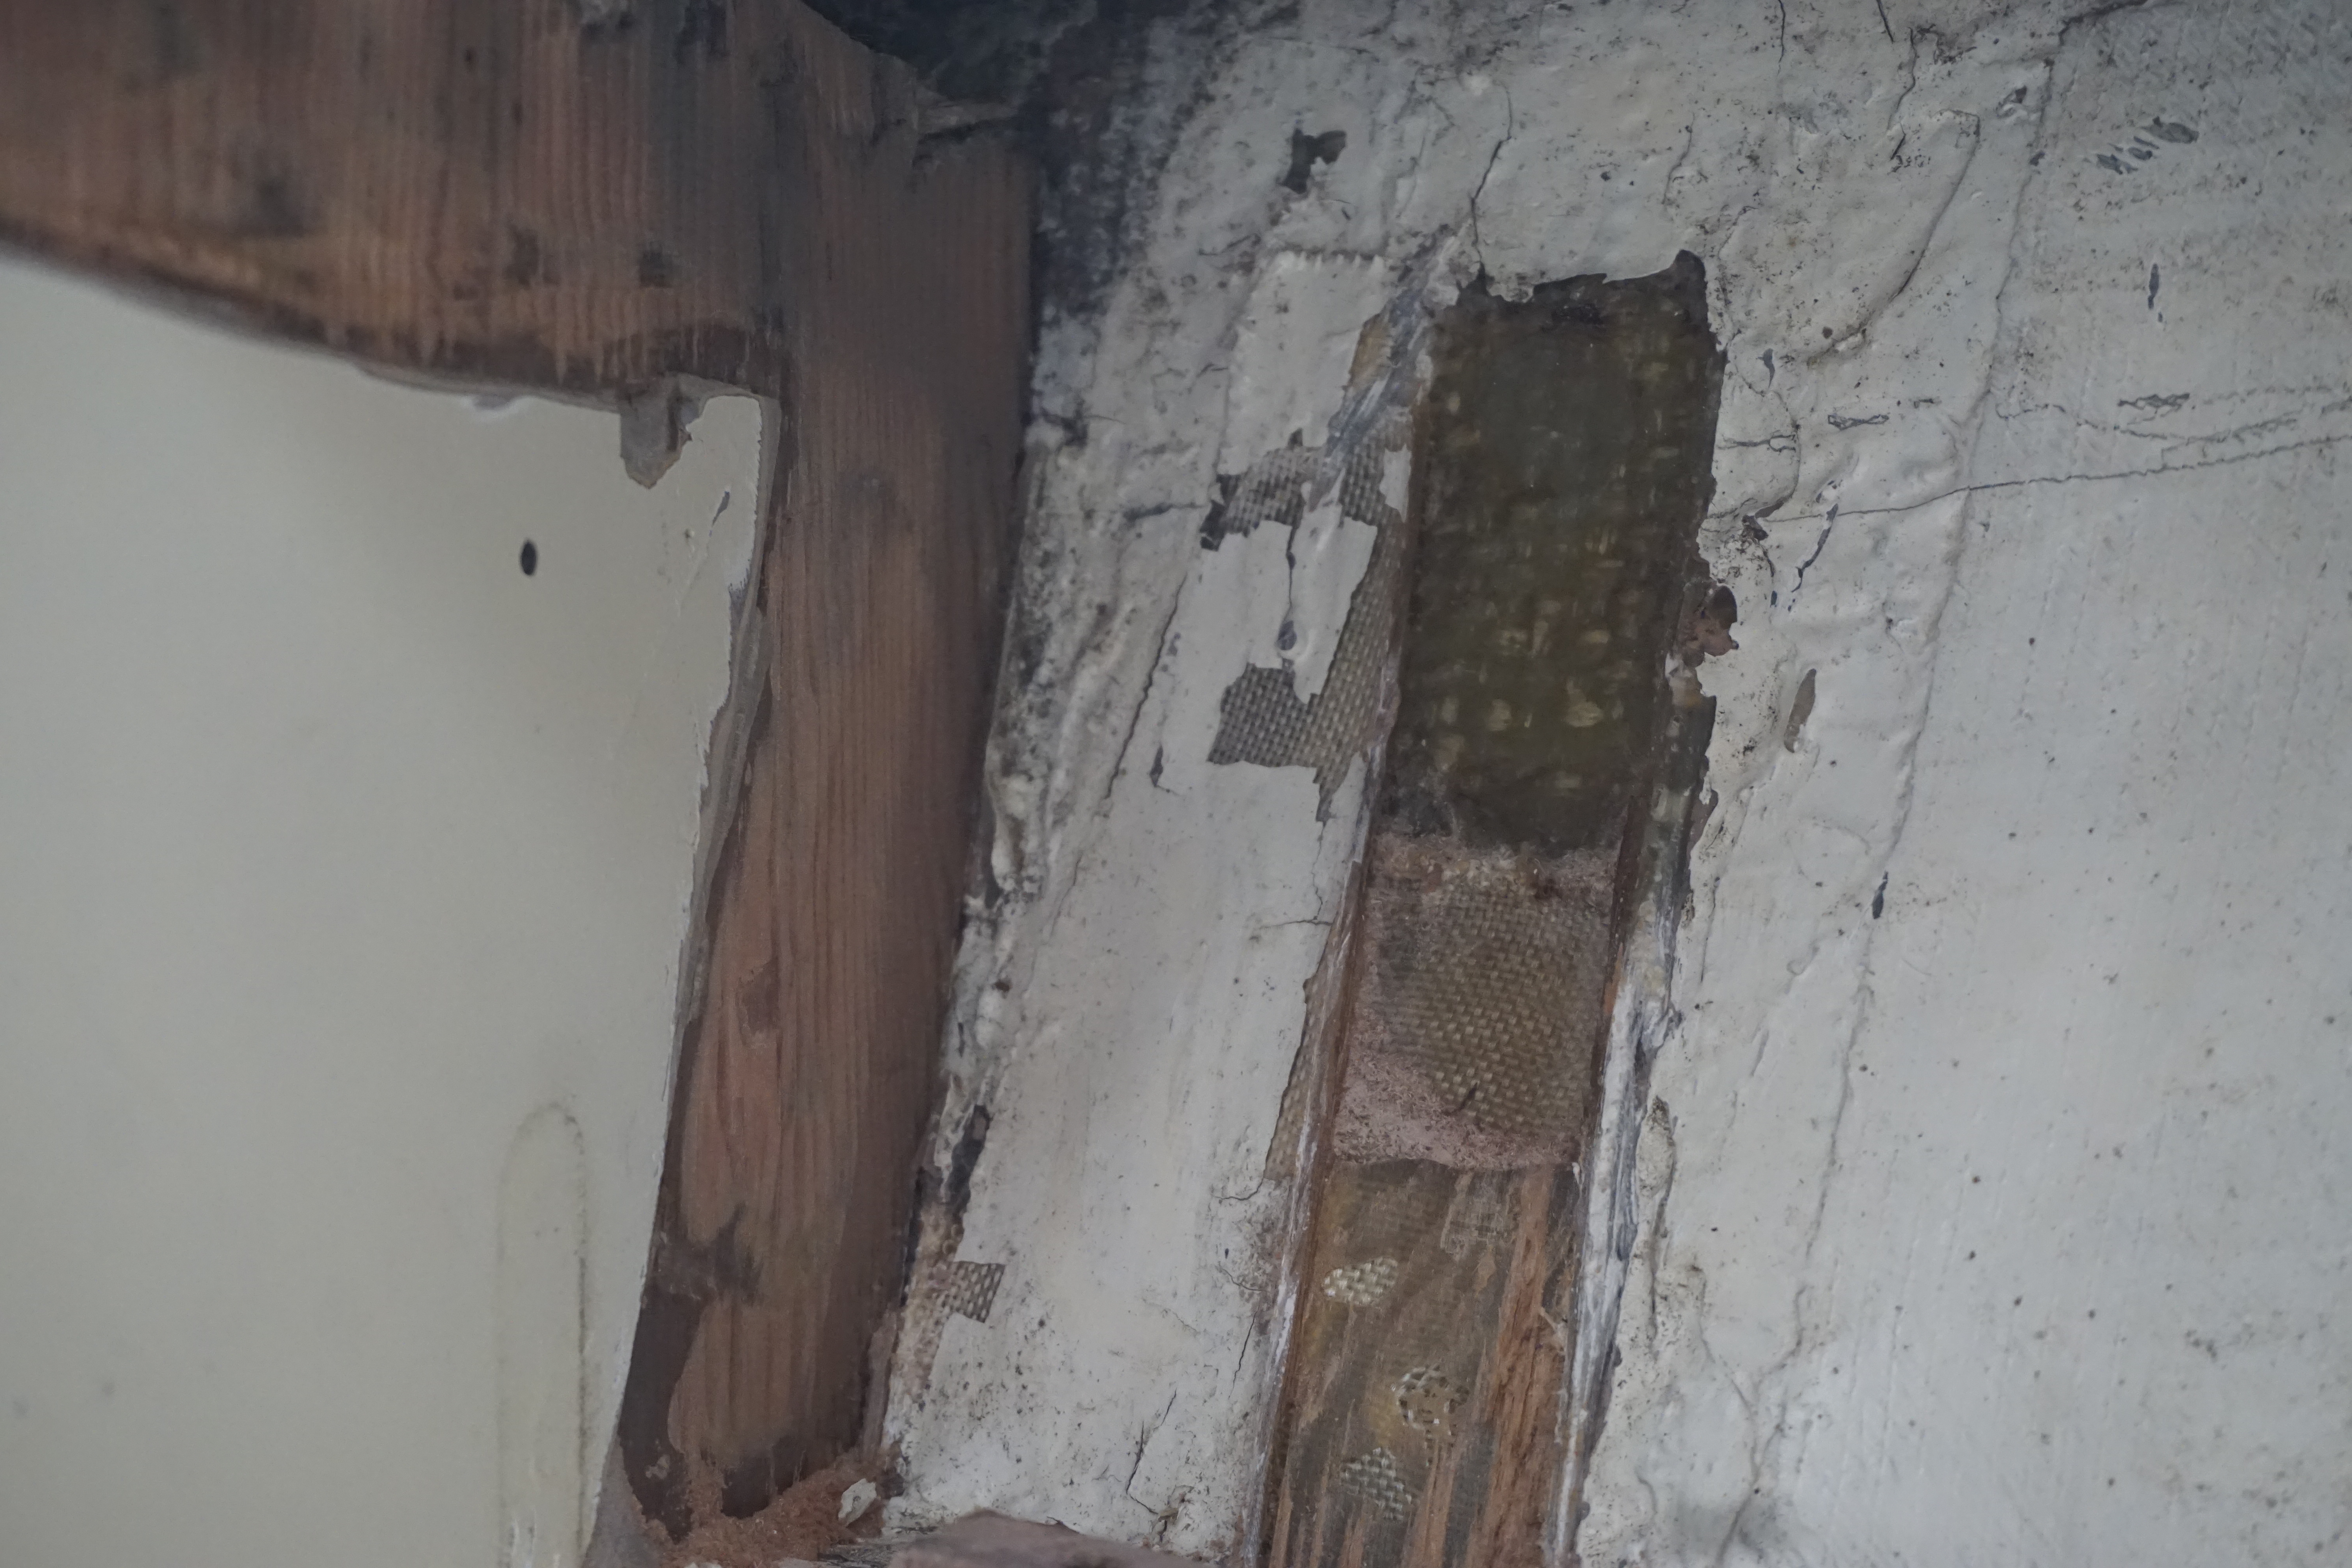
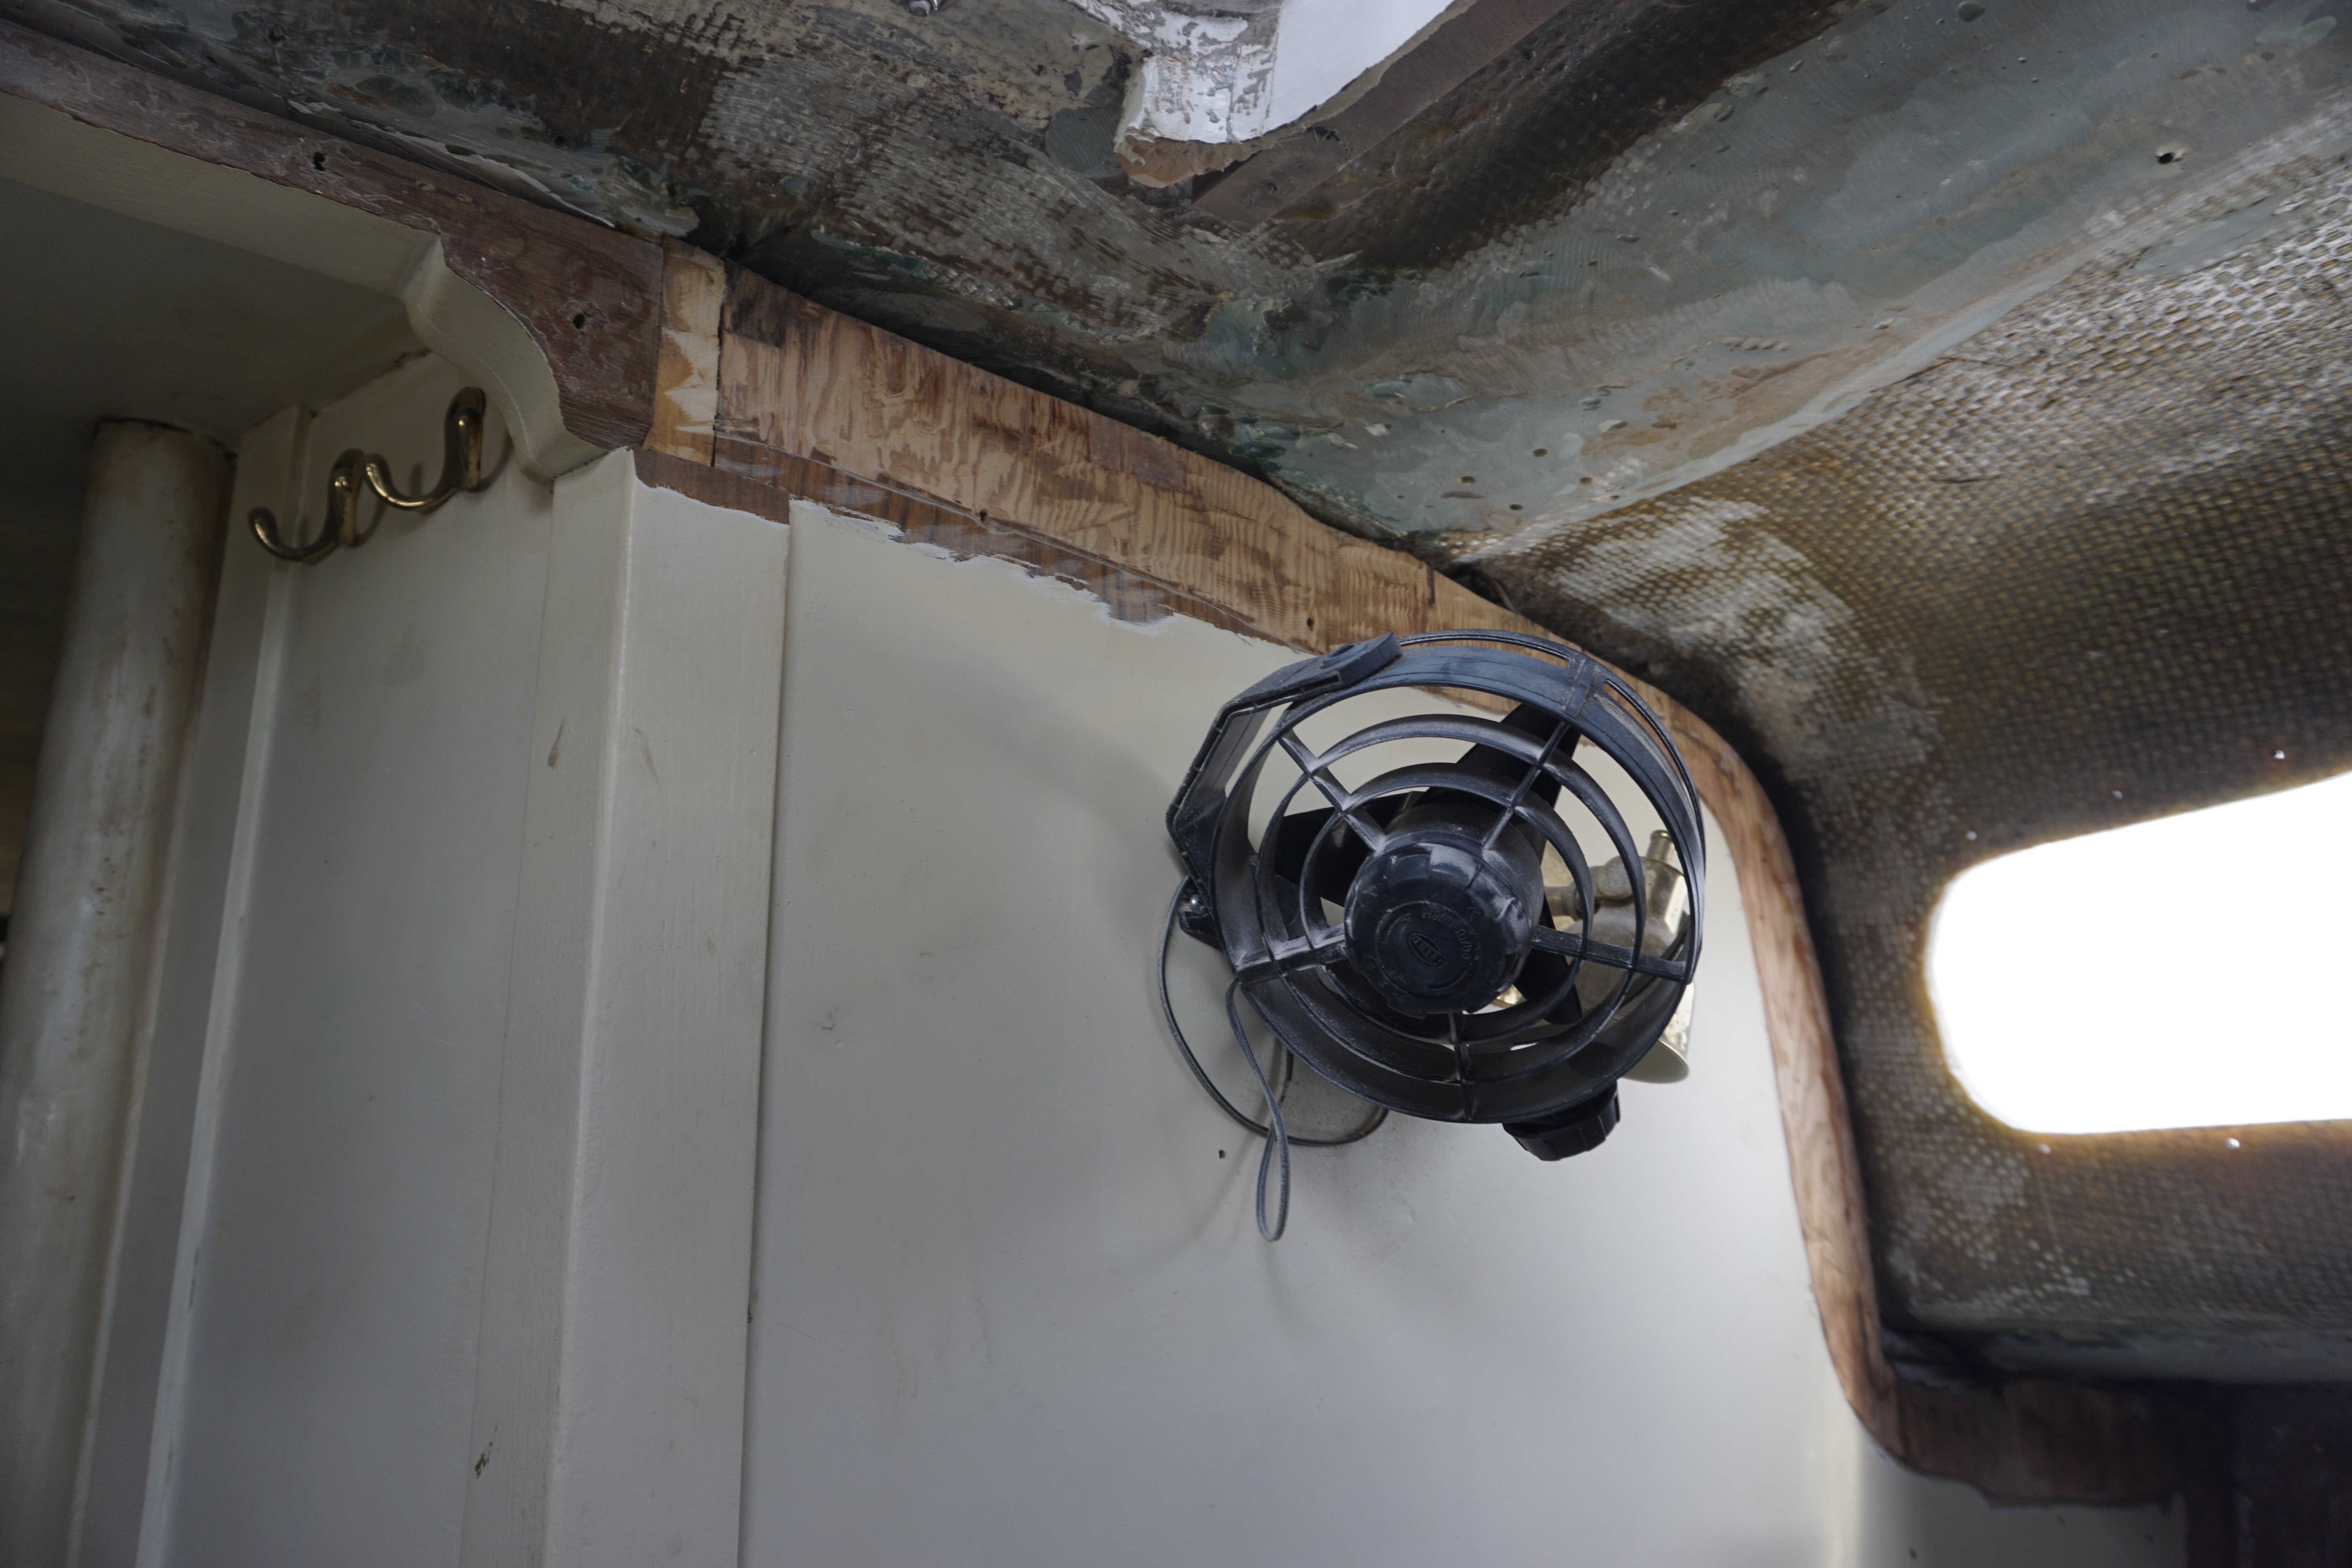
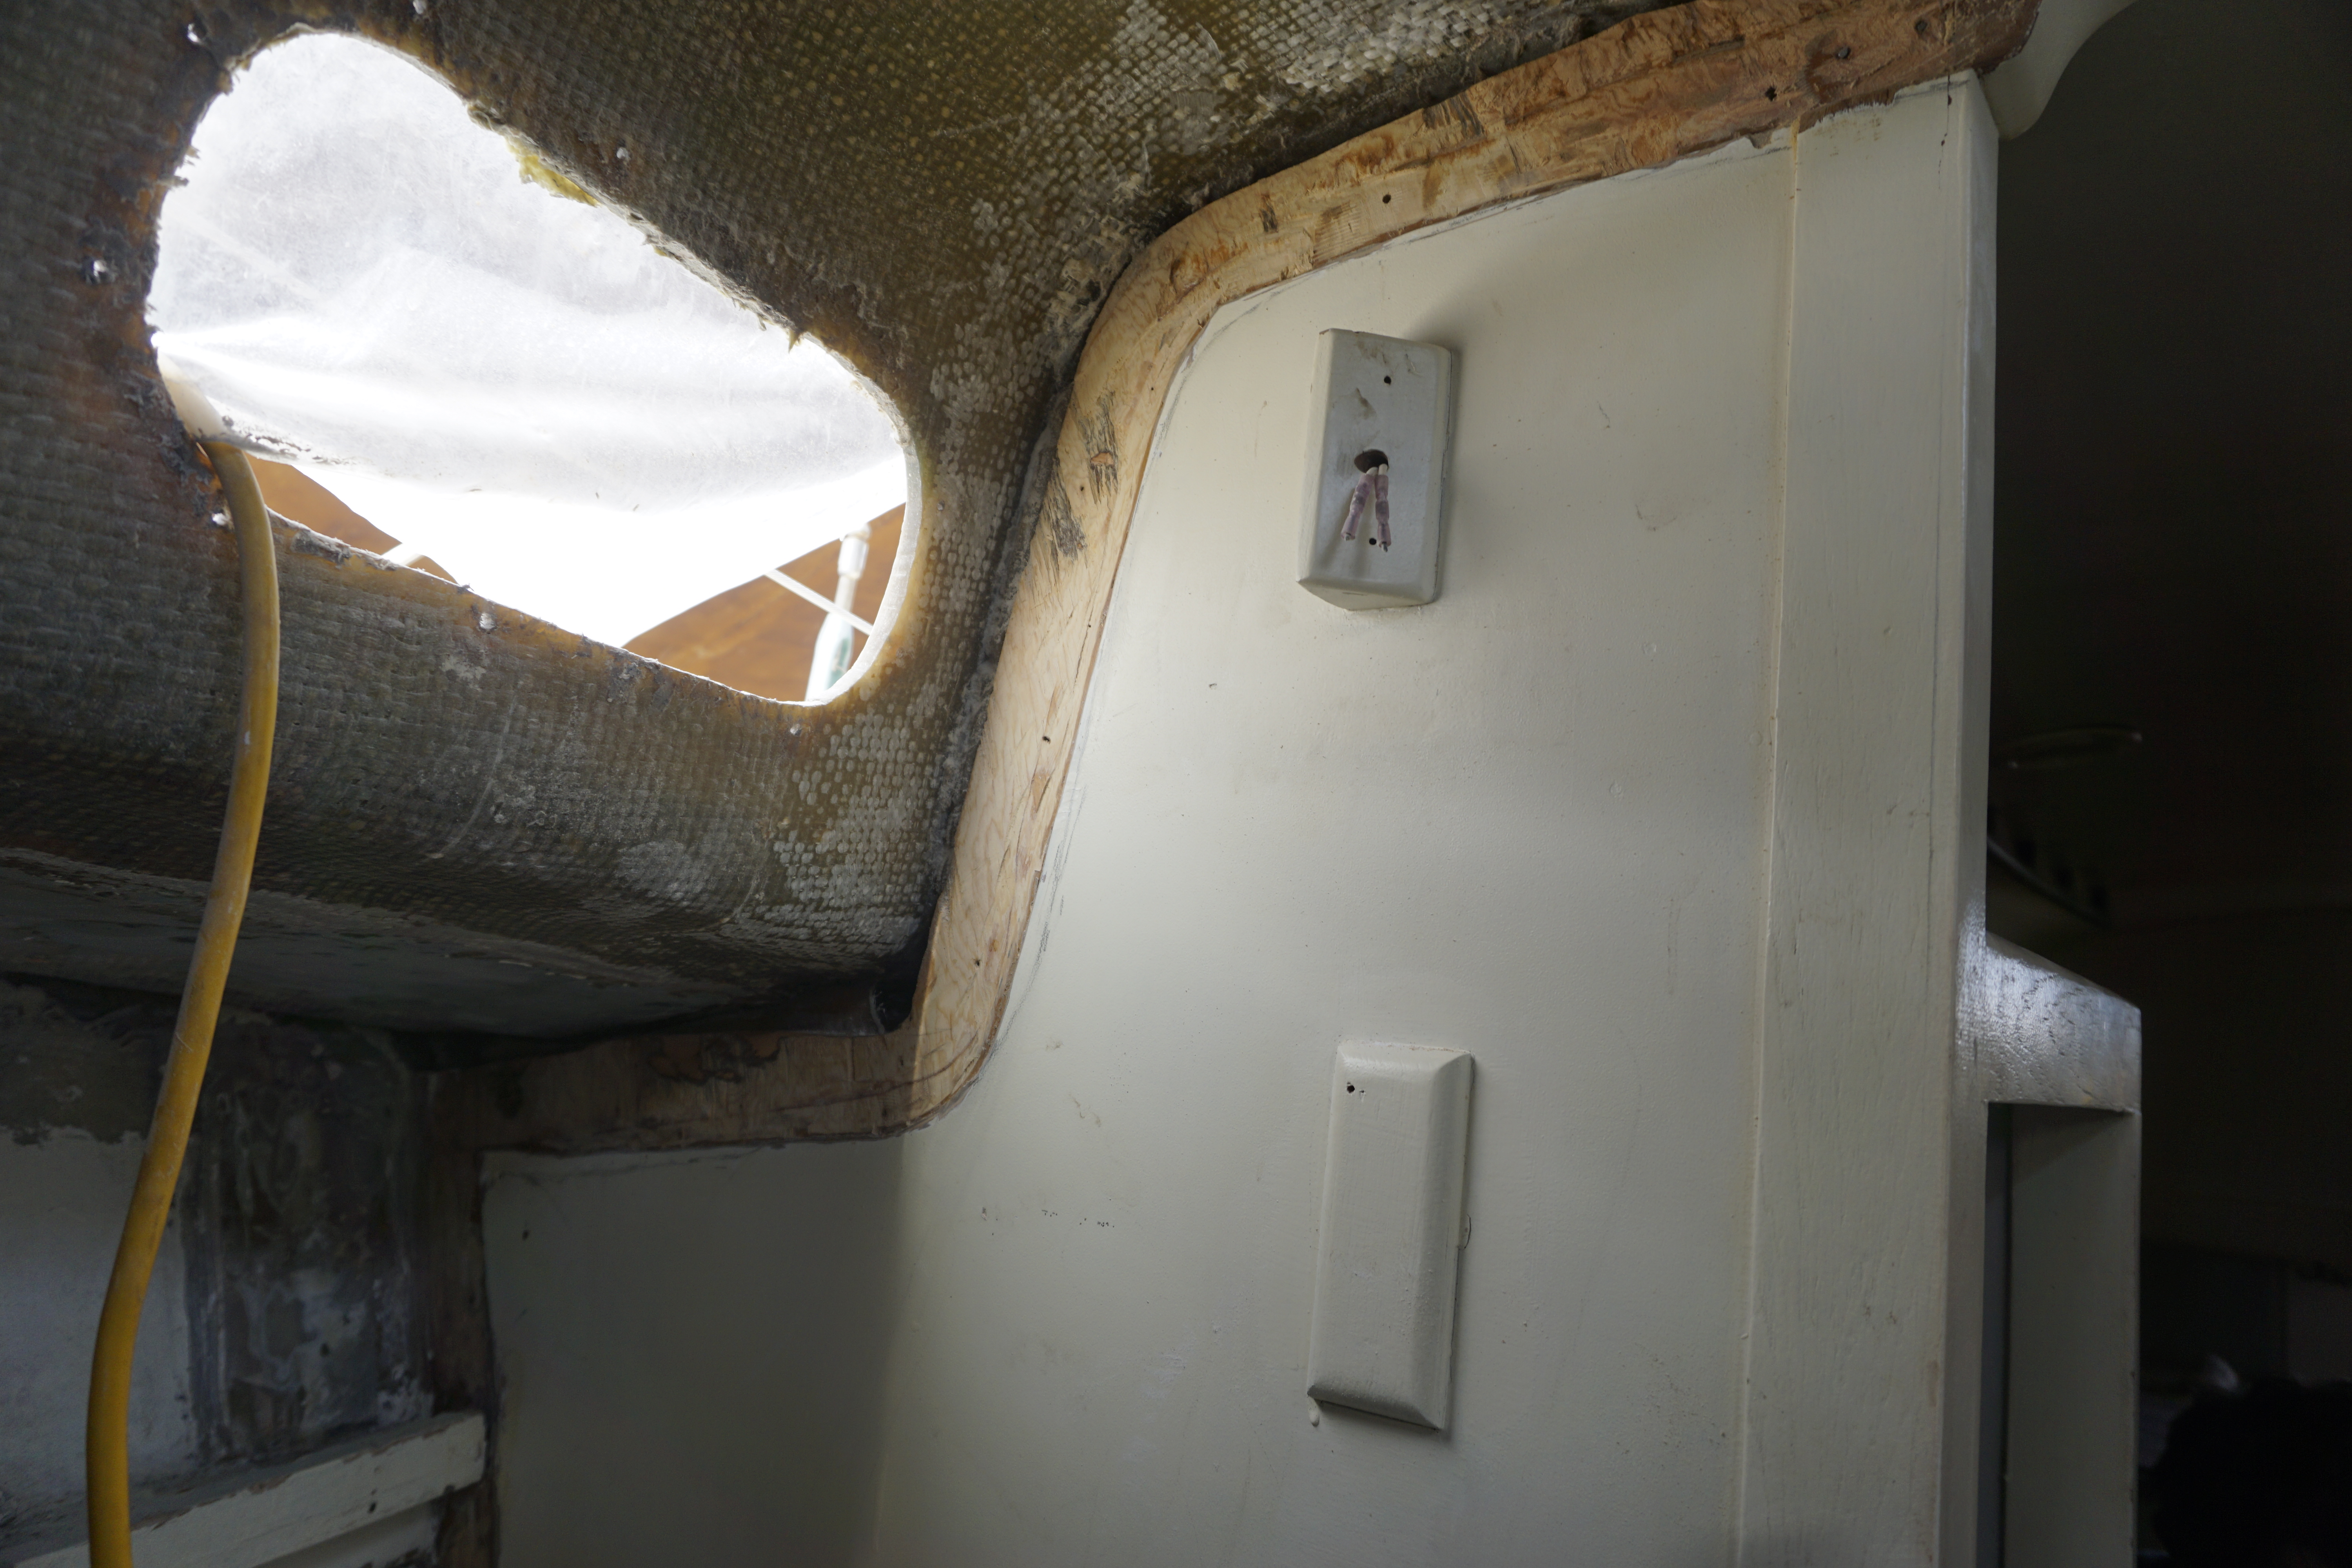
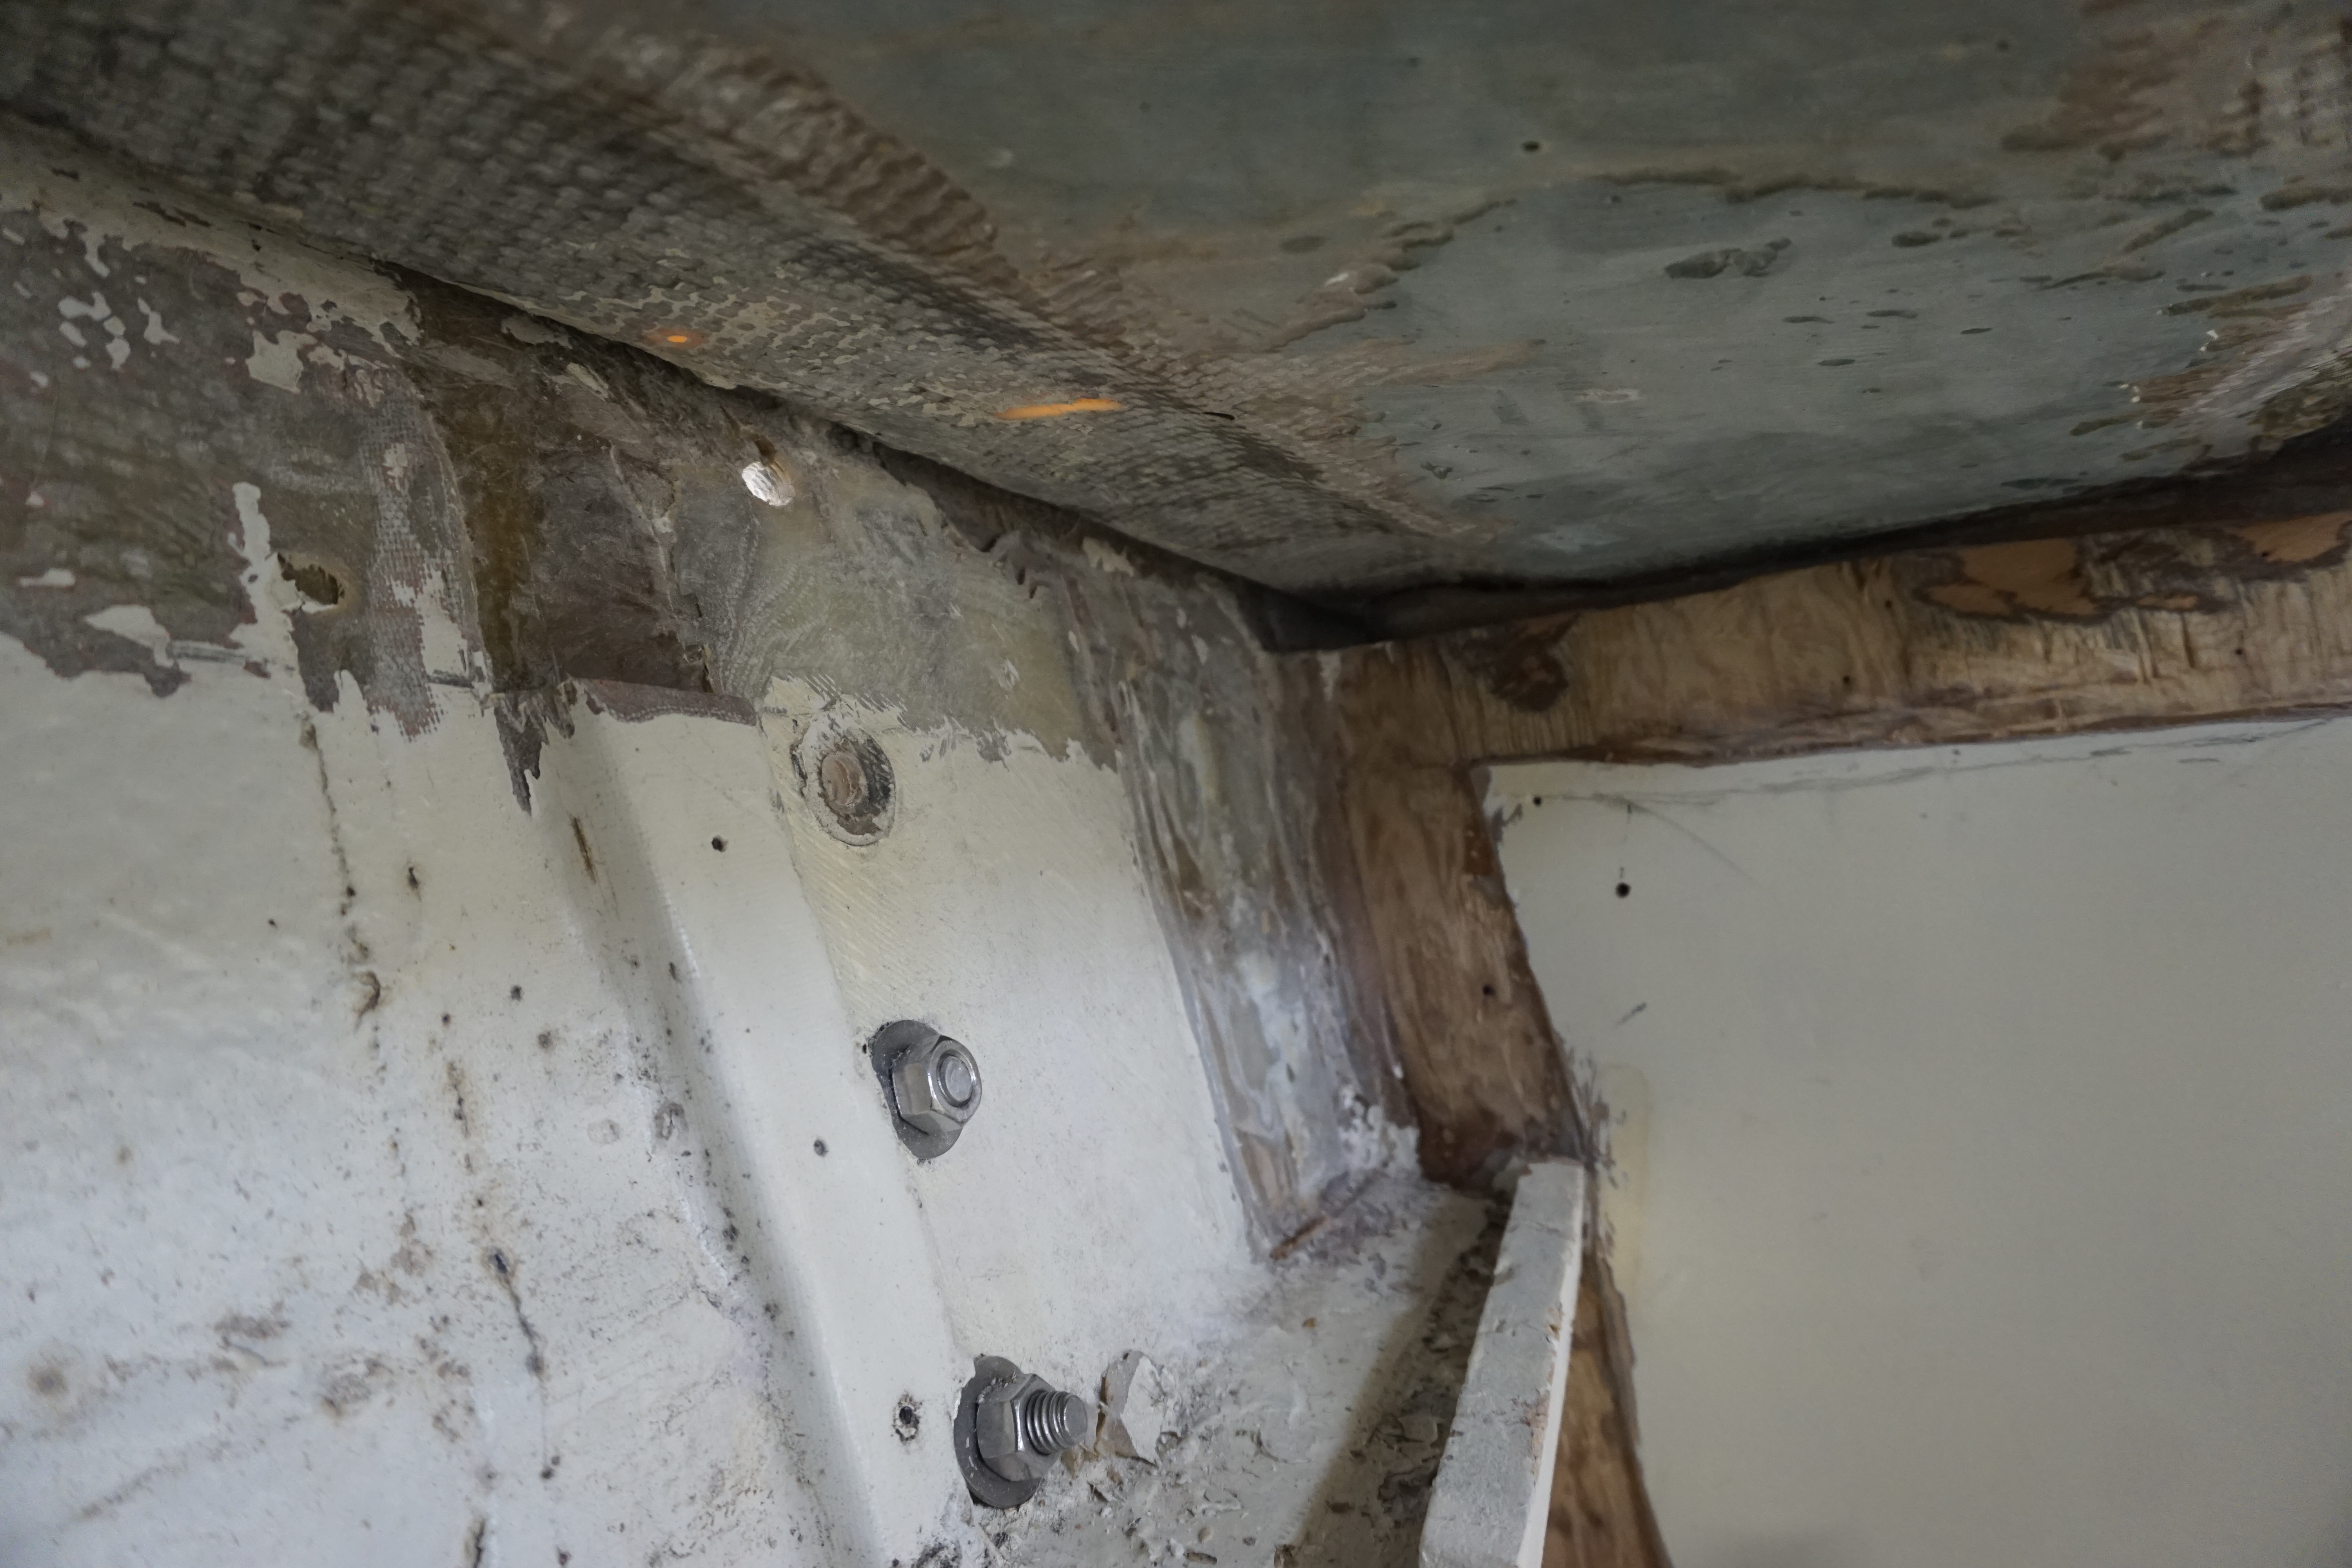
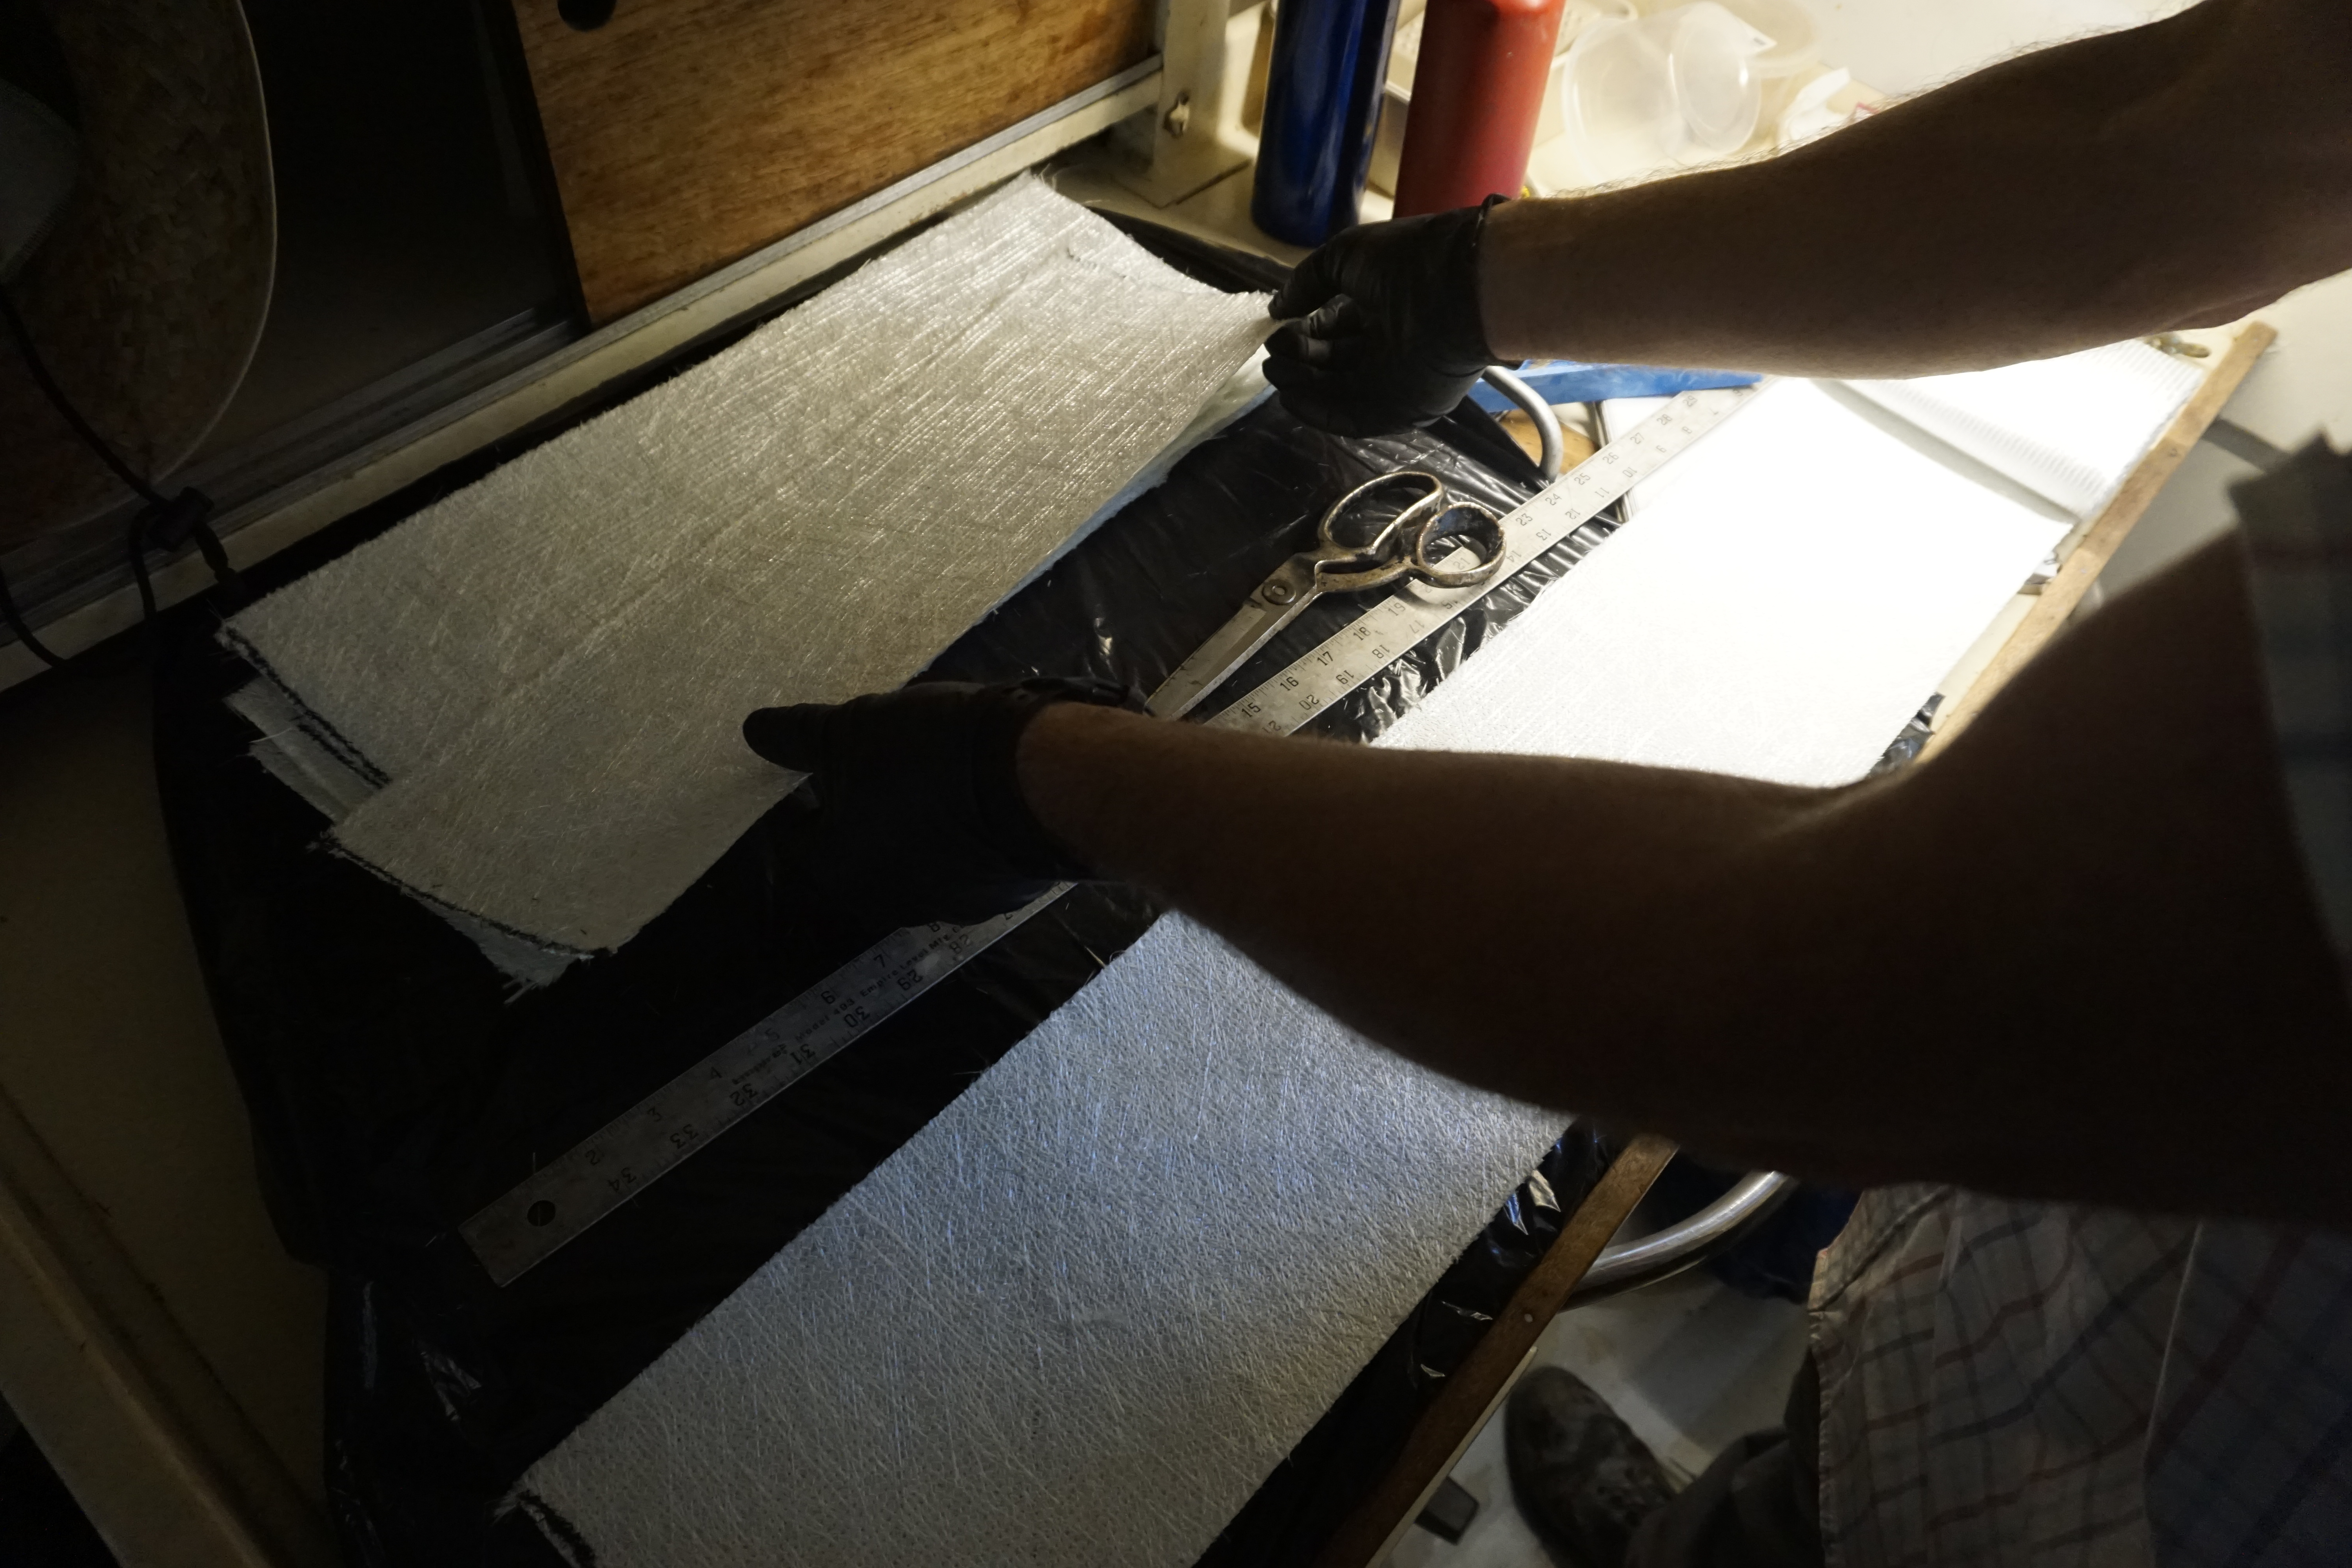
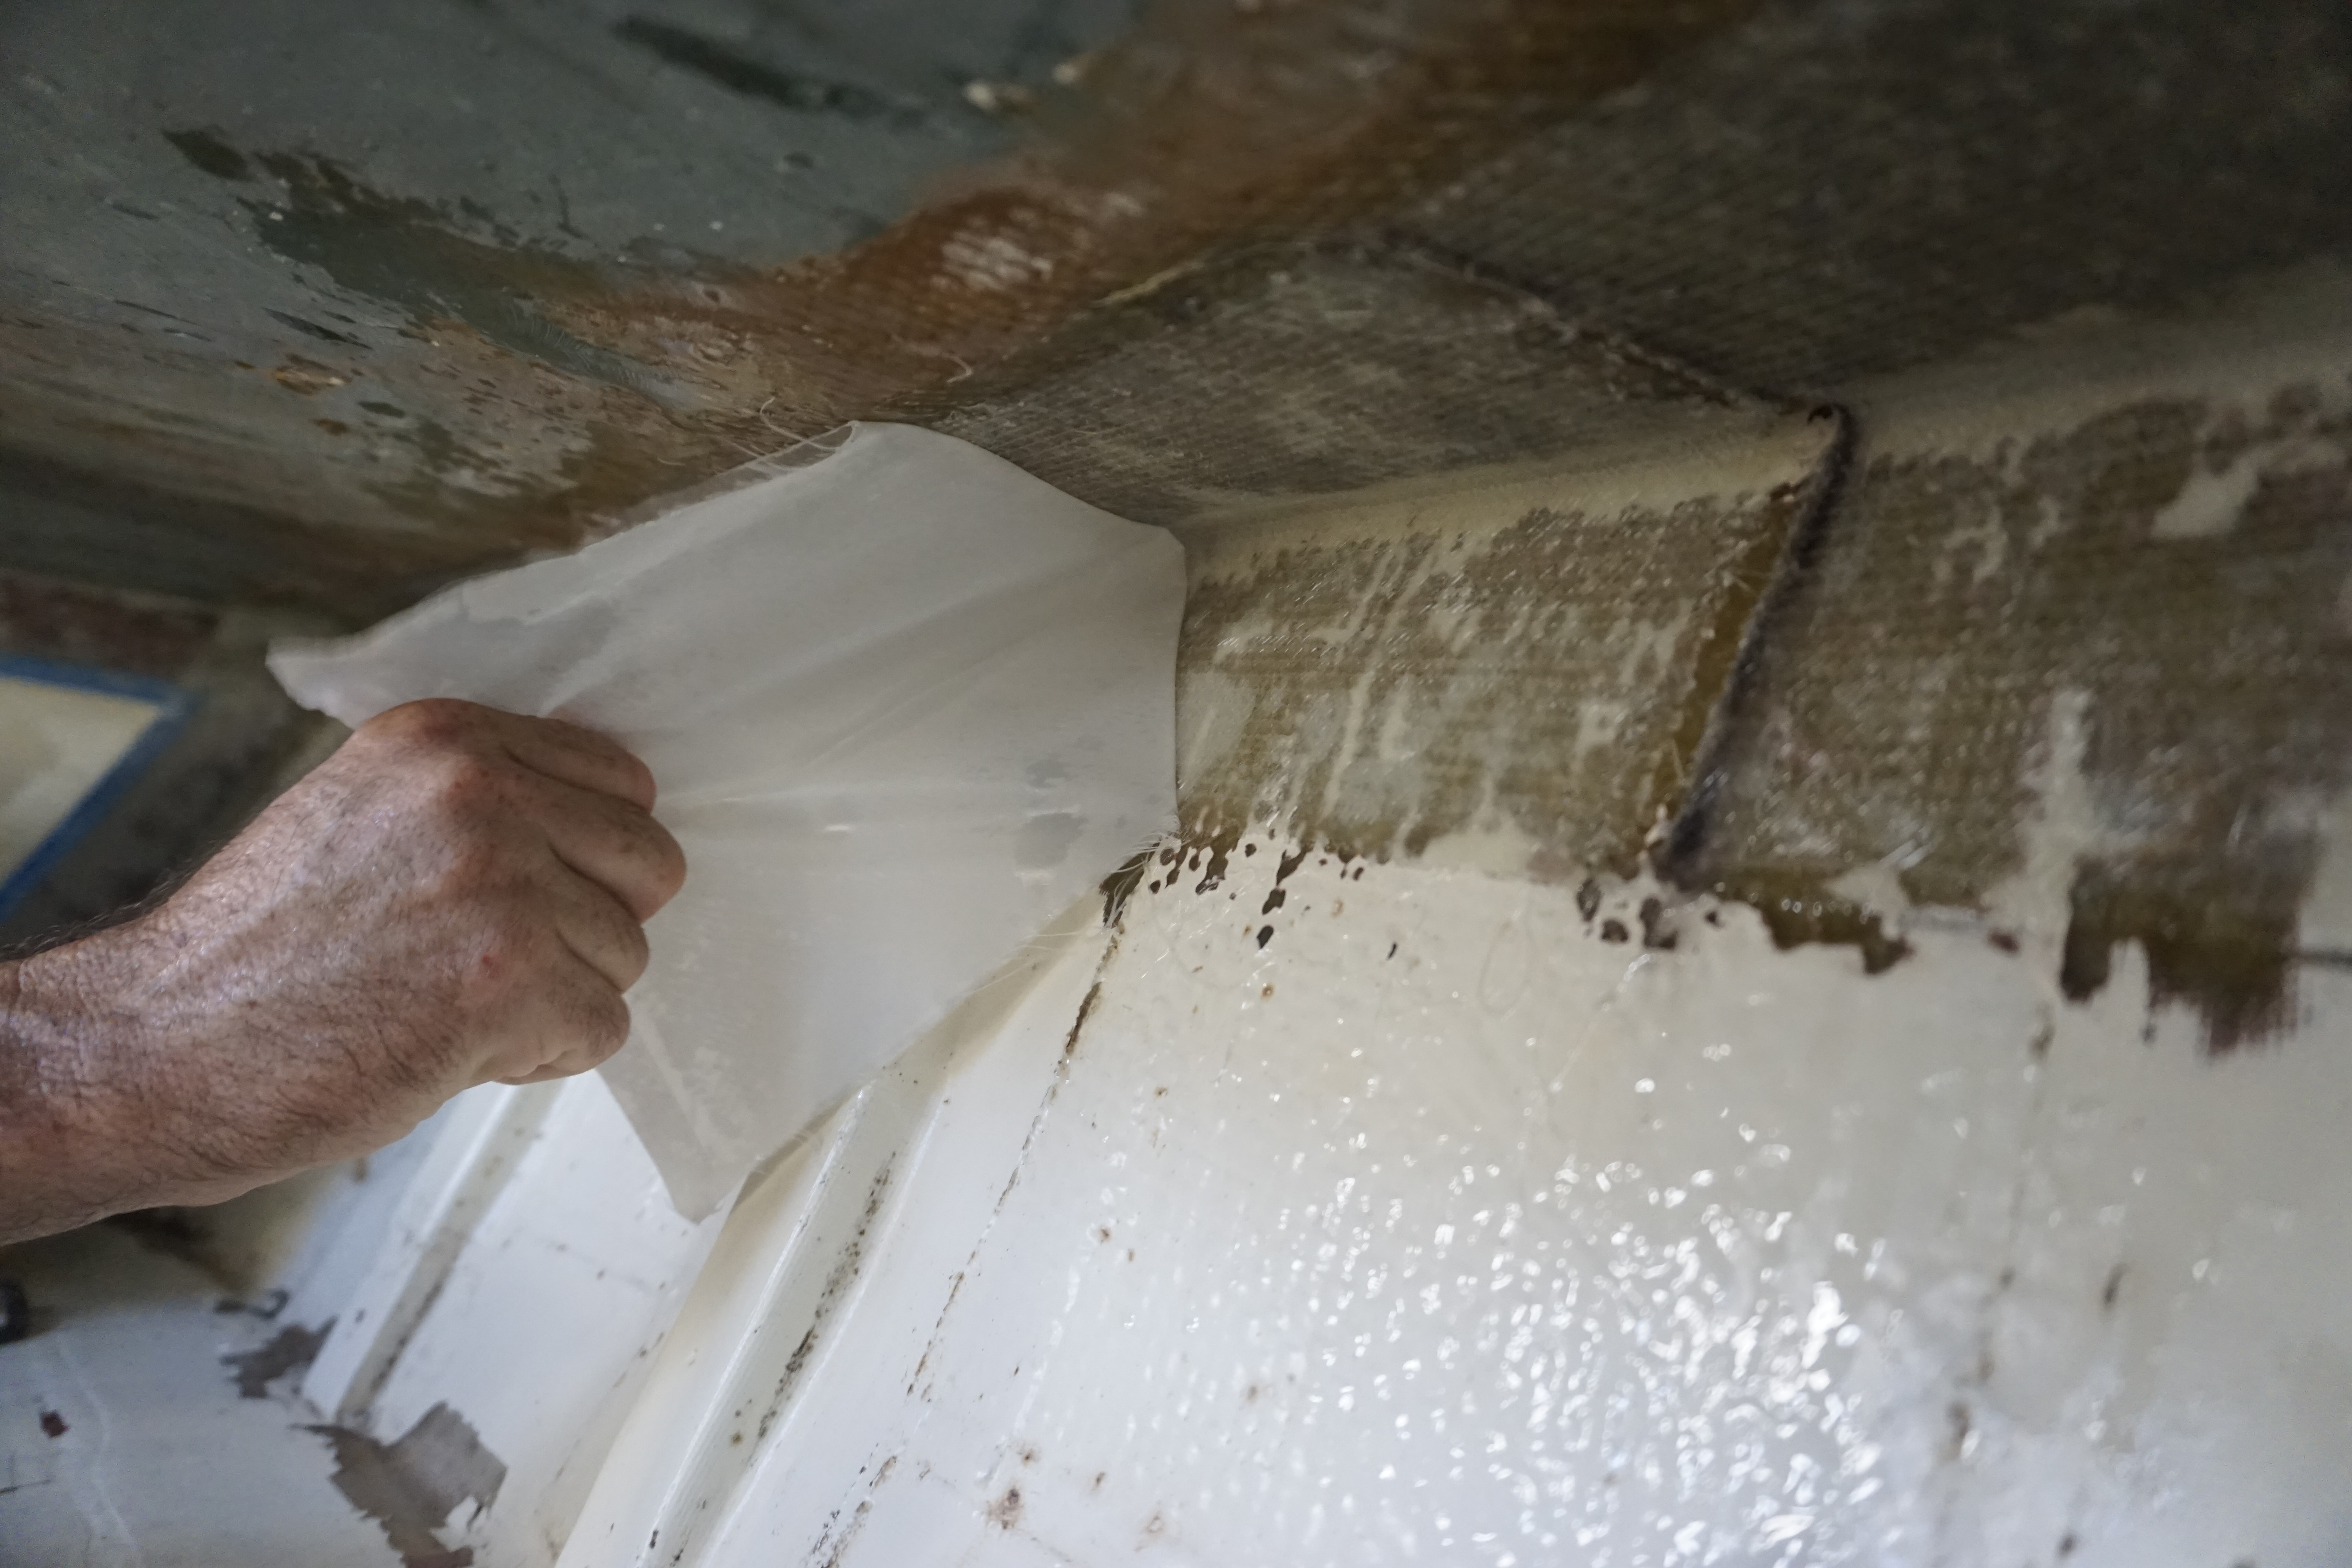
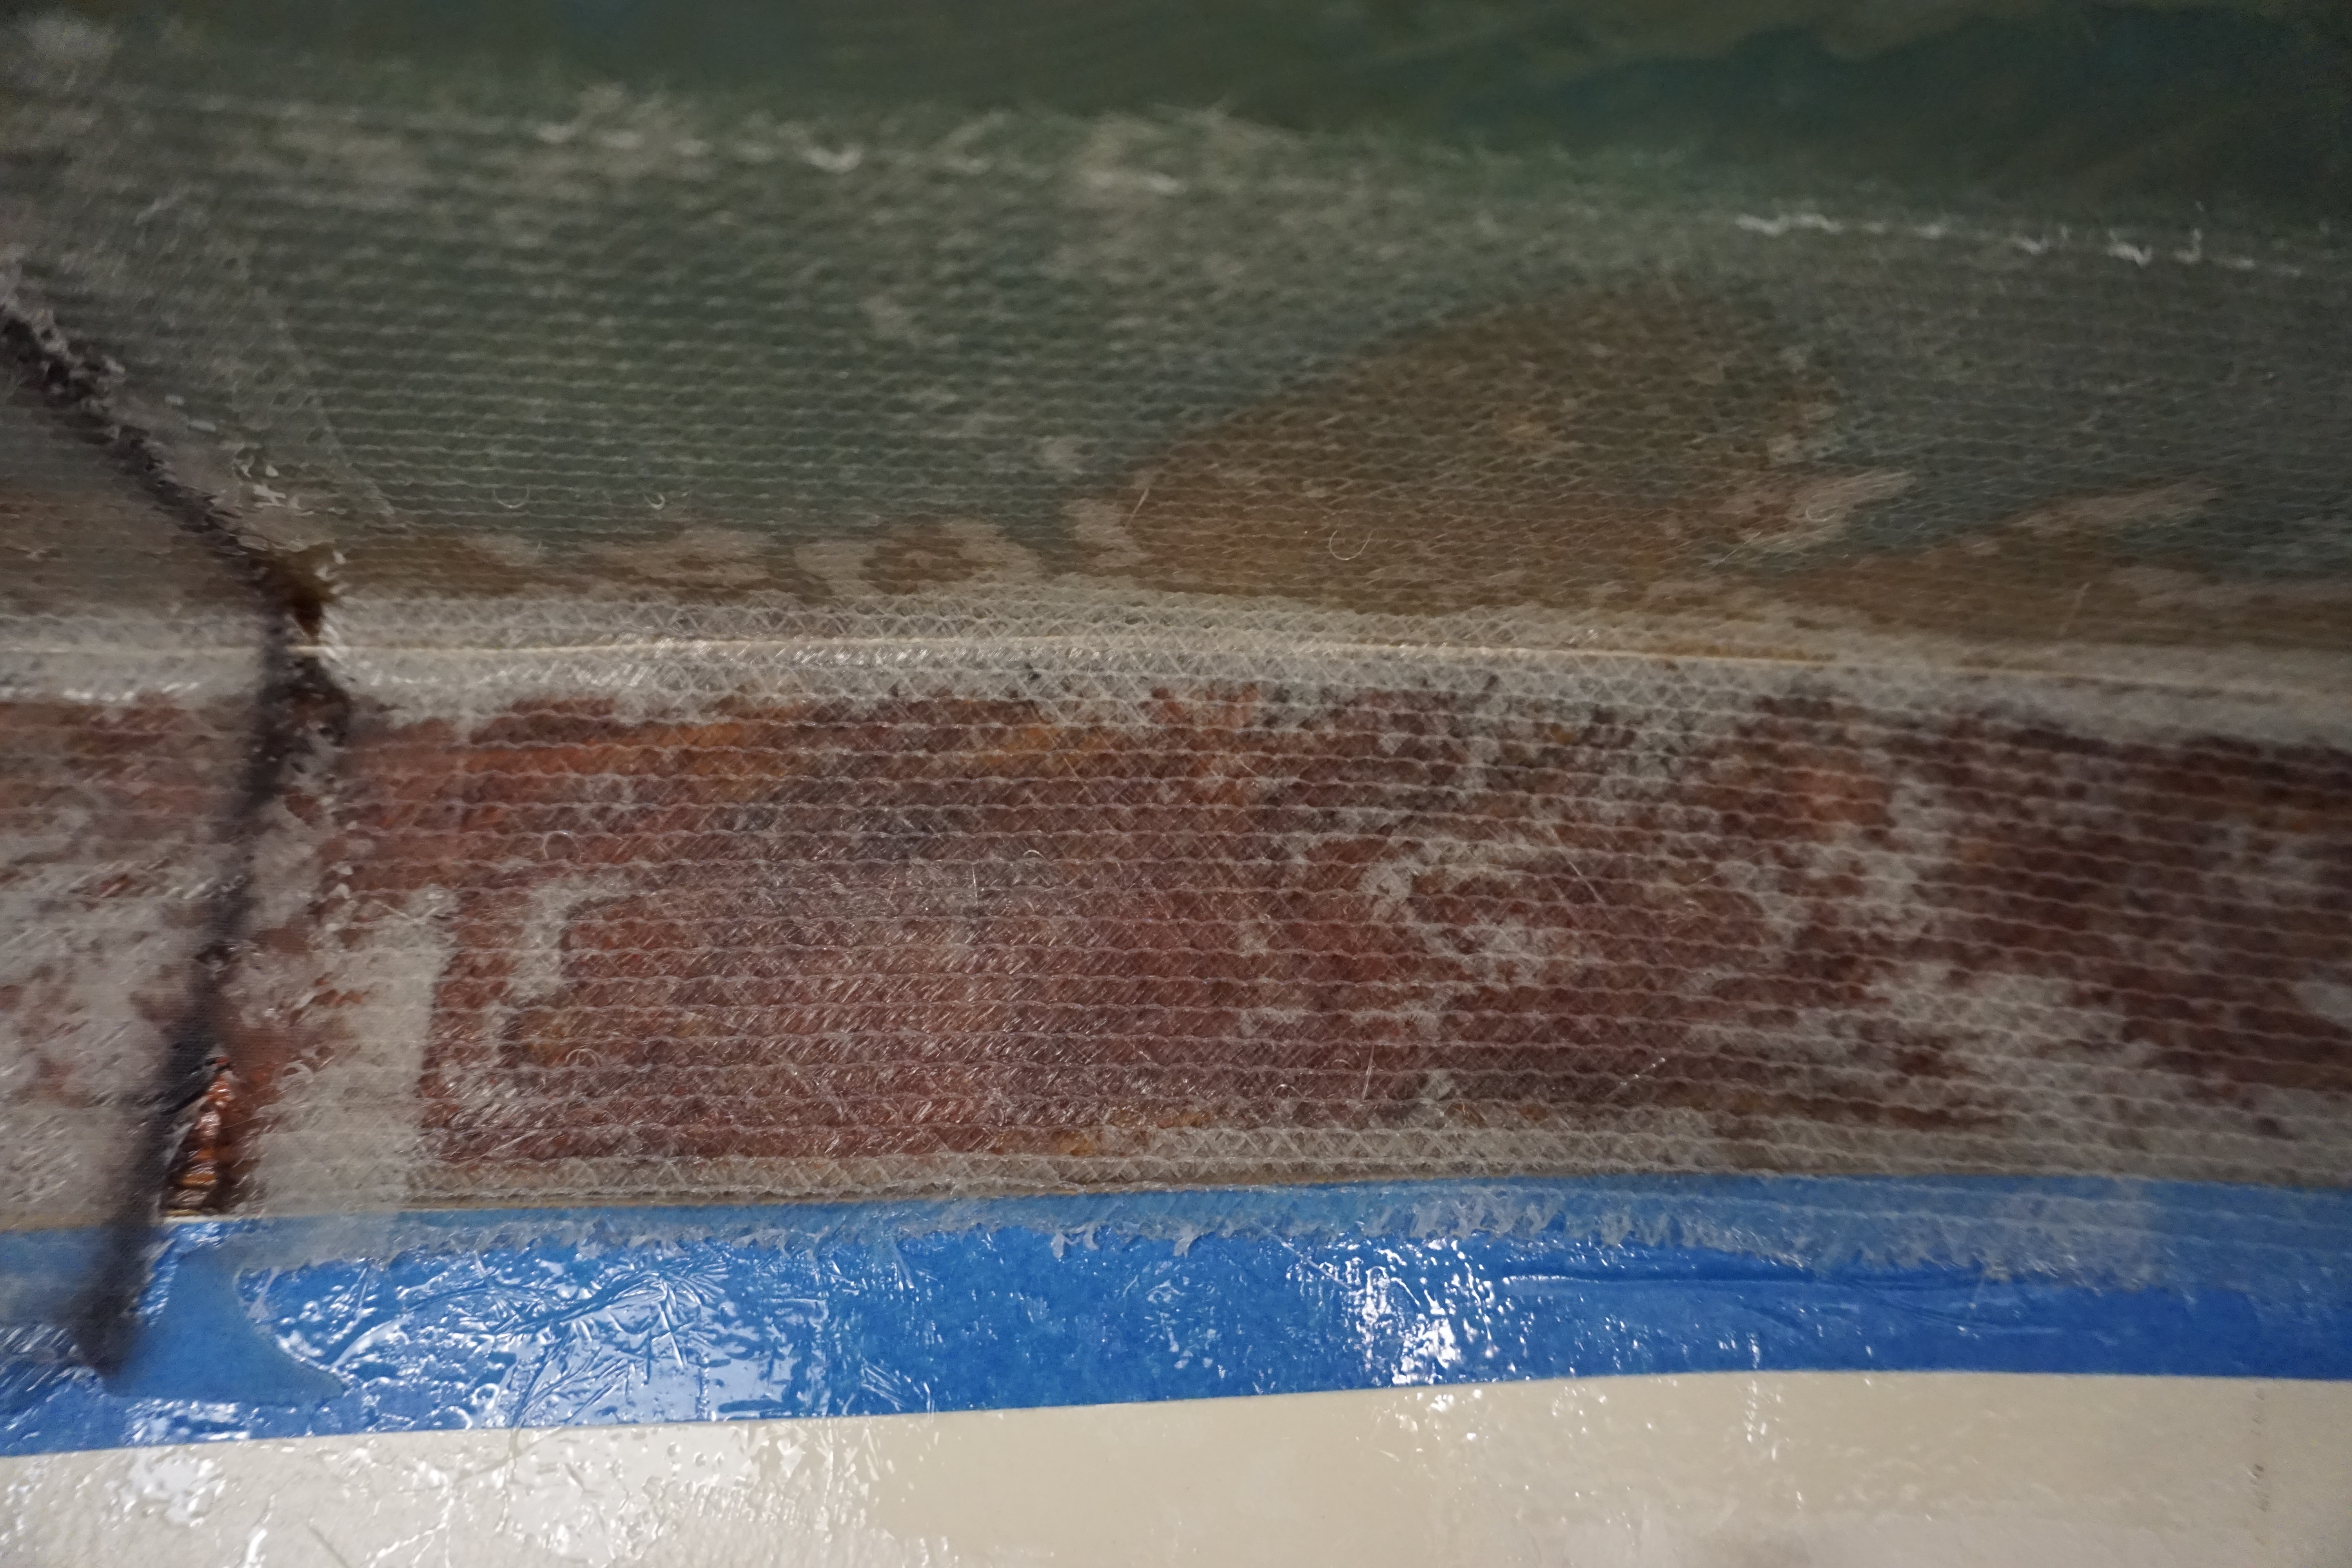
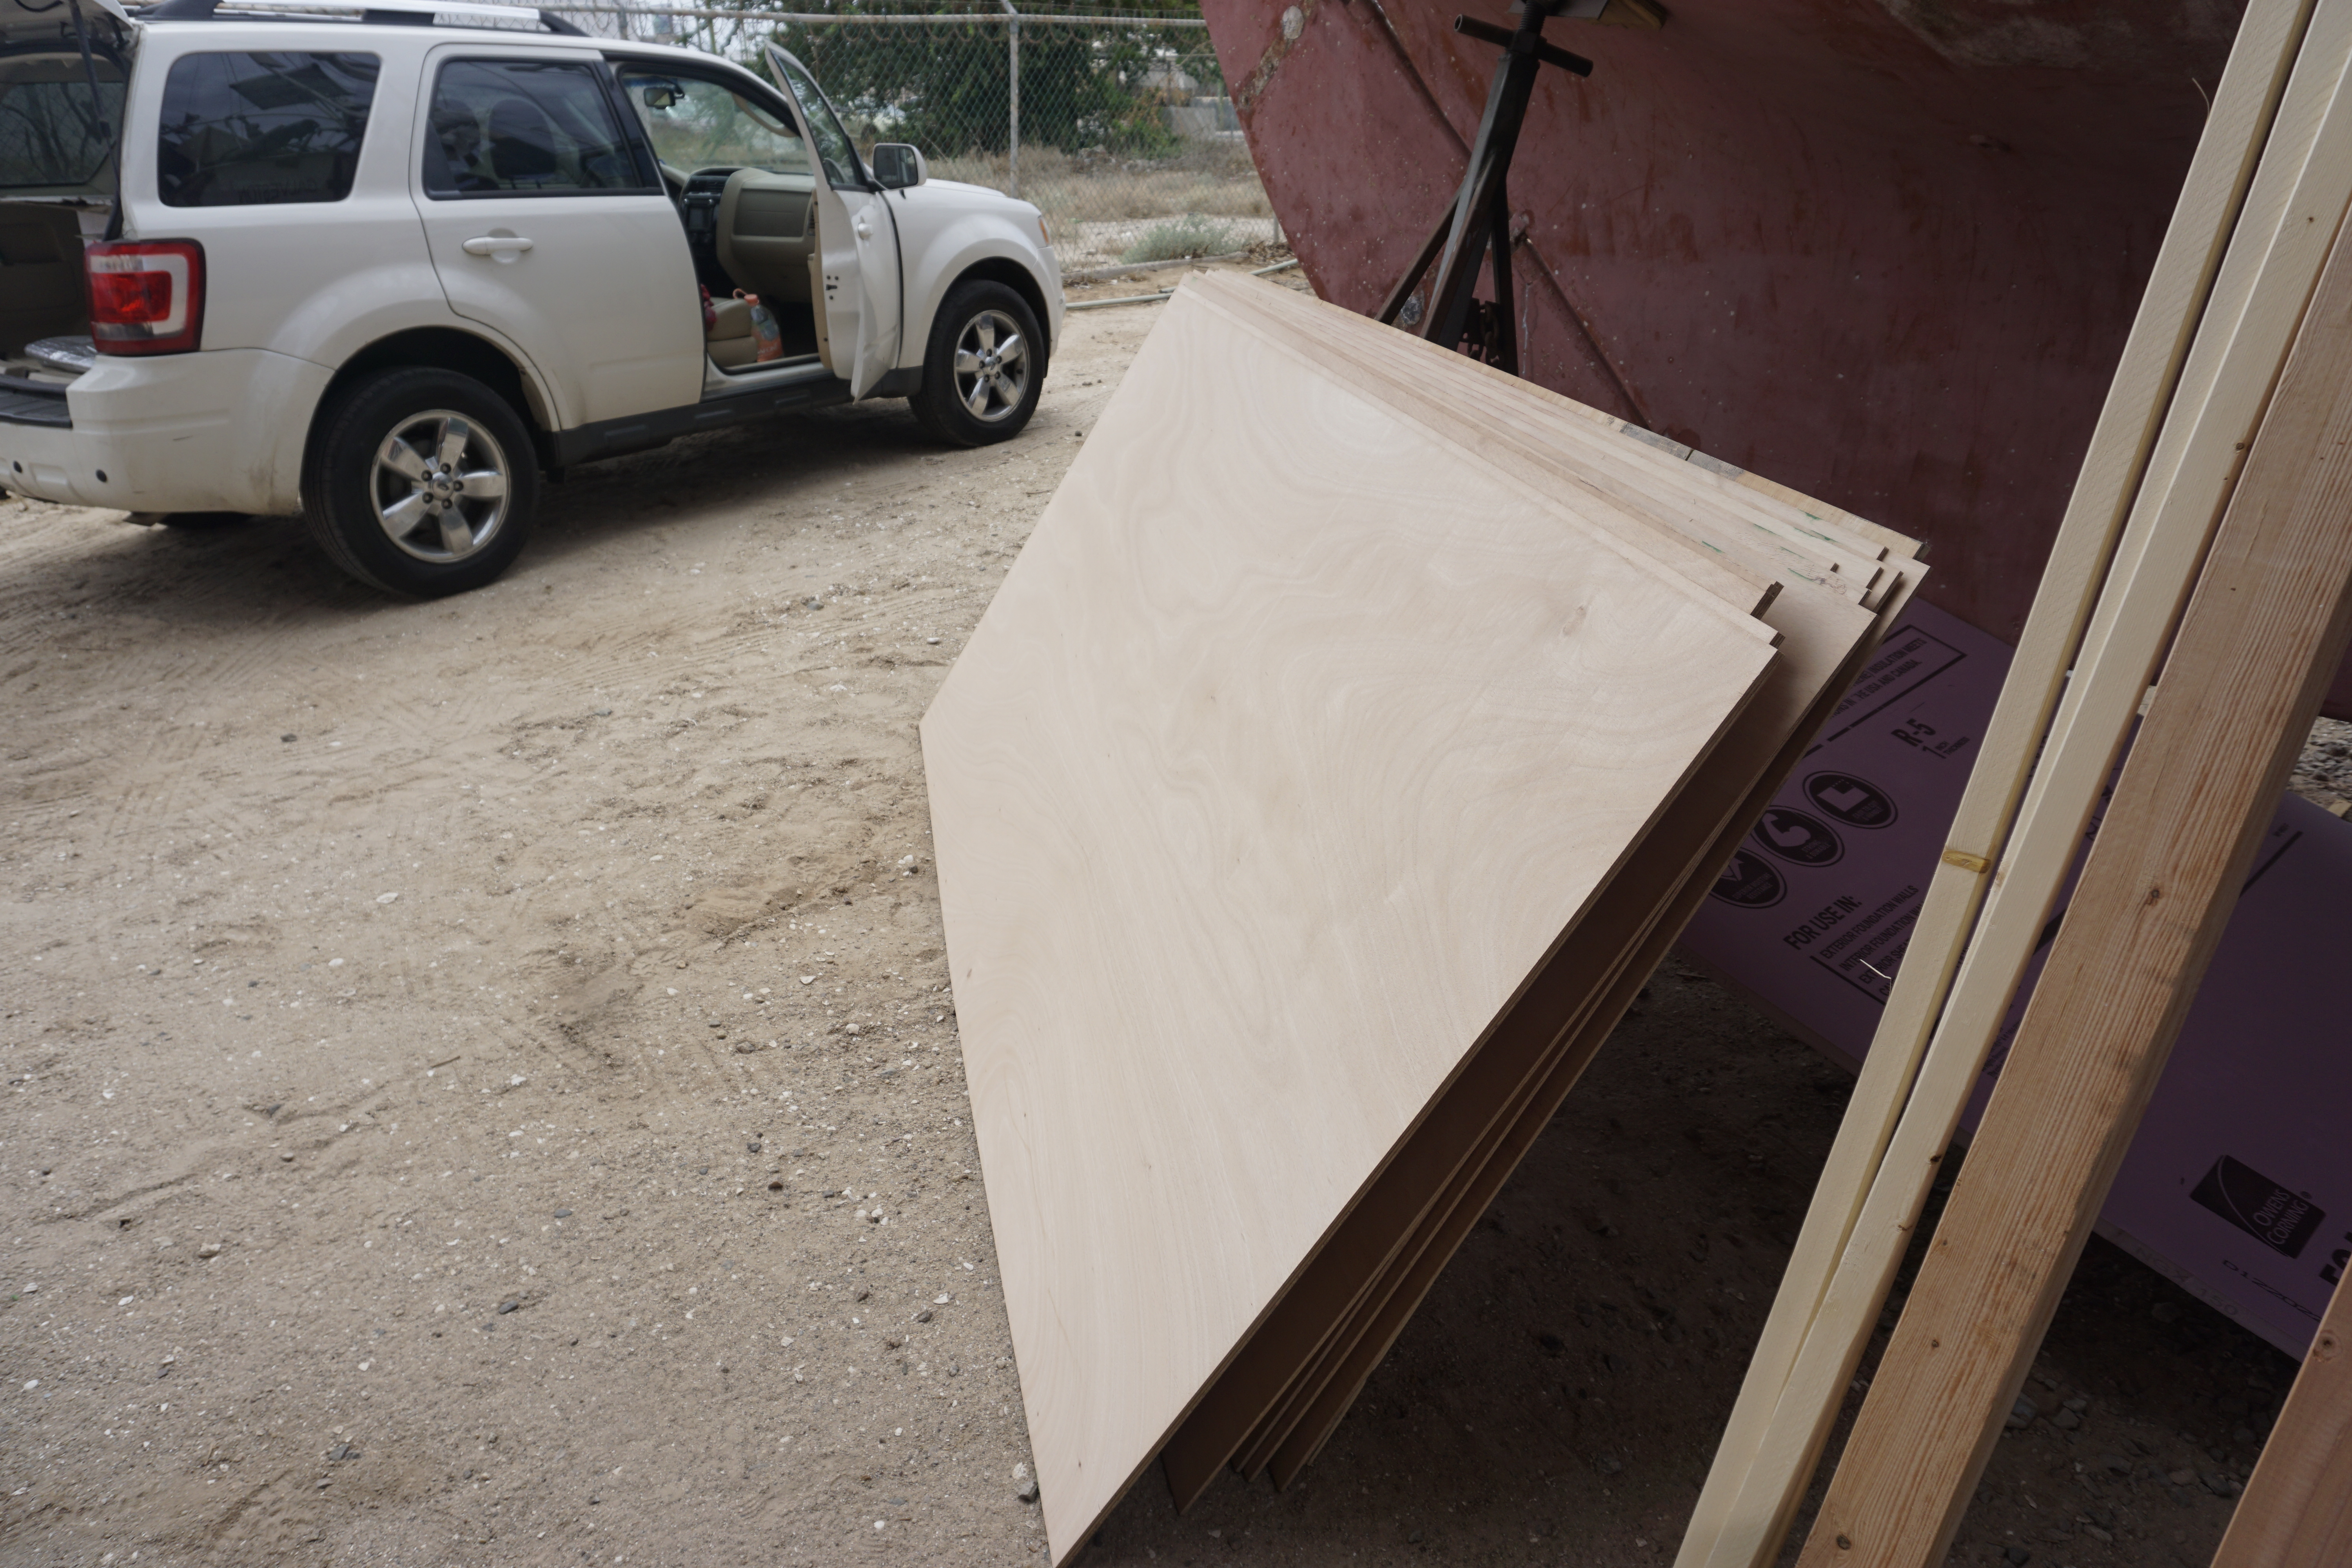
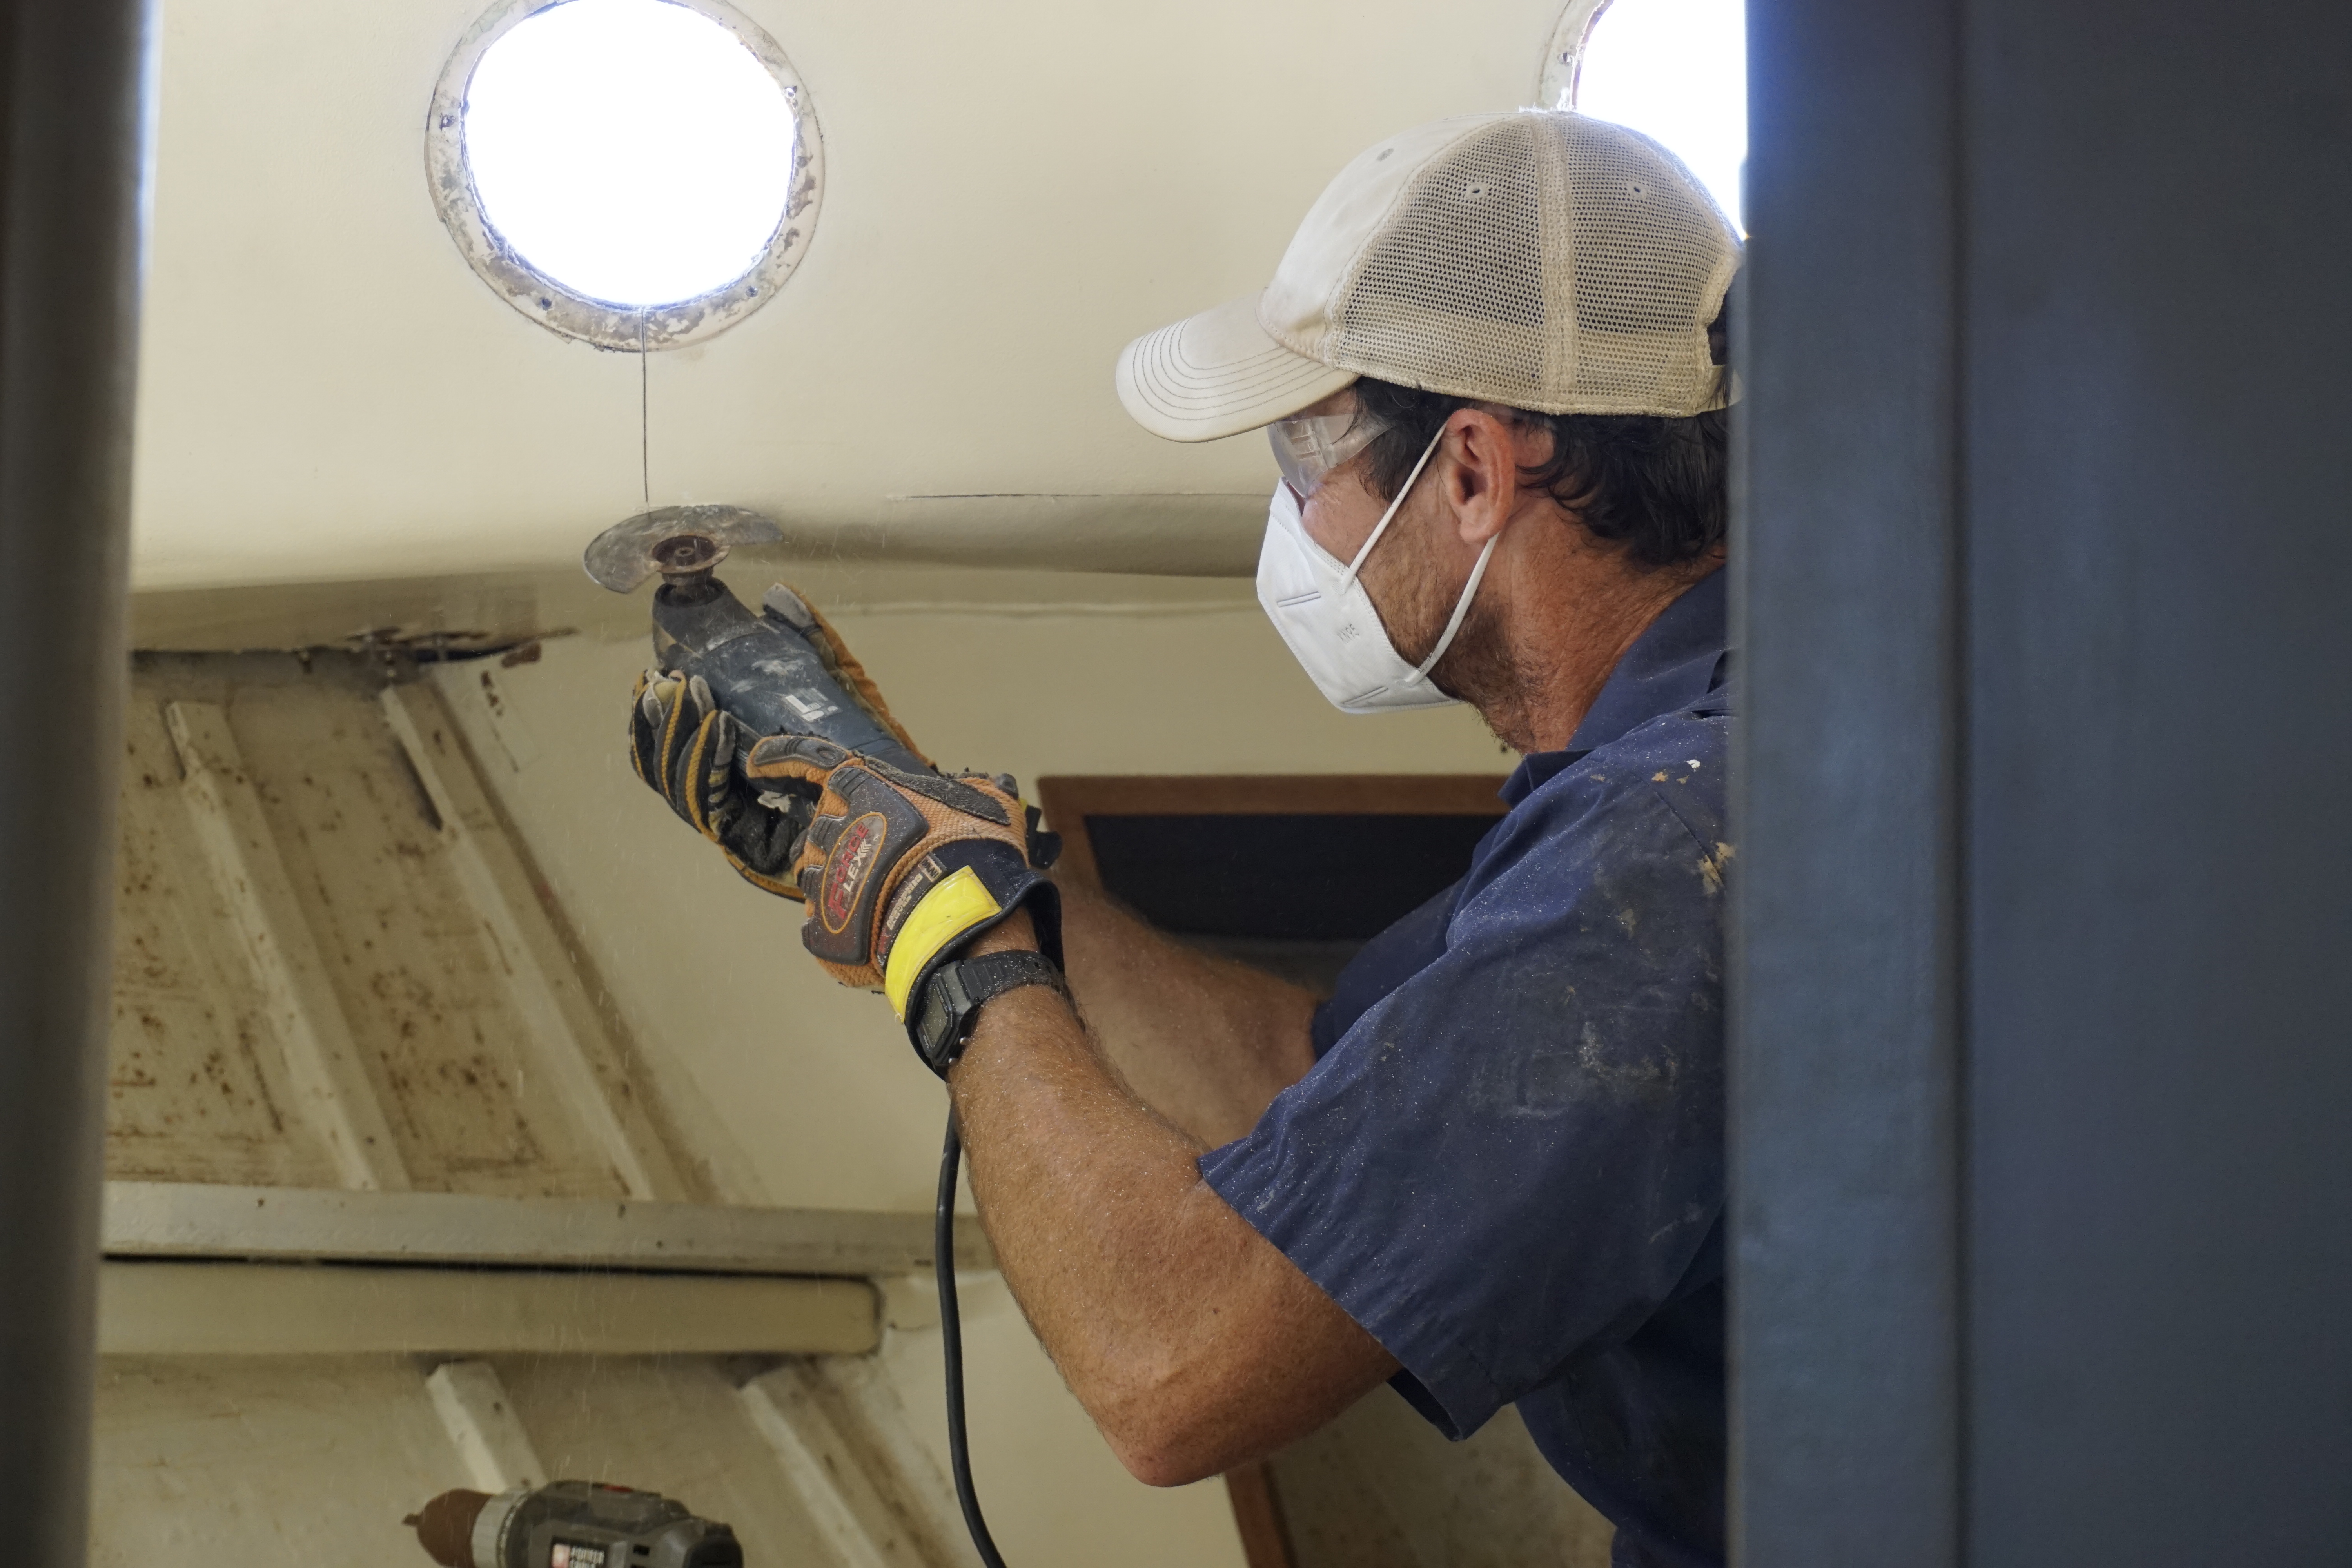
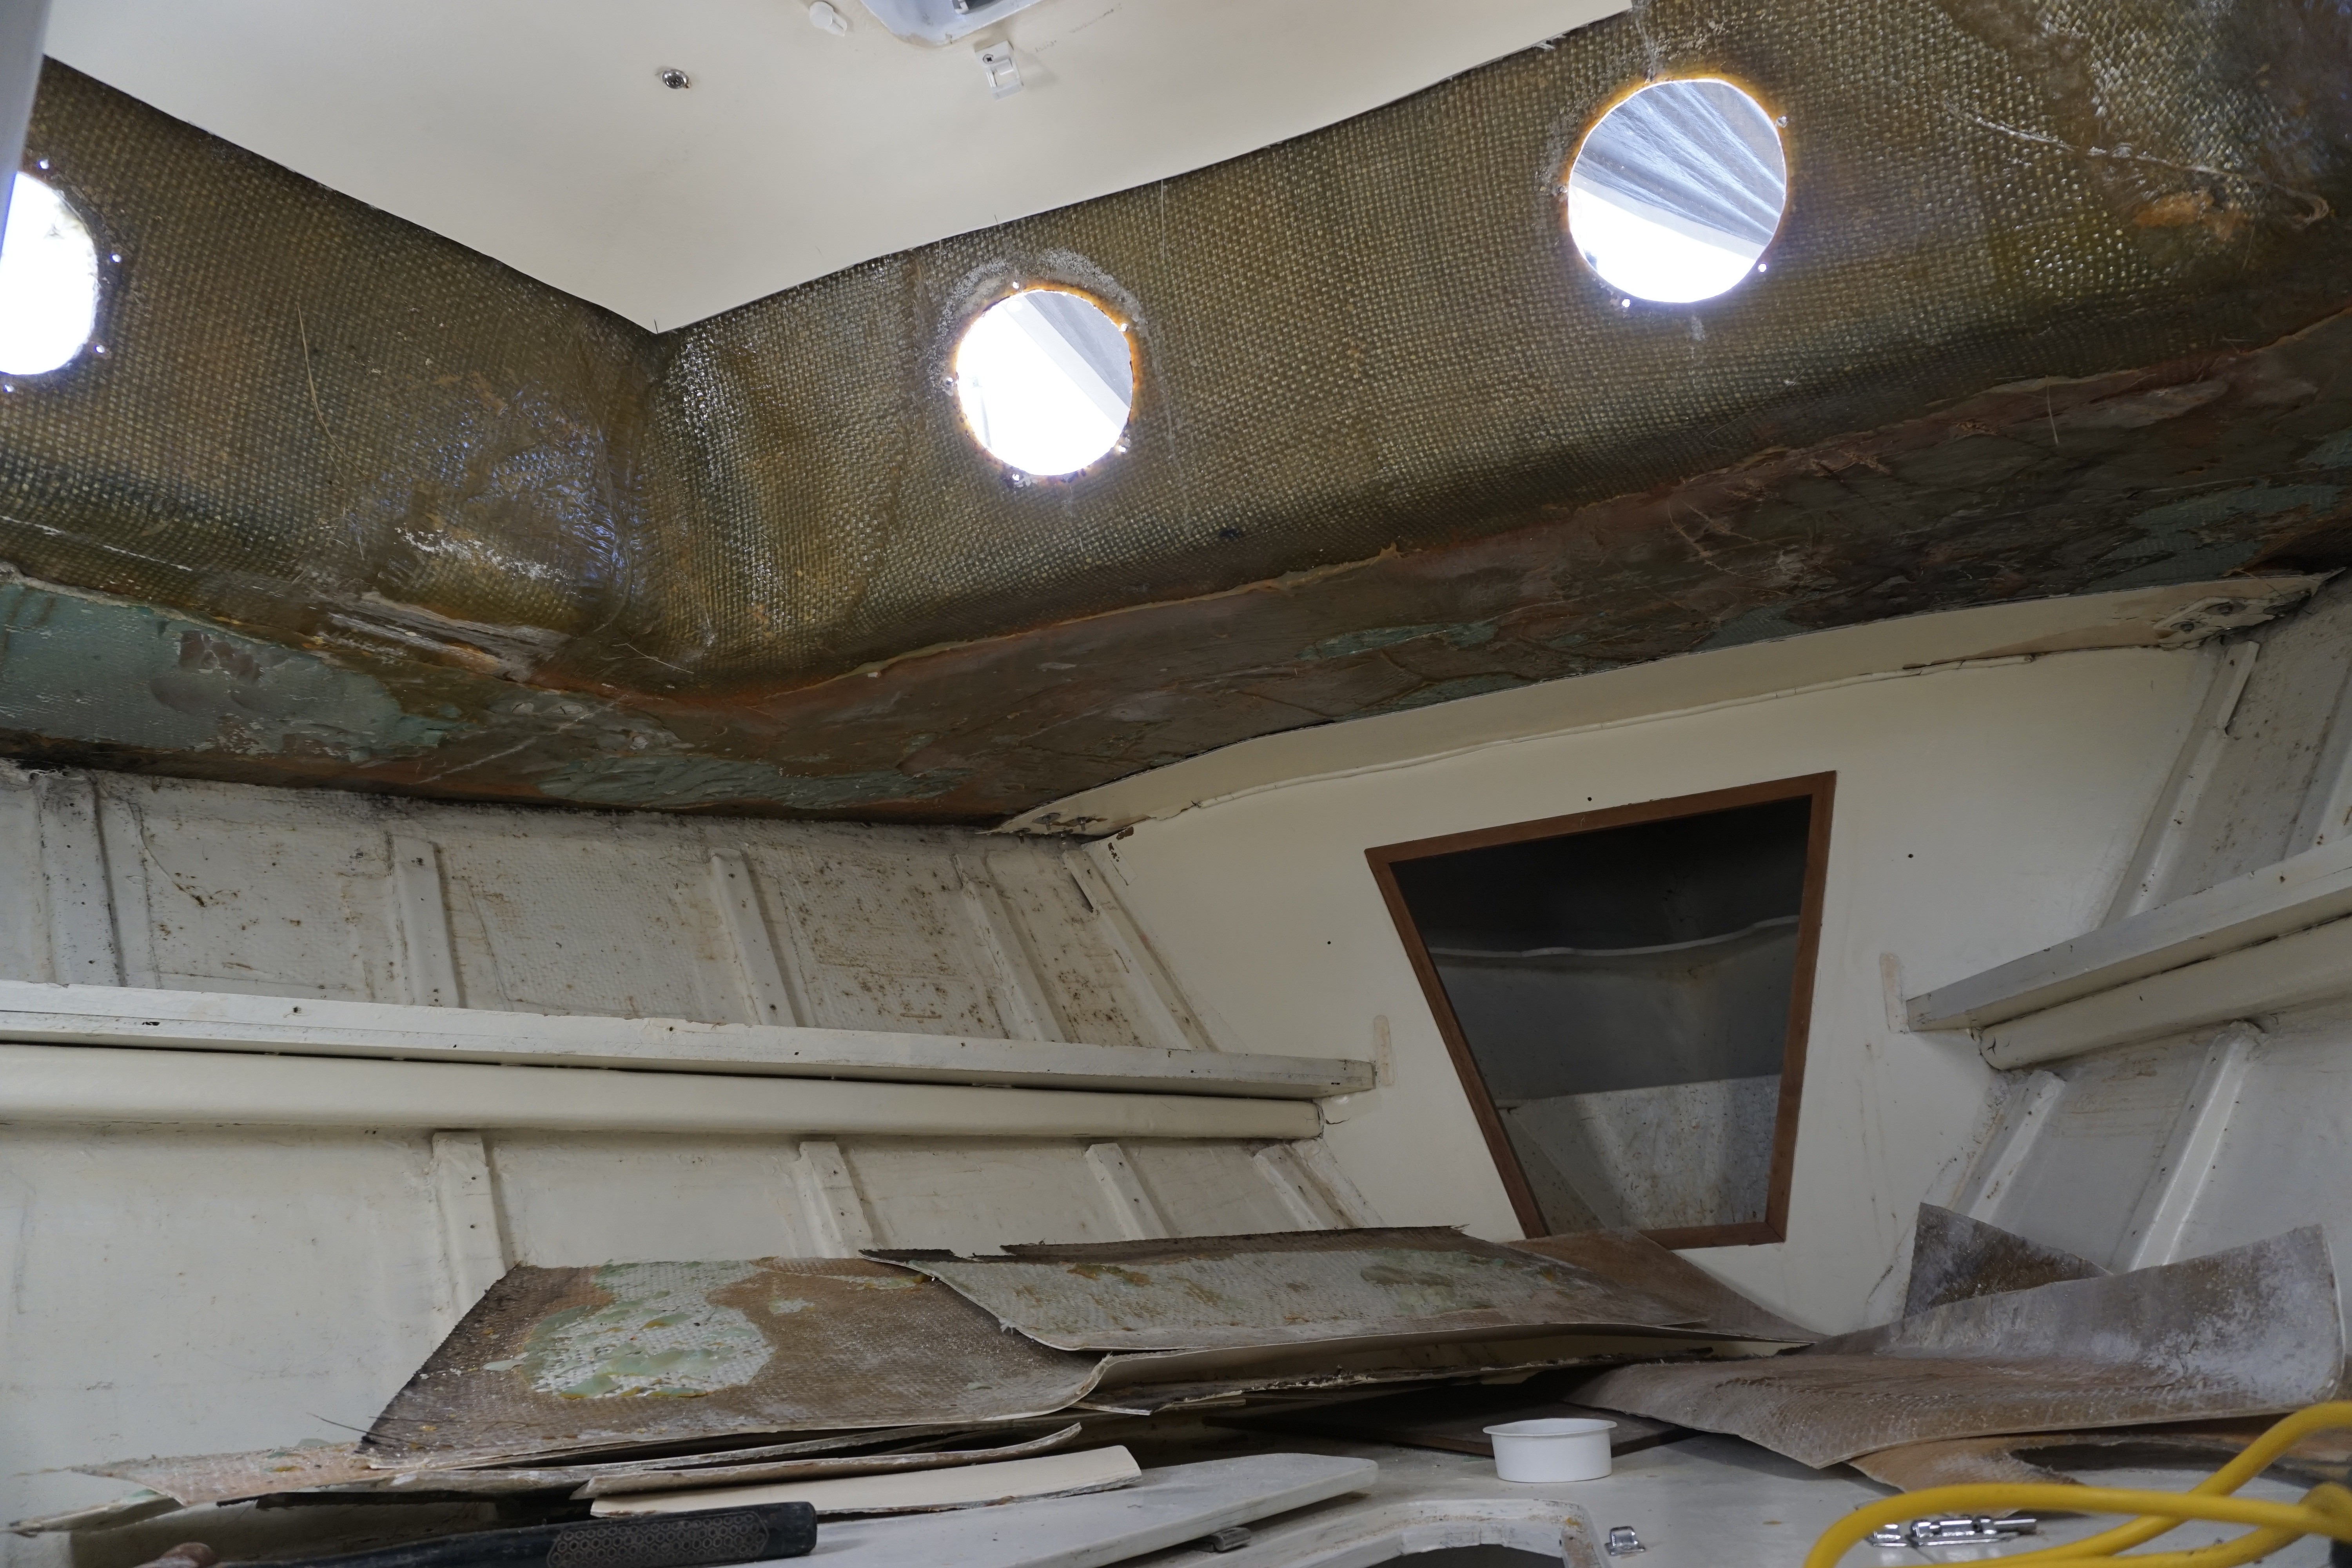
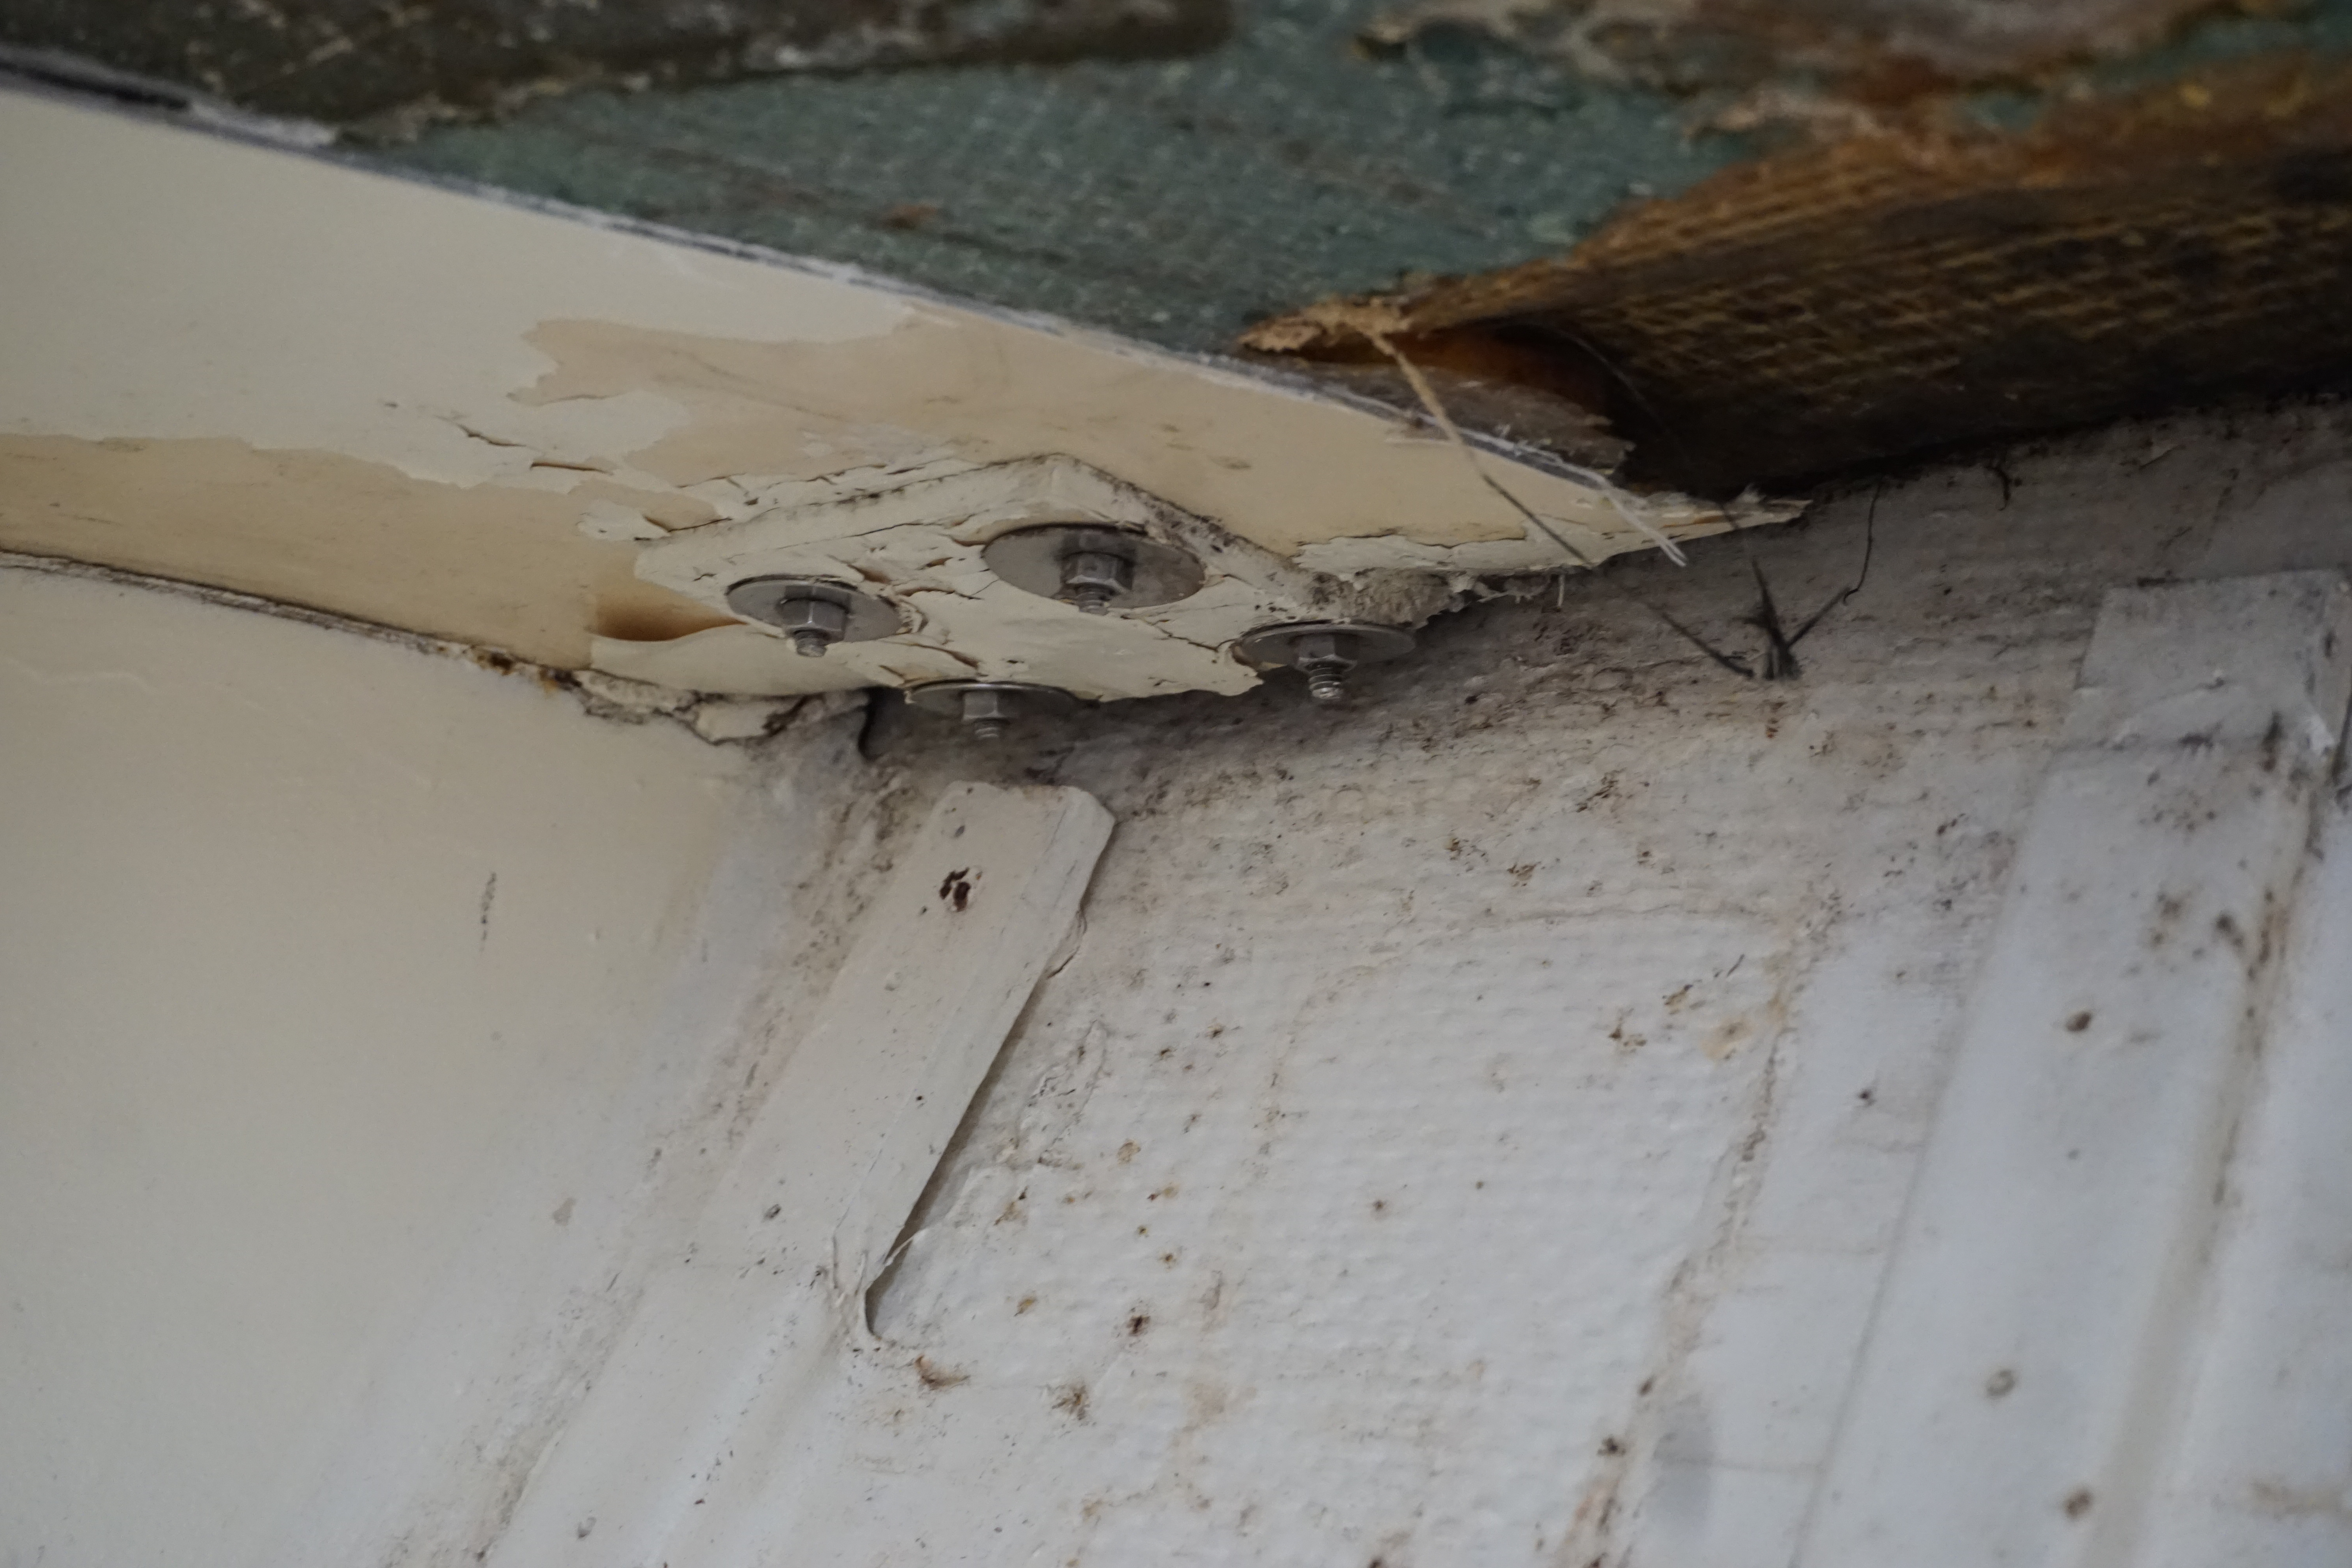
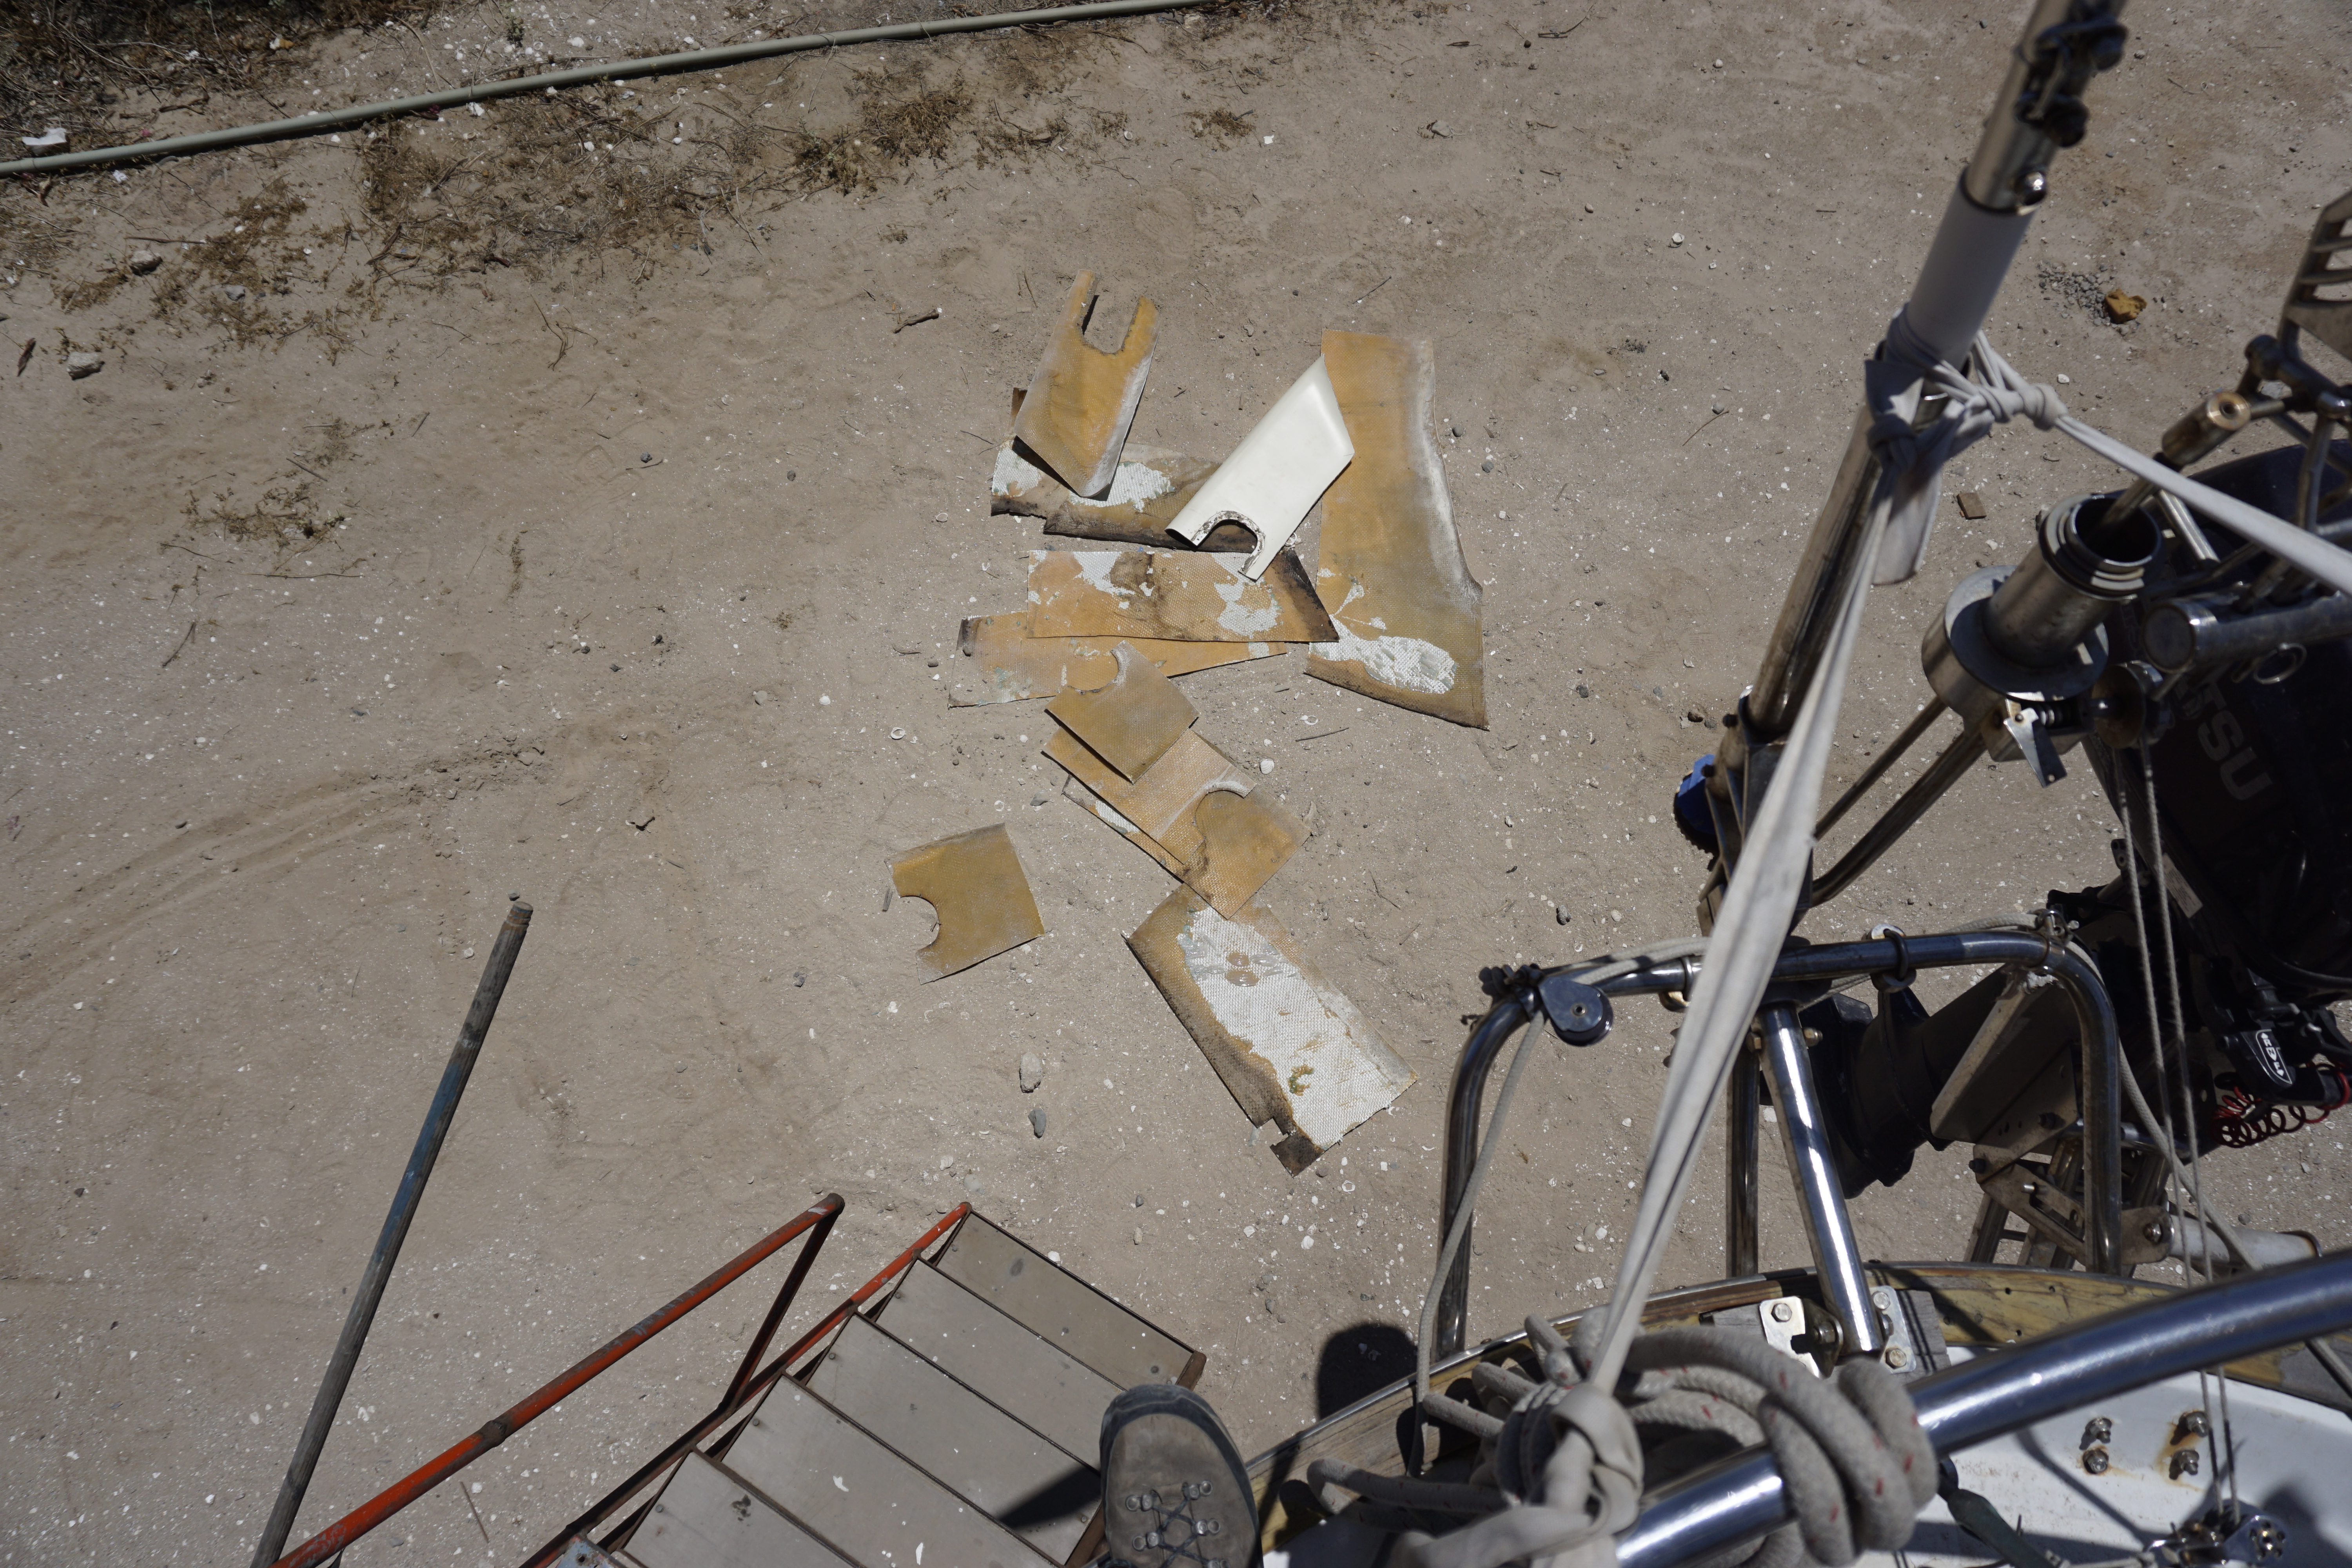
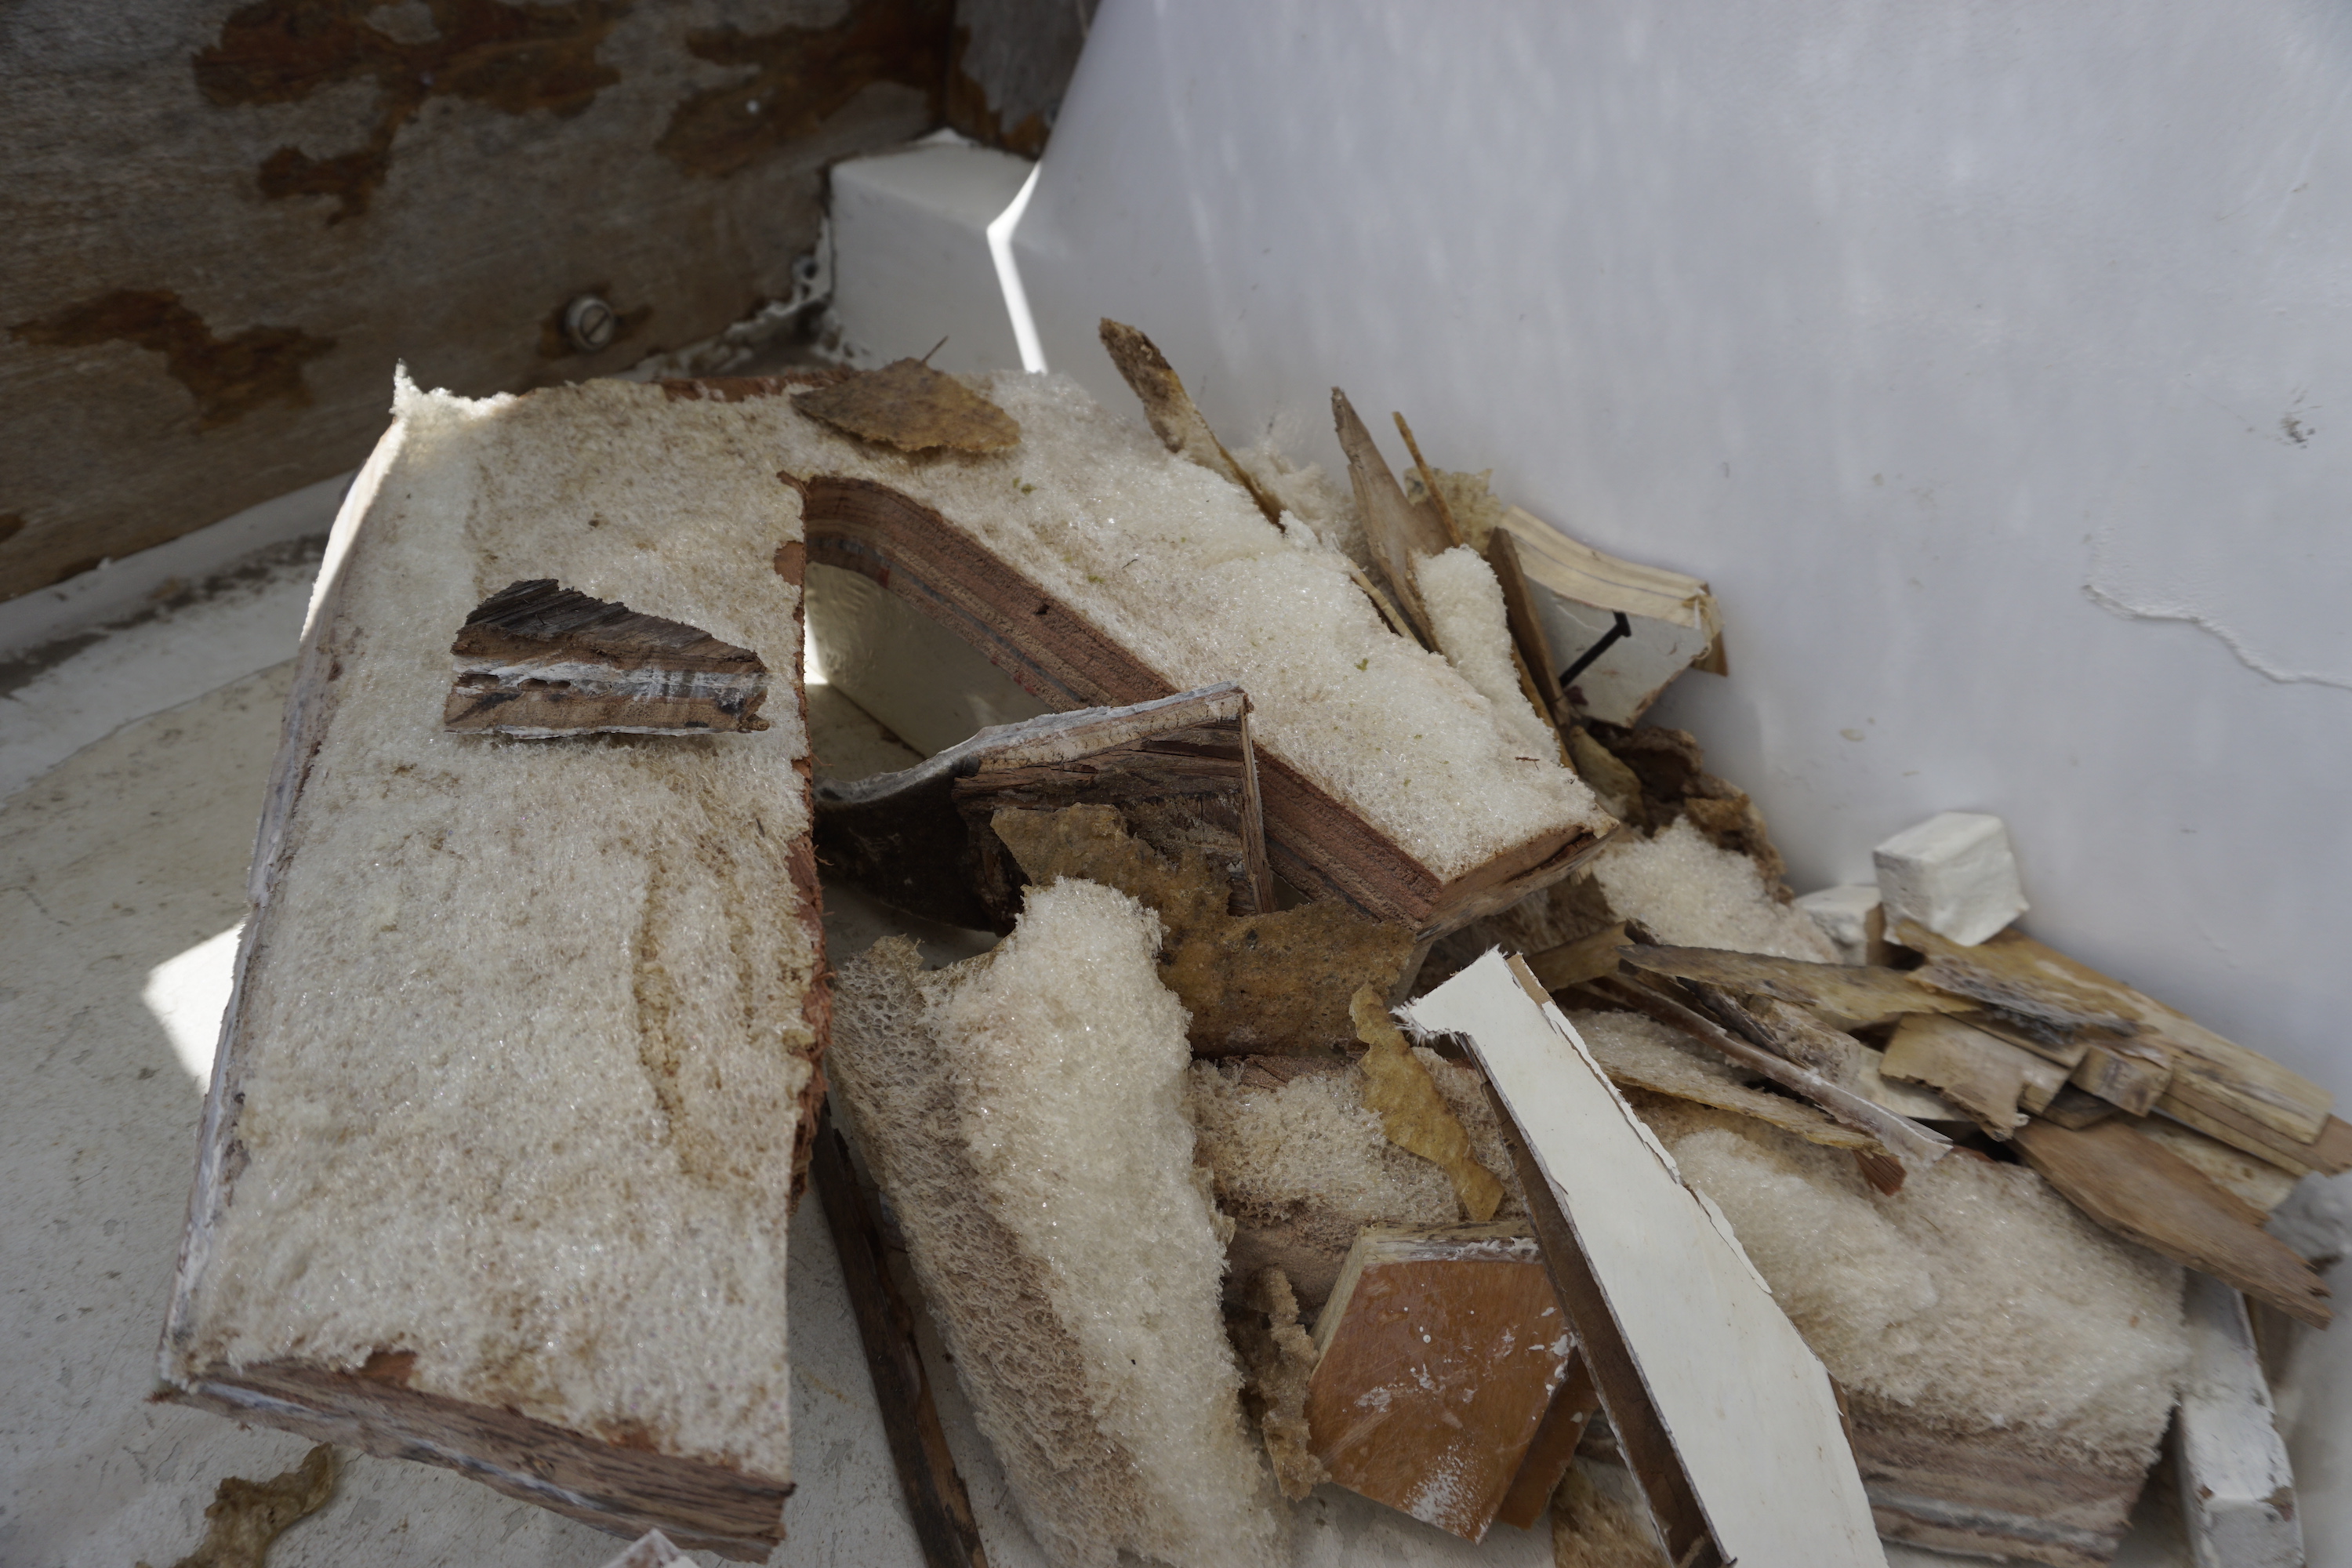
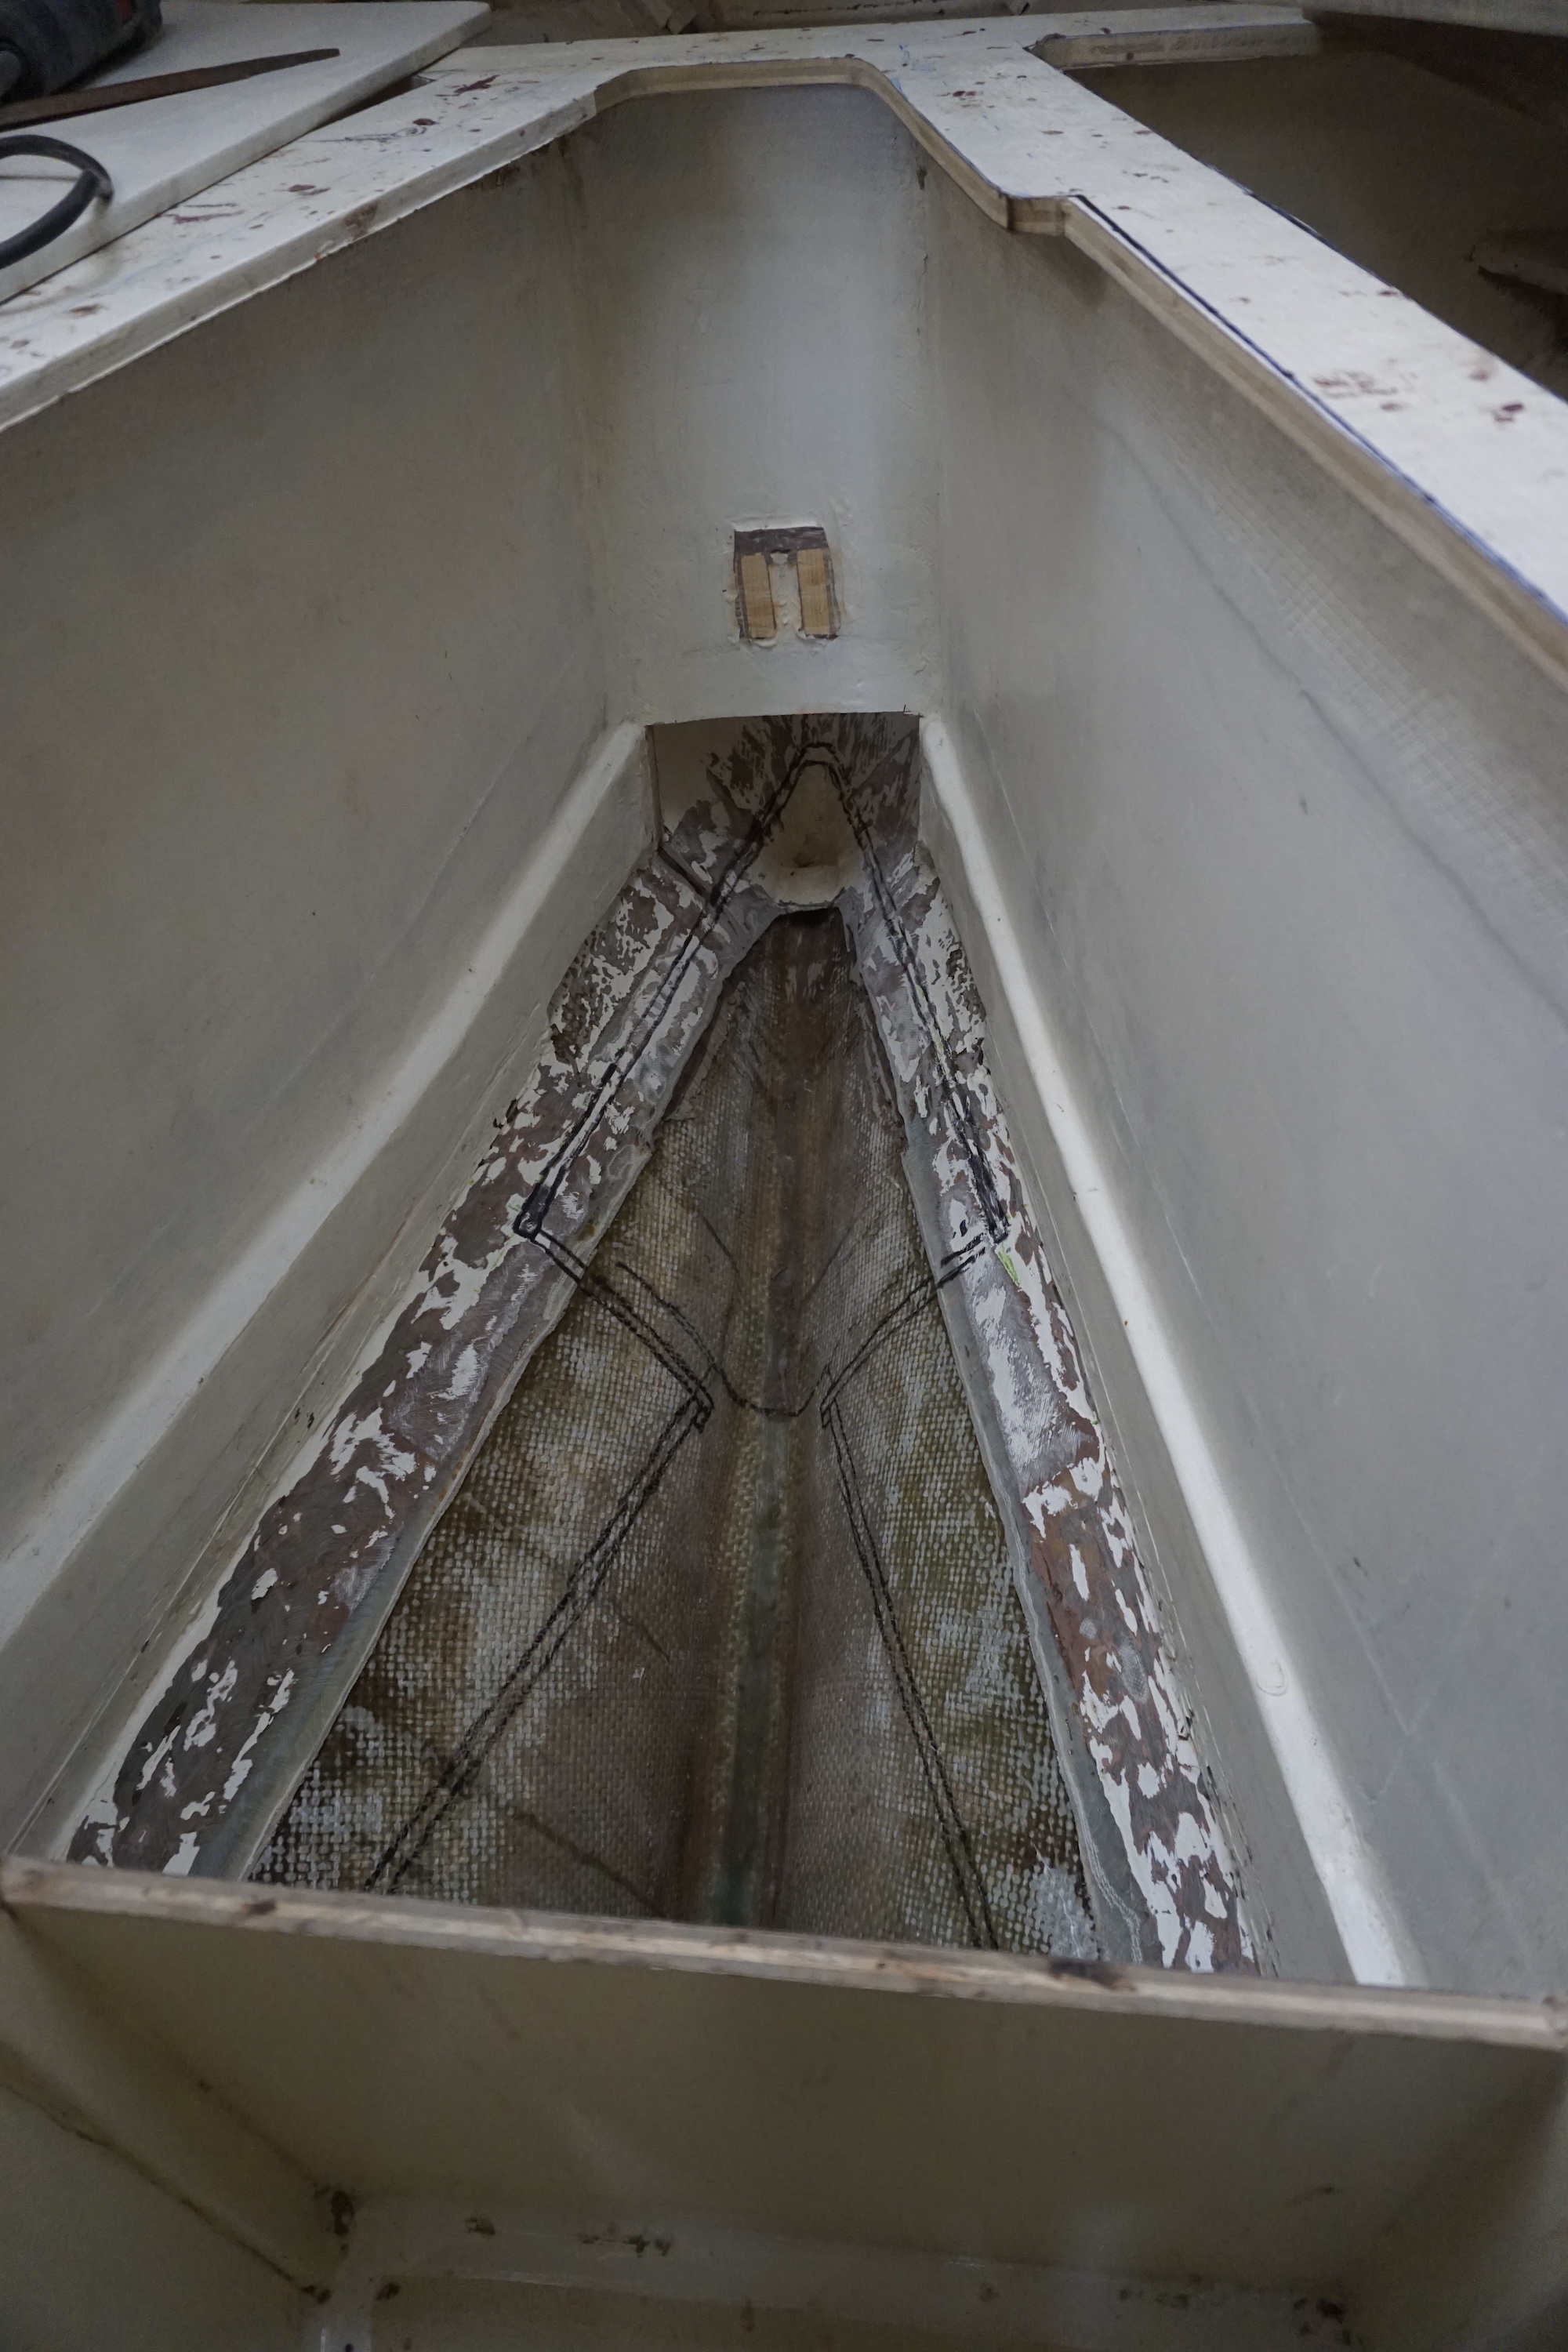
During our time in Chile, the incessant moisture had ruined the subpar plywood we had installed in 2015. We ripped out the delaminated and rotted v-berth platform and anchor locker and gathered the marine grade plywood, epoxy, fiberglass, and paint needed to rebuild.

Damaged plywood, v-berth platform removal

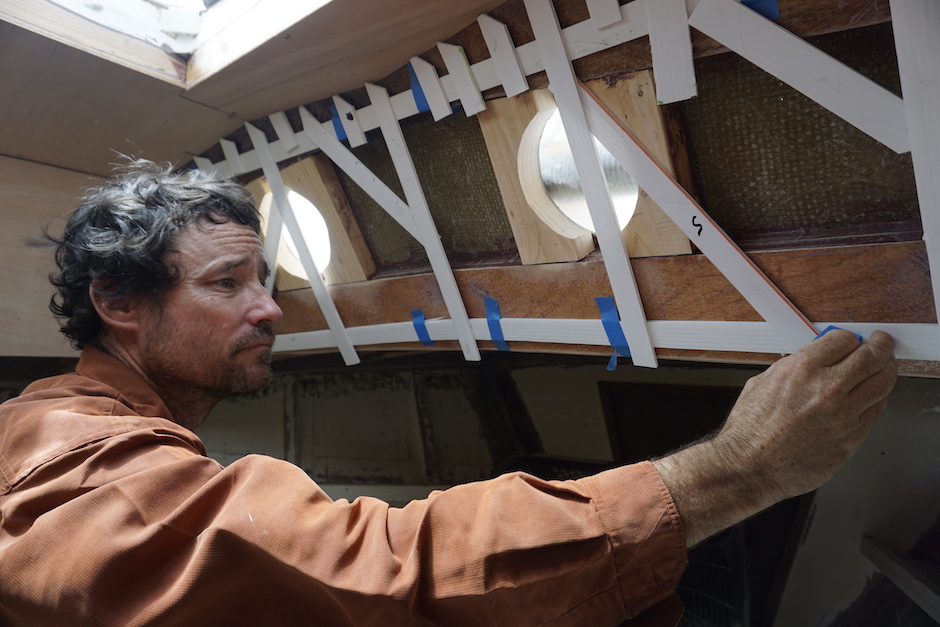
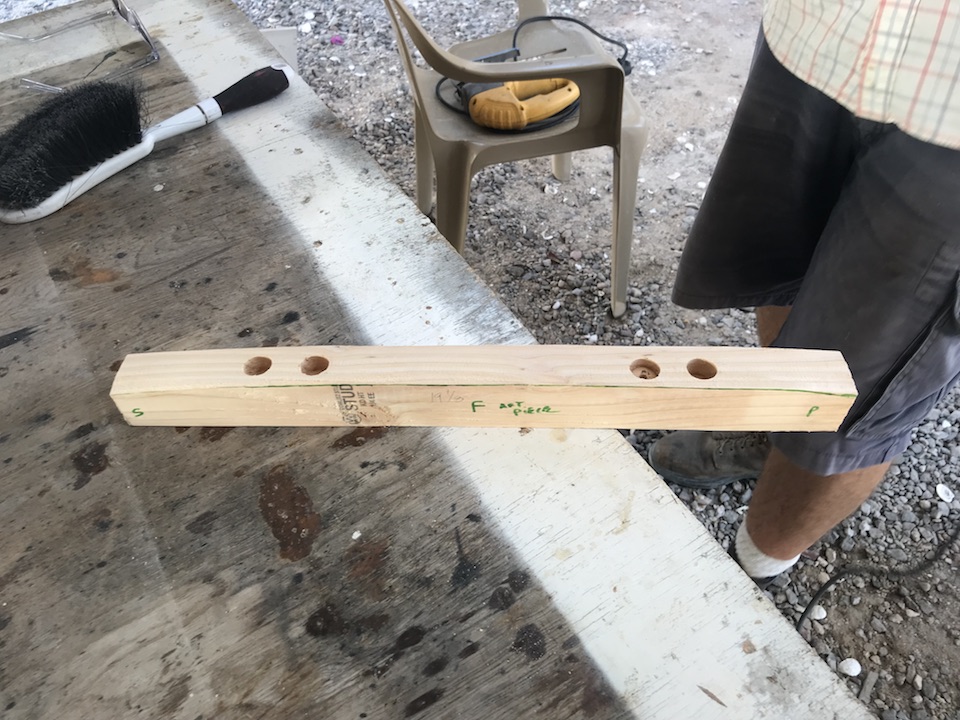
We planned to build a reduced height anchor locker. Our compact, nestled stack of anchors (3 of our 4 anchors disassemble) measured 20 inches high. Without buckets of extra rode on top, we could stack and stow the anchors in a locker 10 inches shorter than the first one. Overall it seemed like a good solution, but we didn’t know if the reduction was enough. A 20 inch high bulkhead was still an impediment.

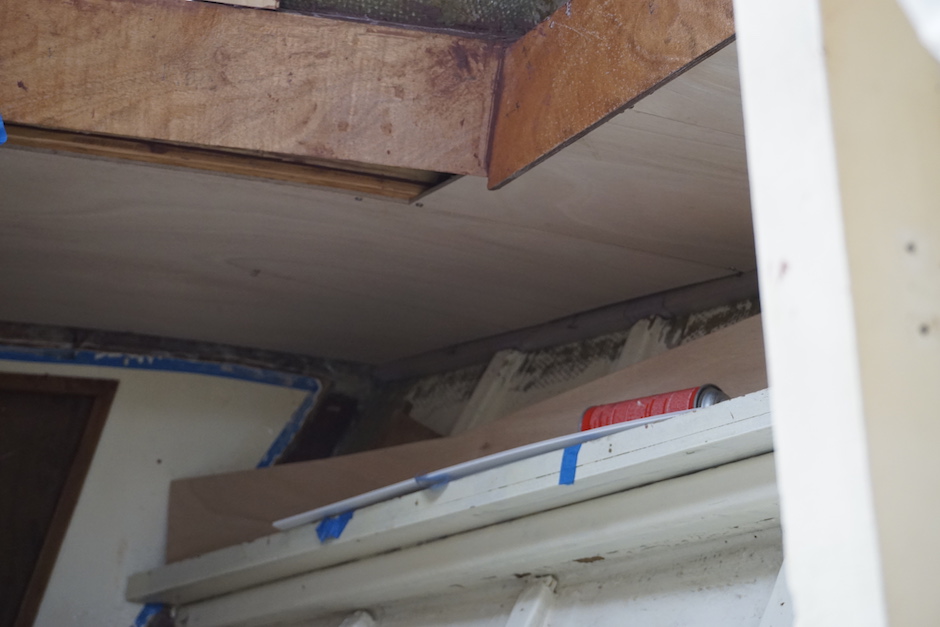
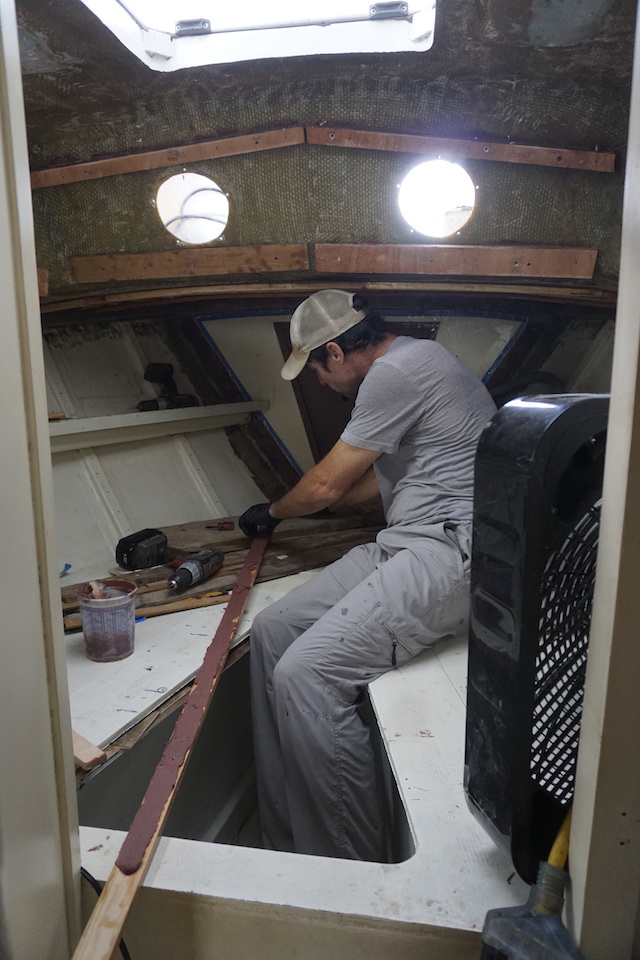
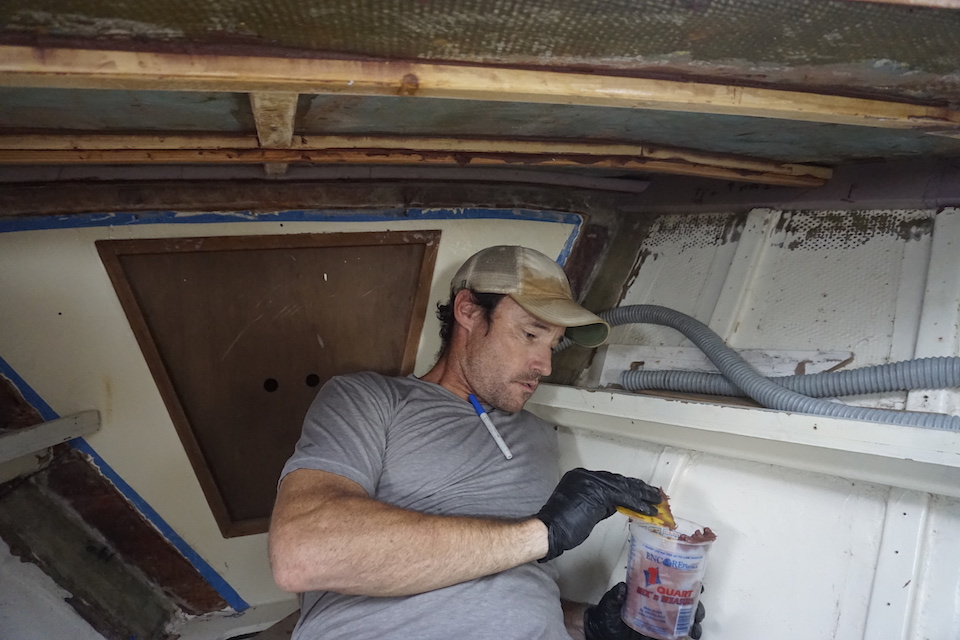
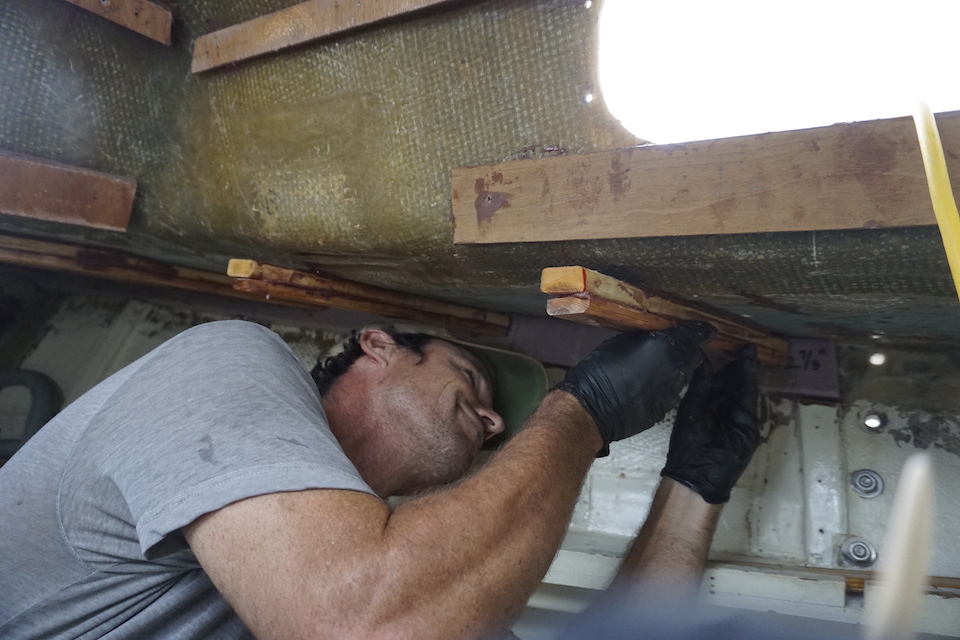
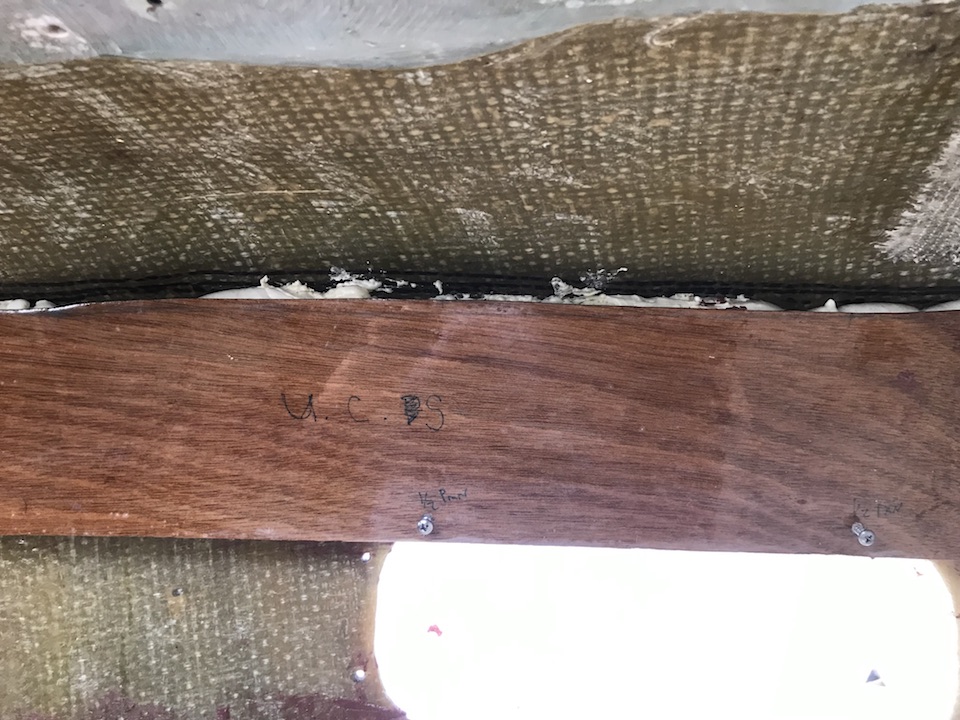
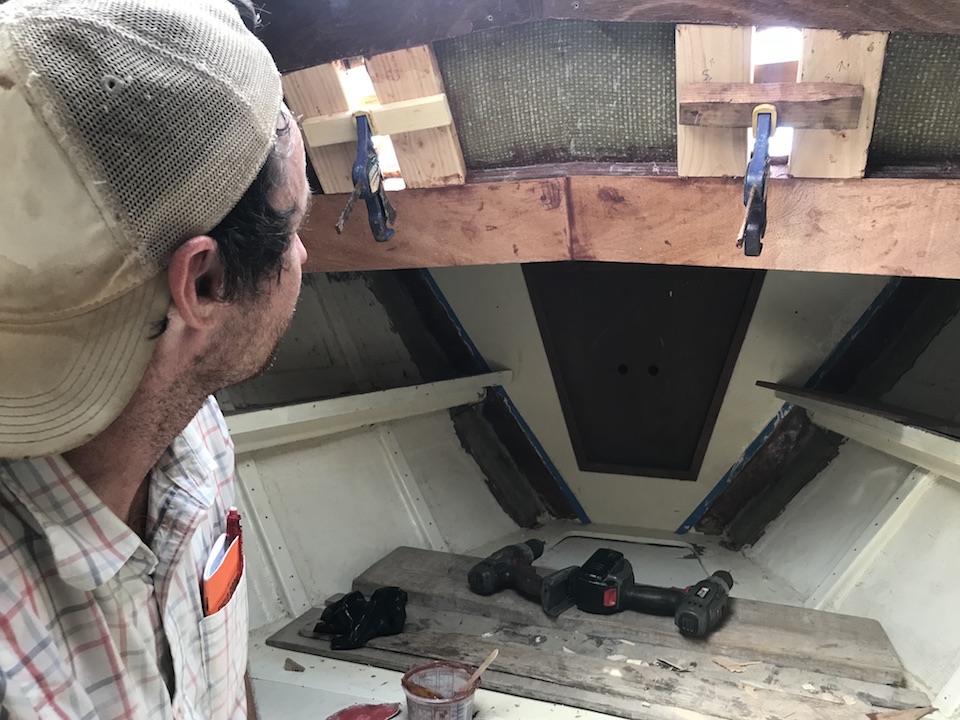
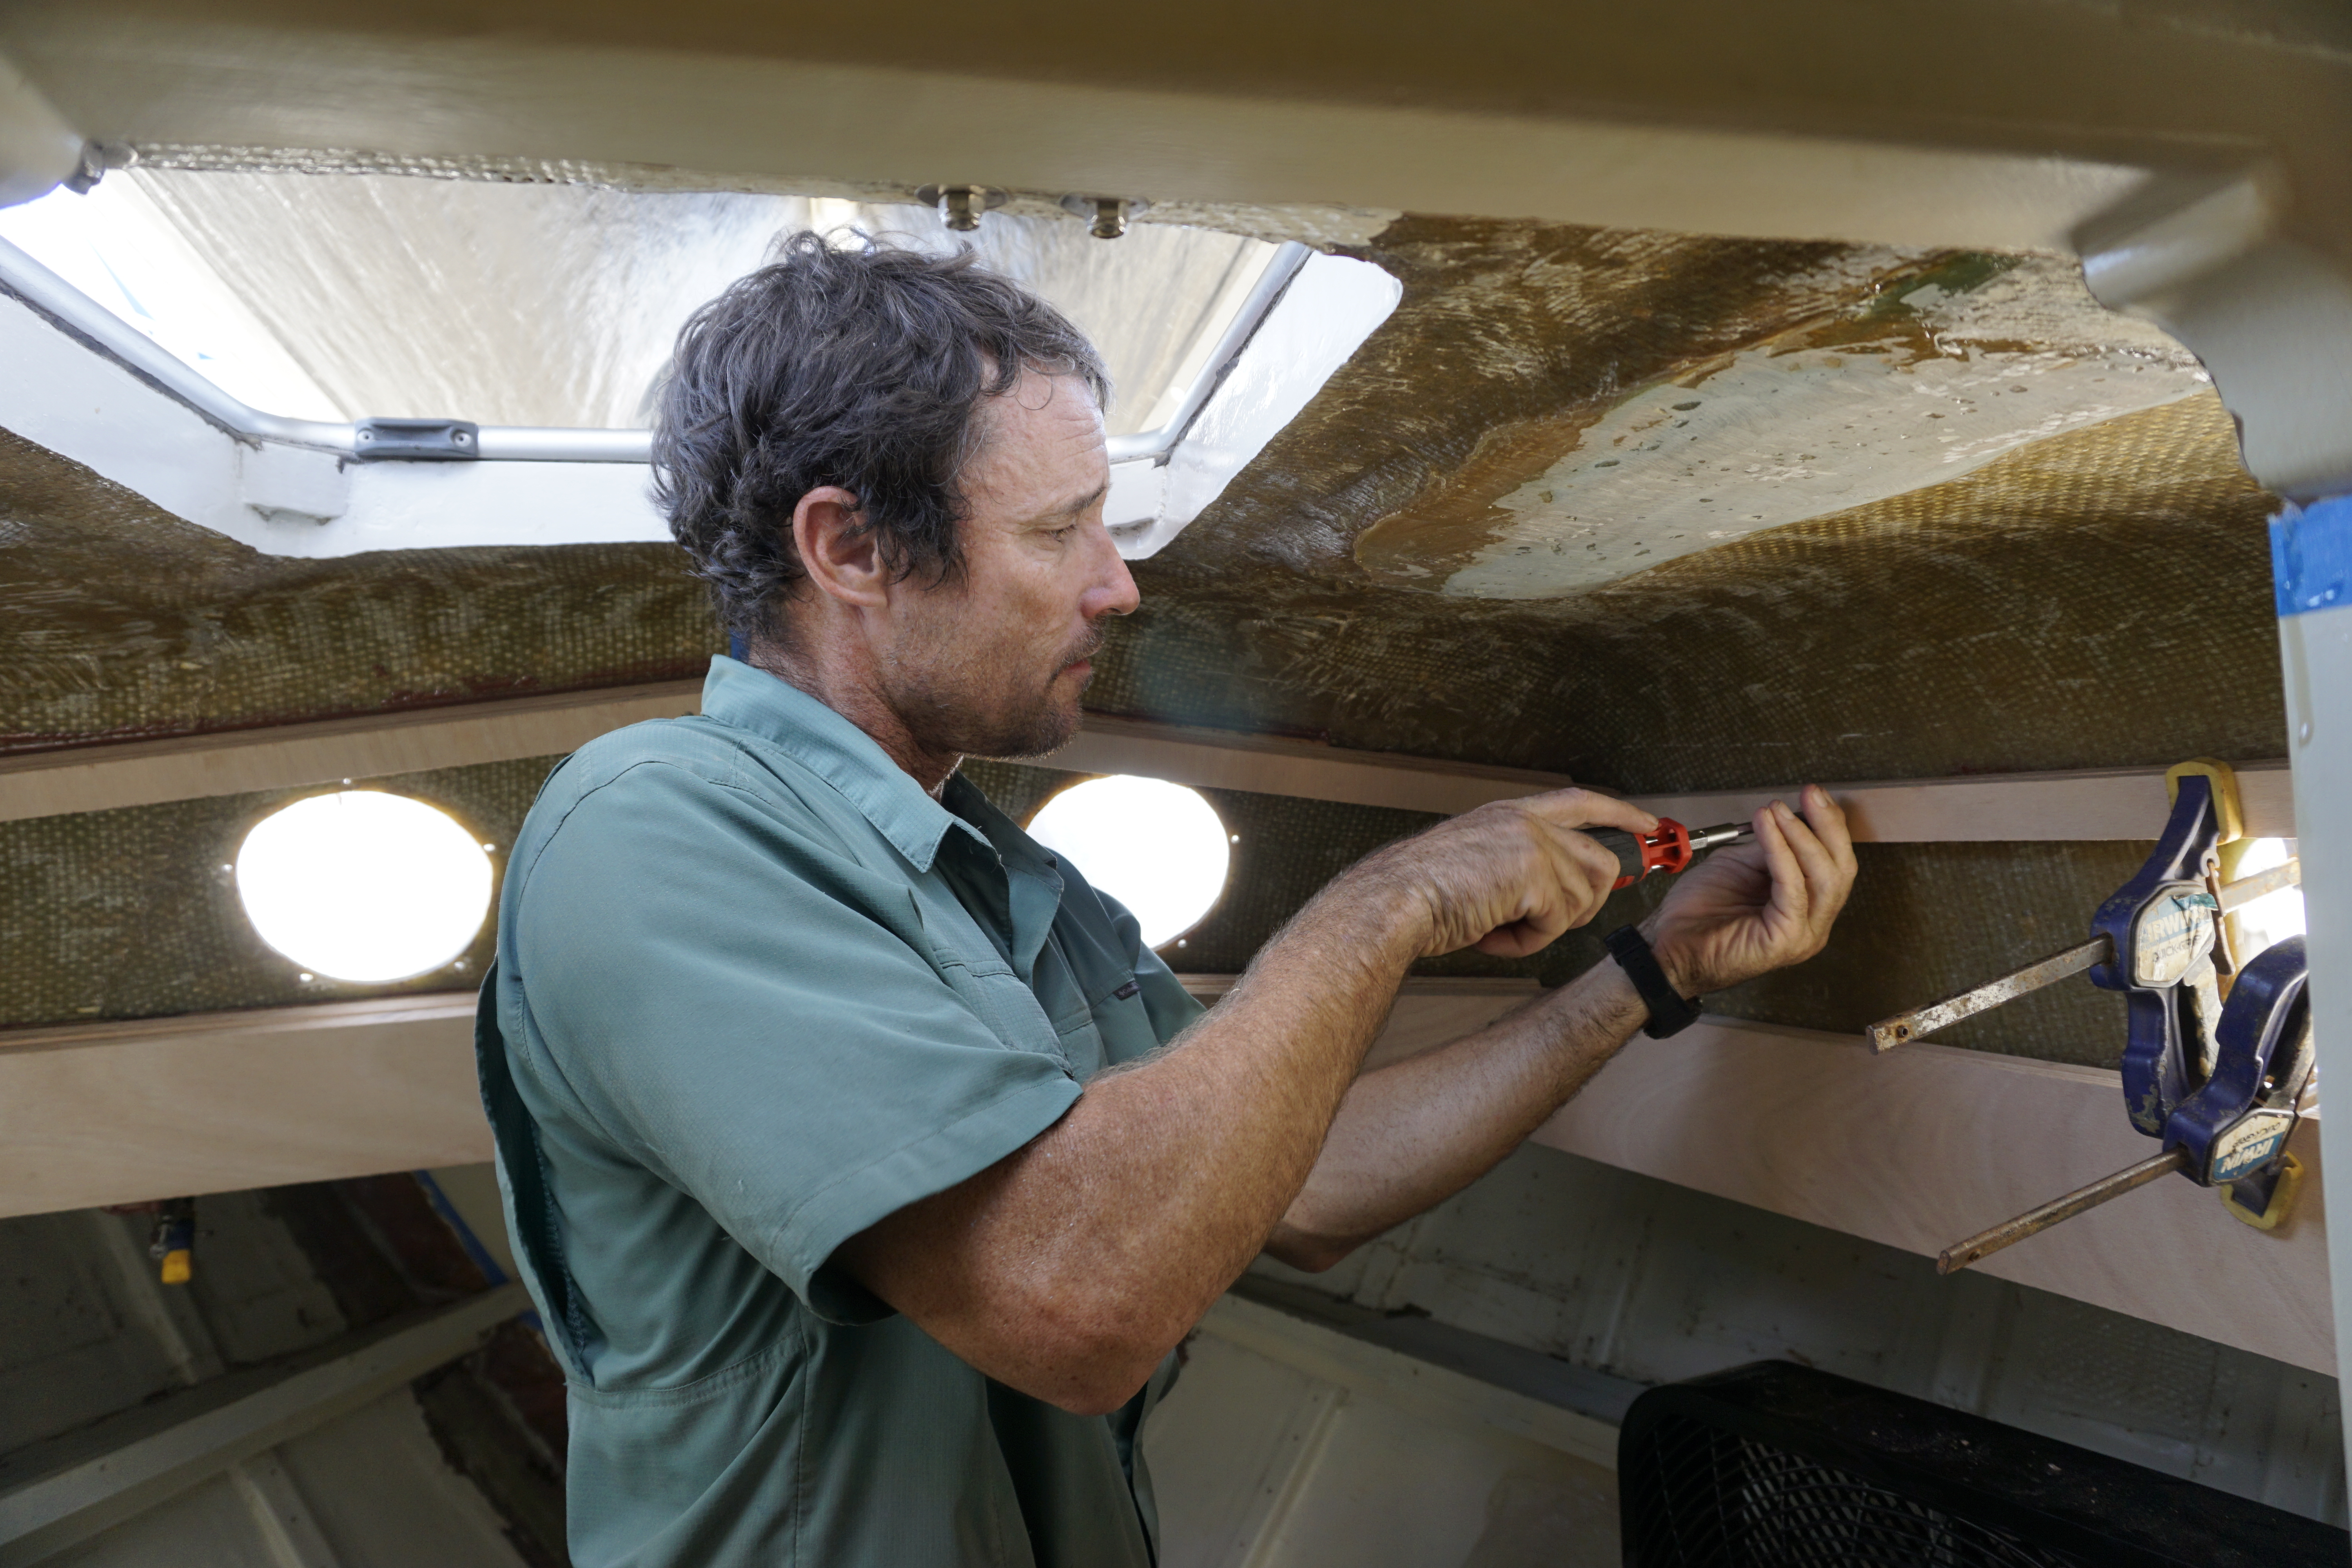
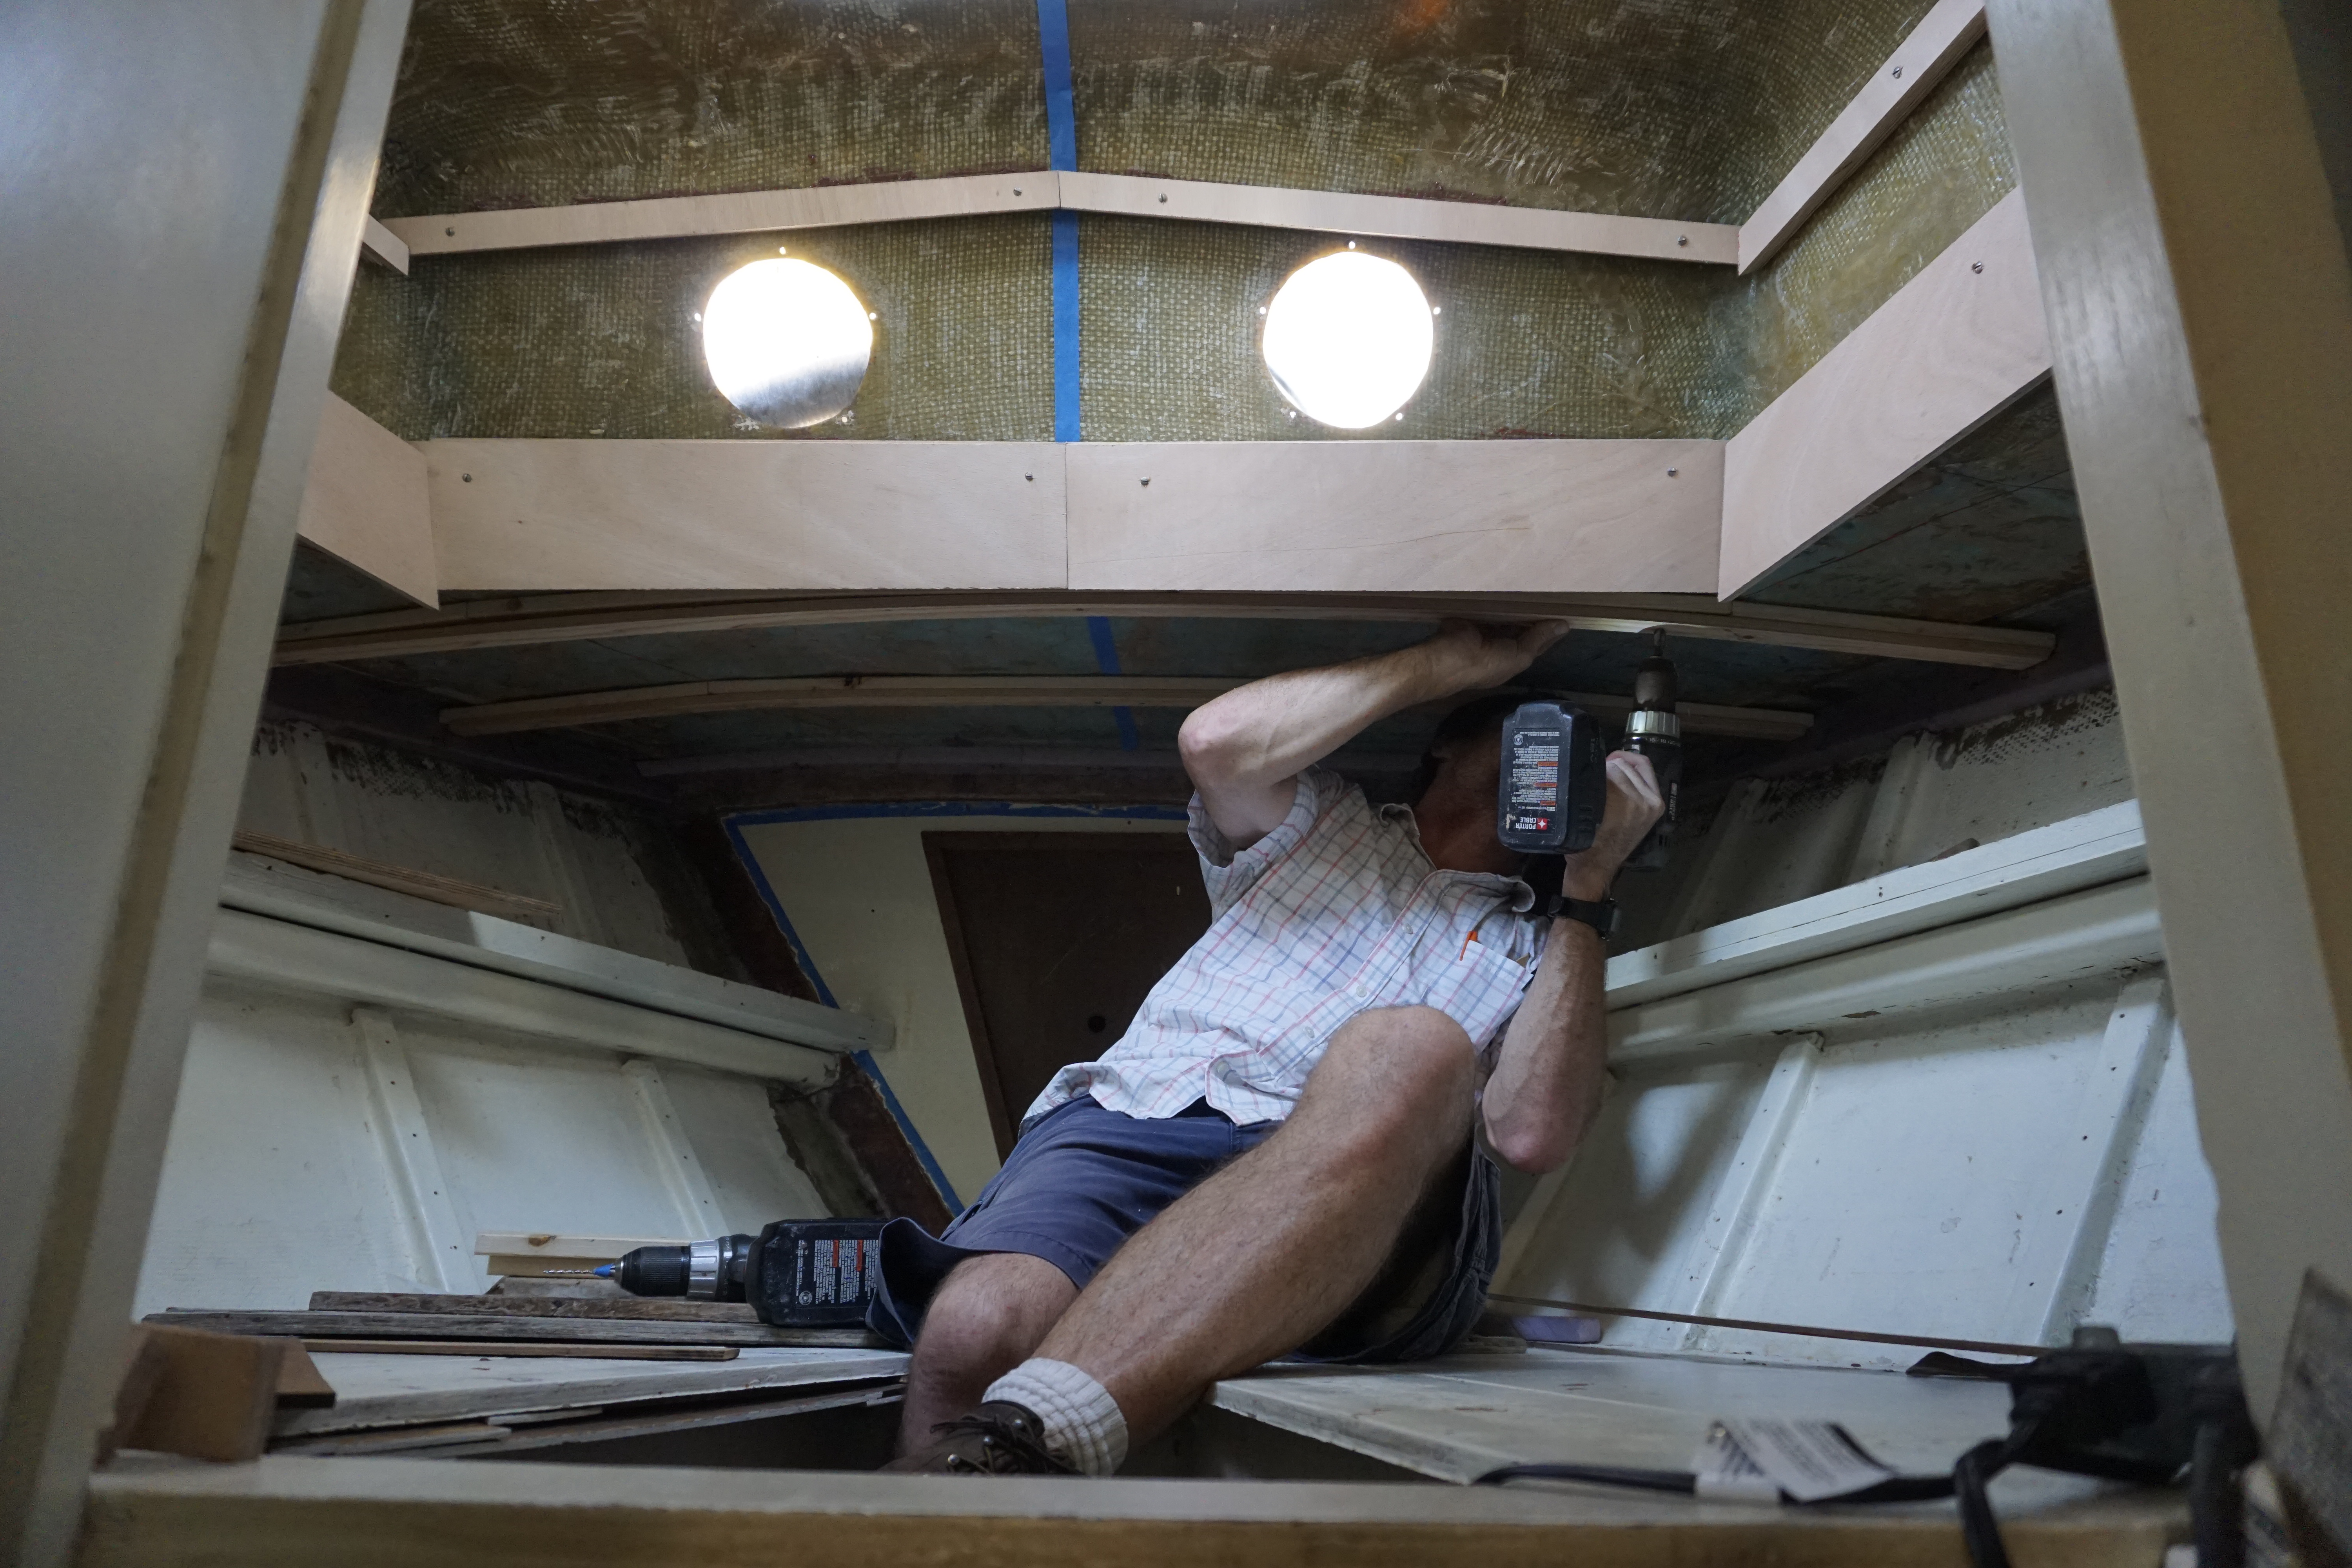
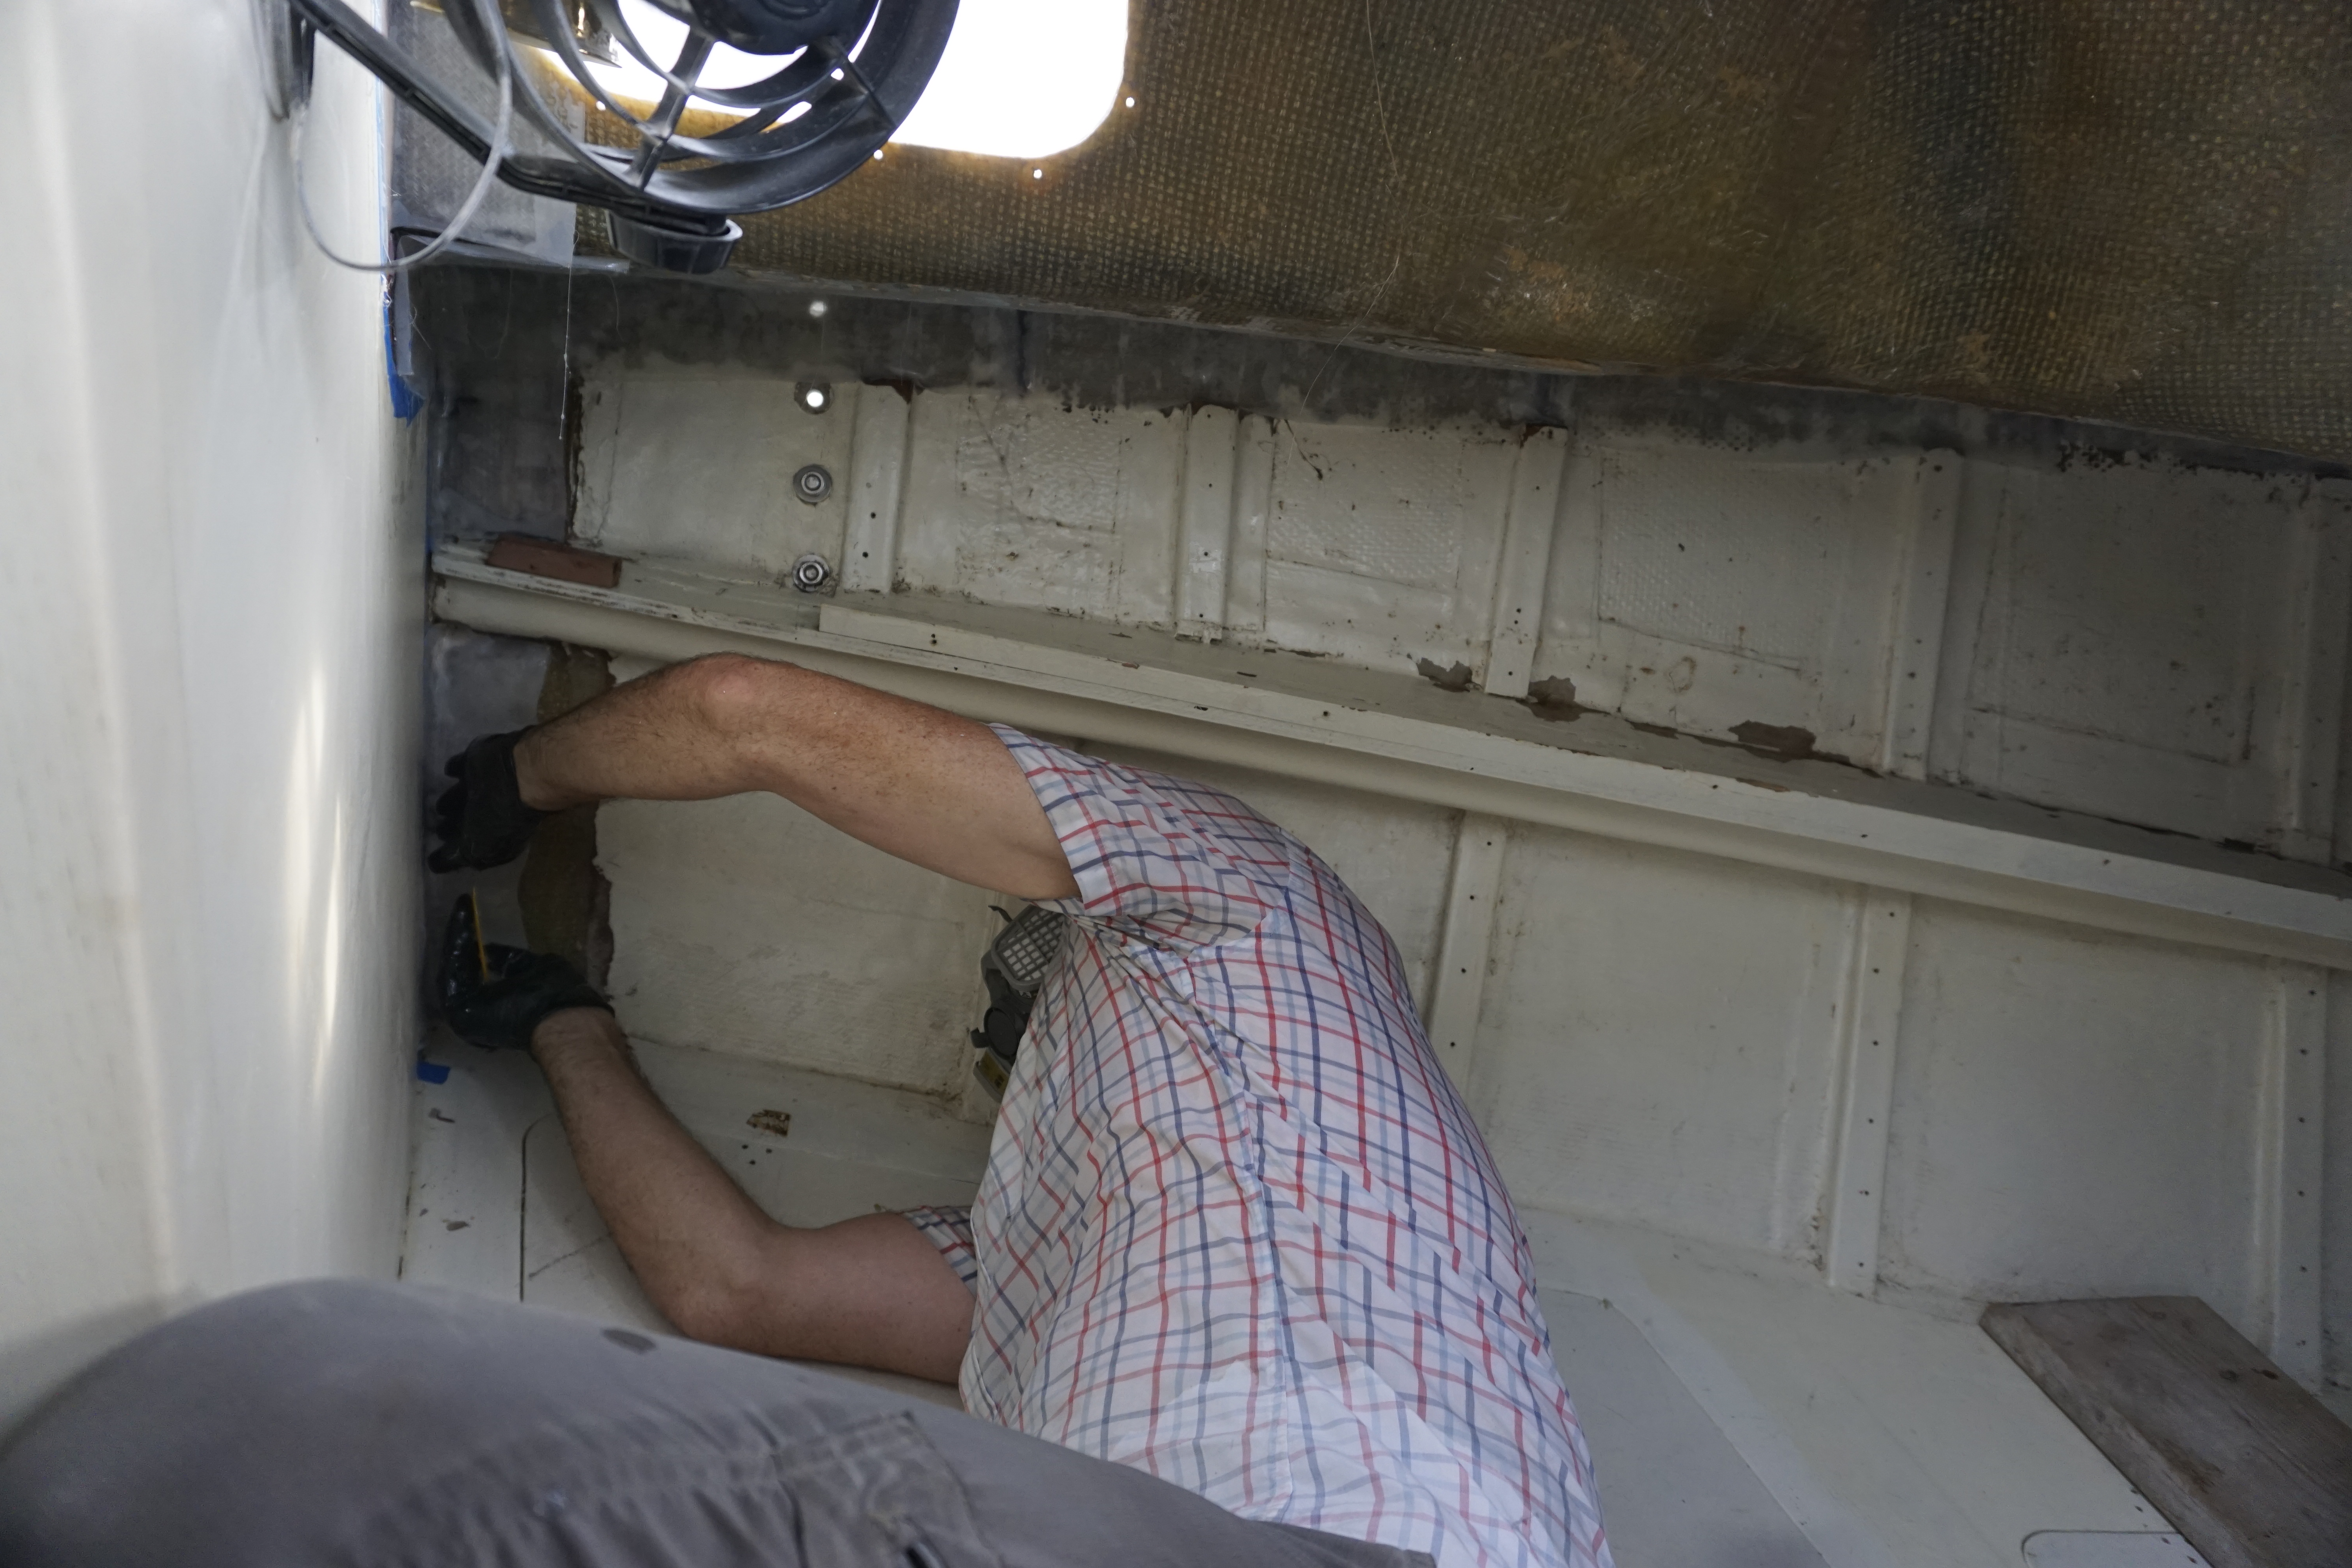
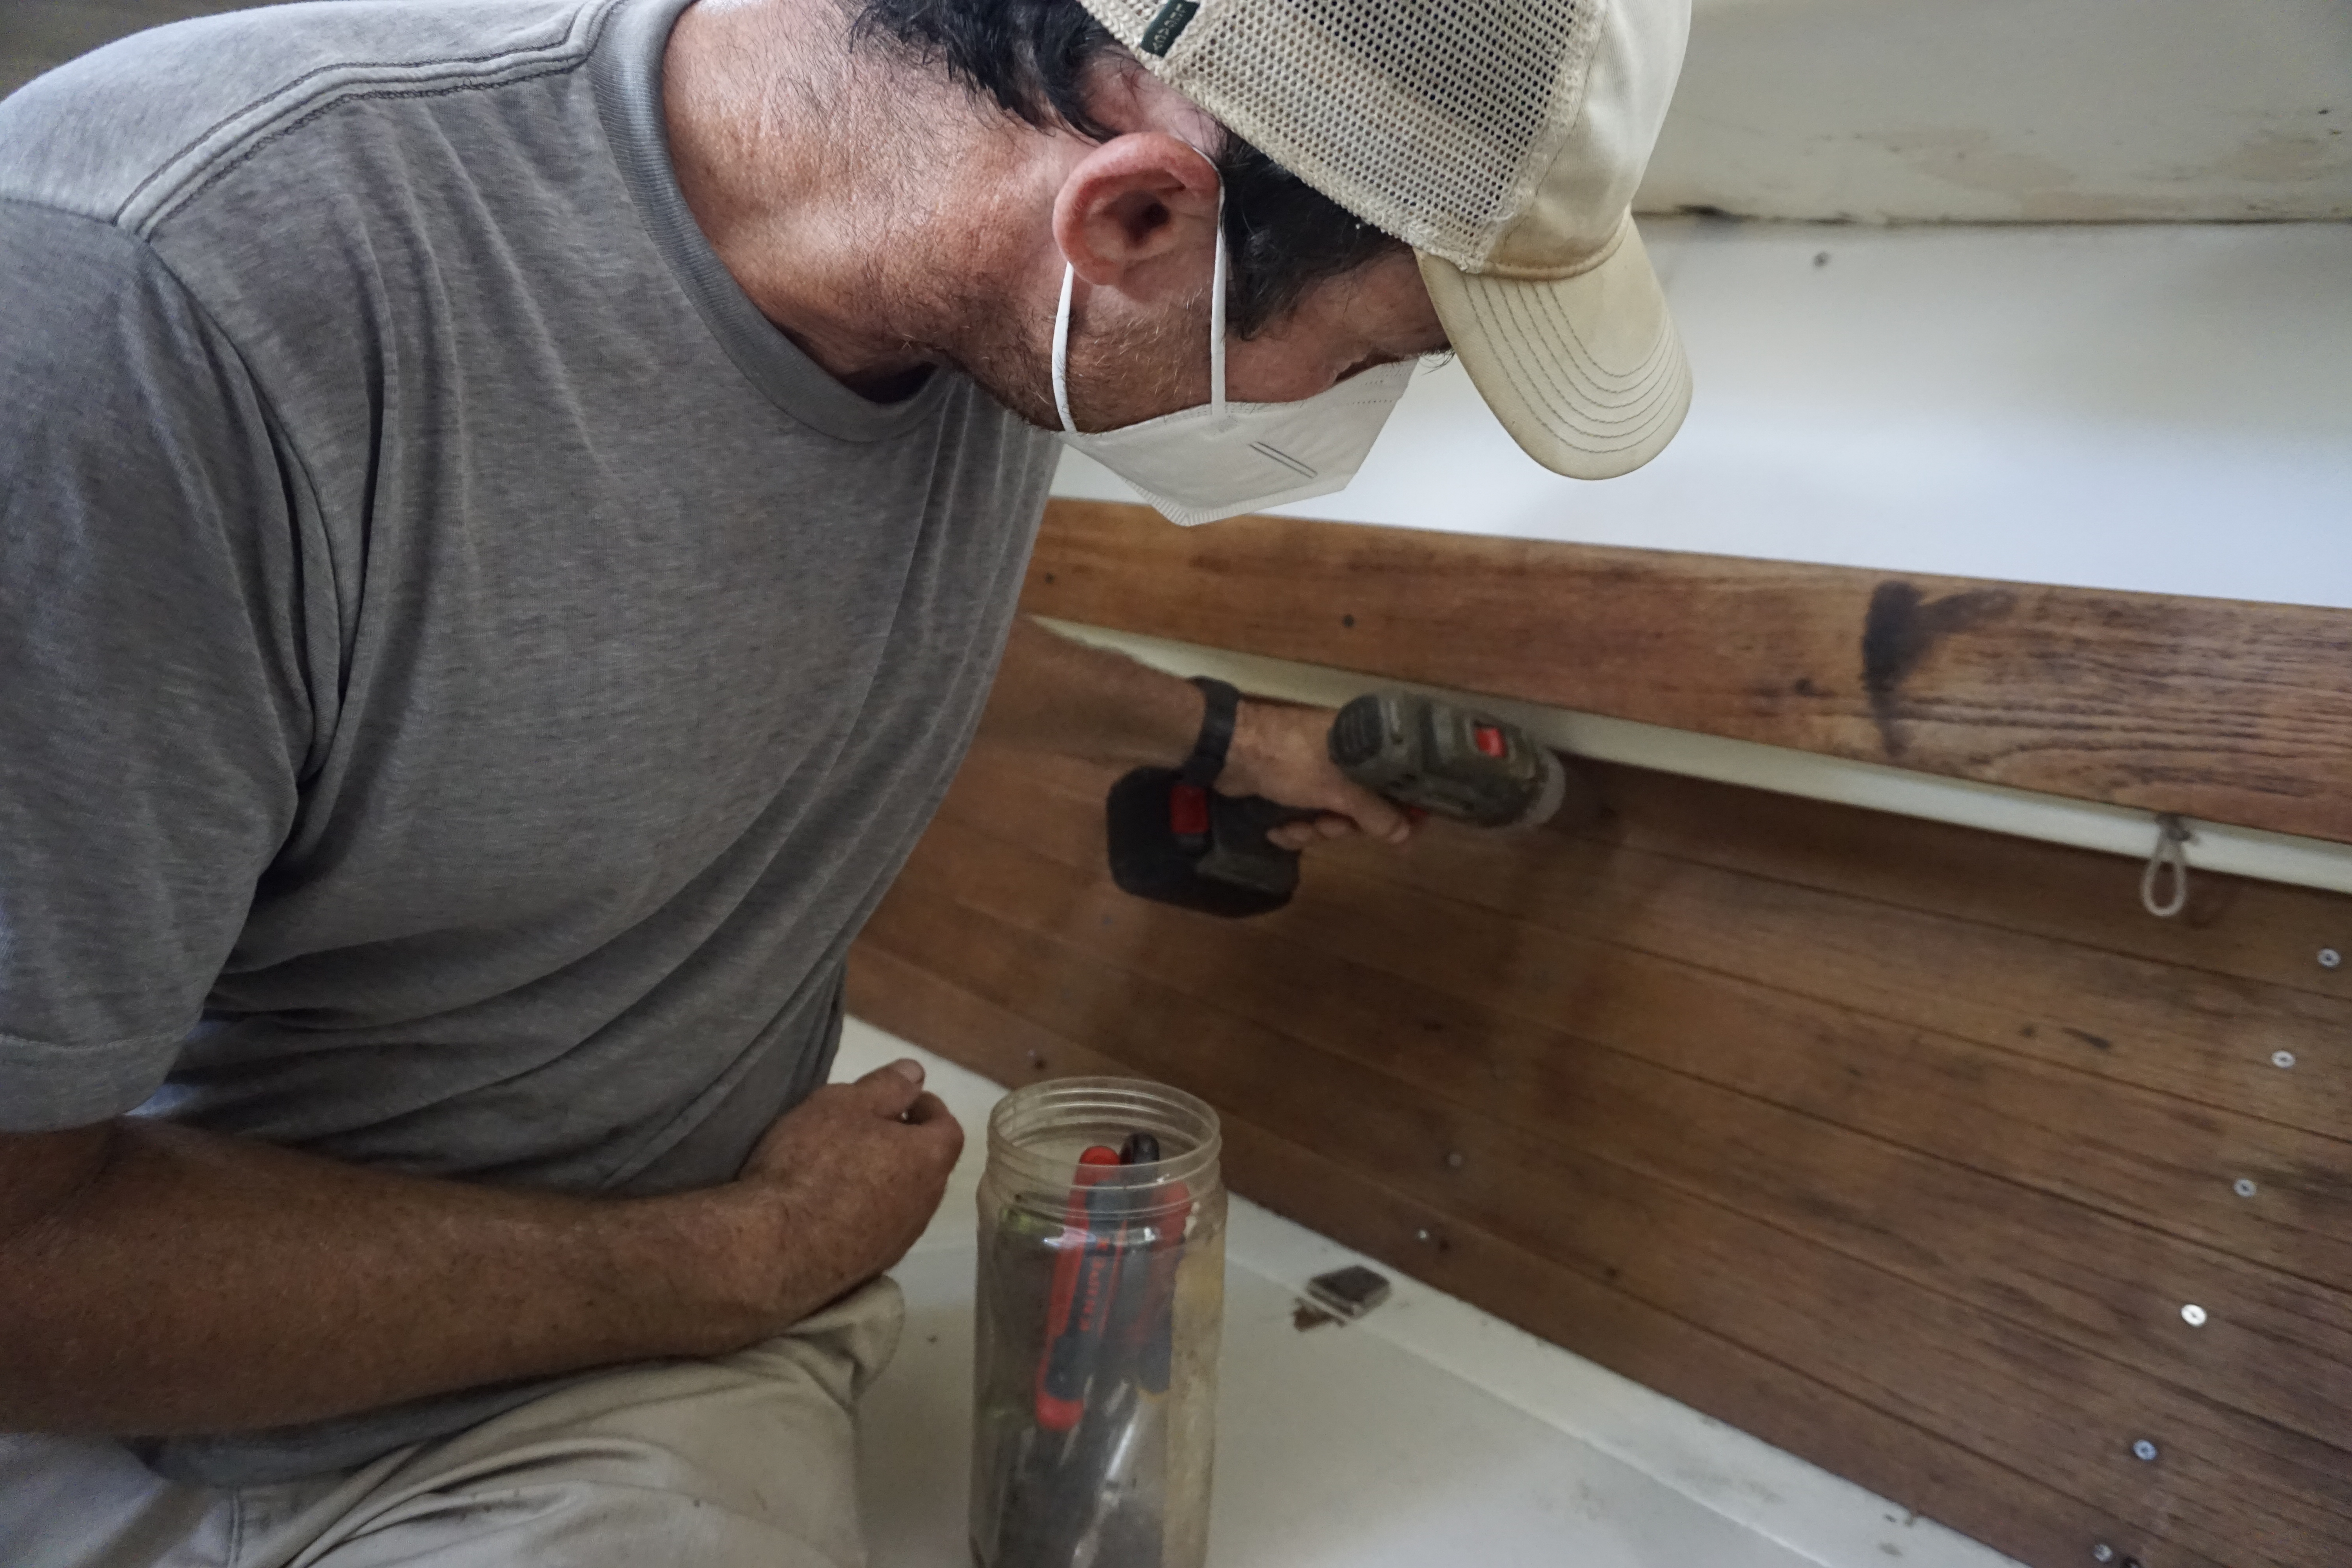
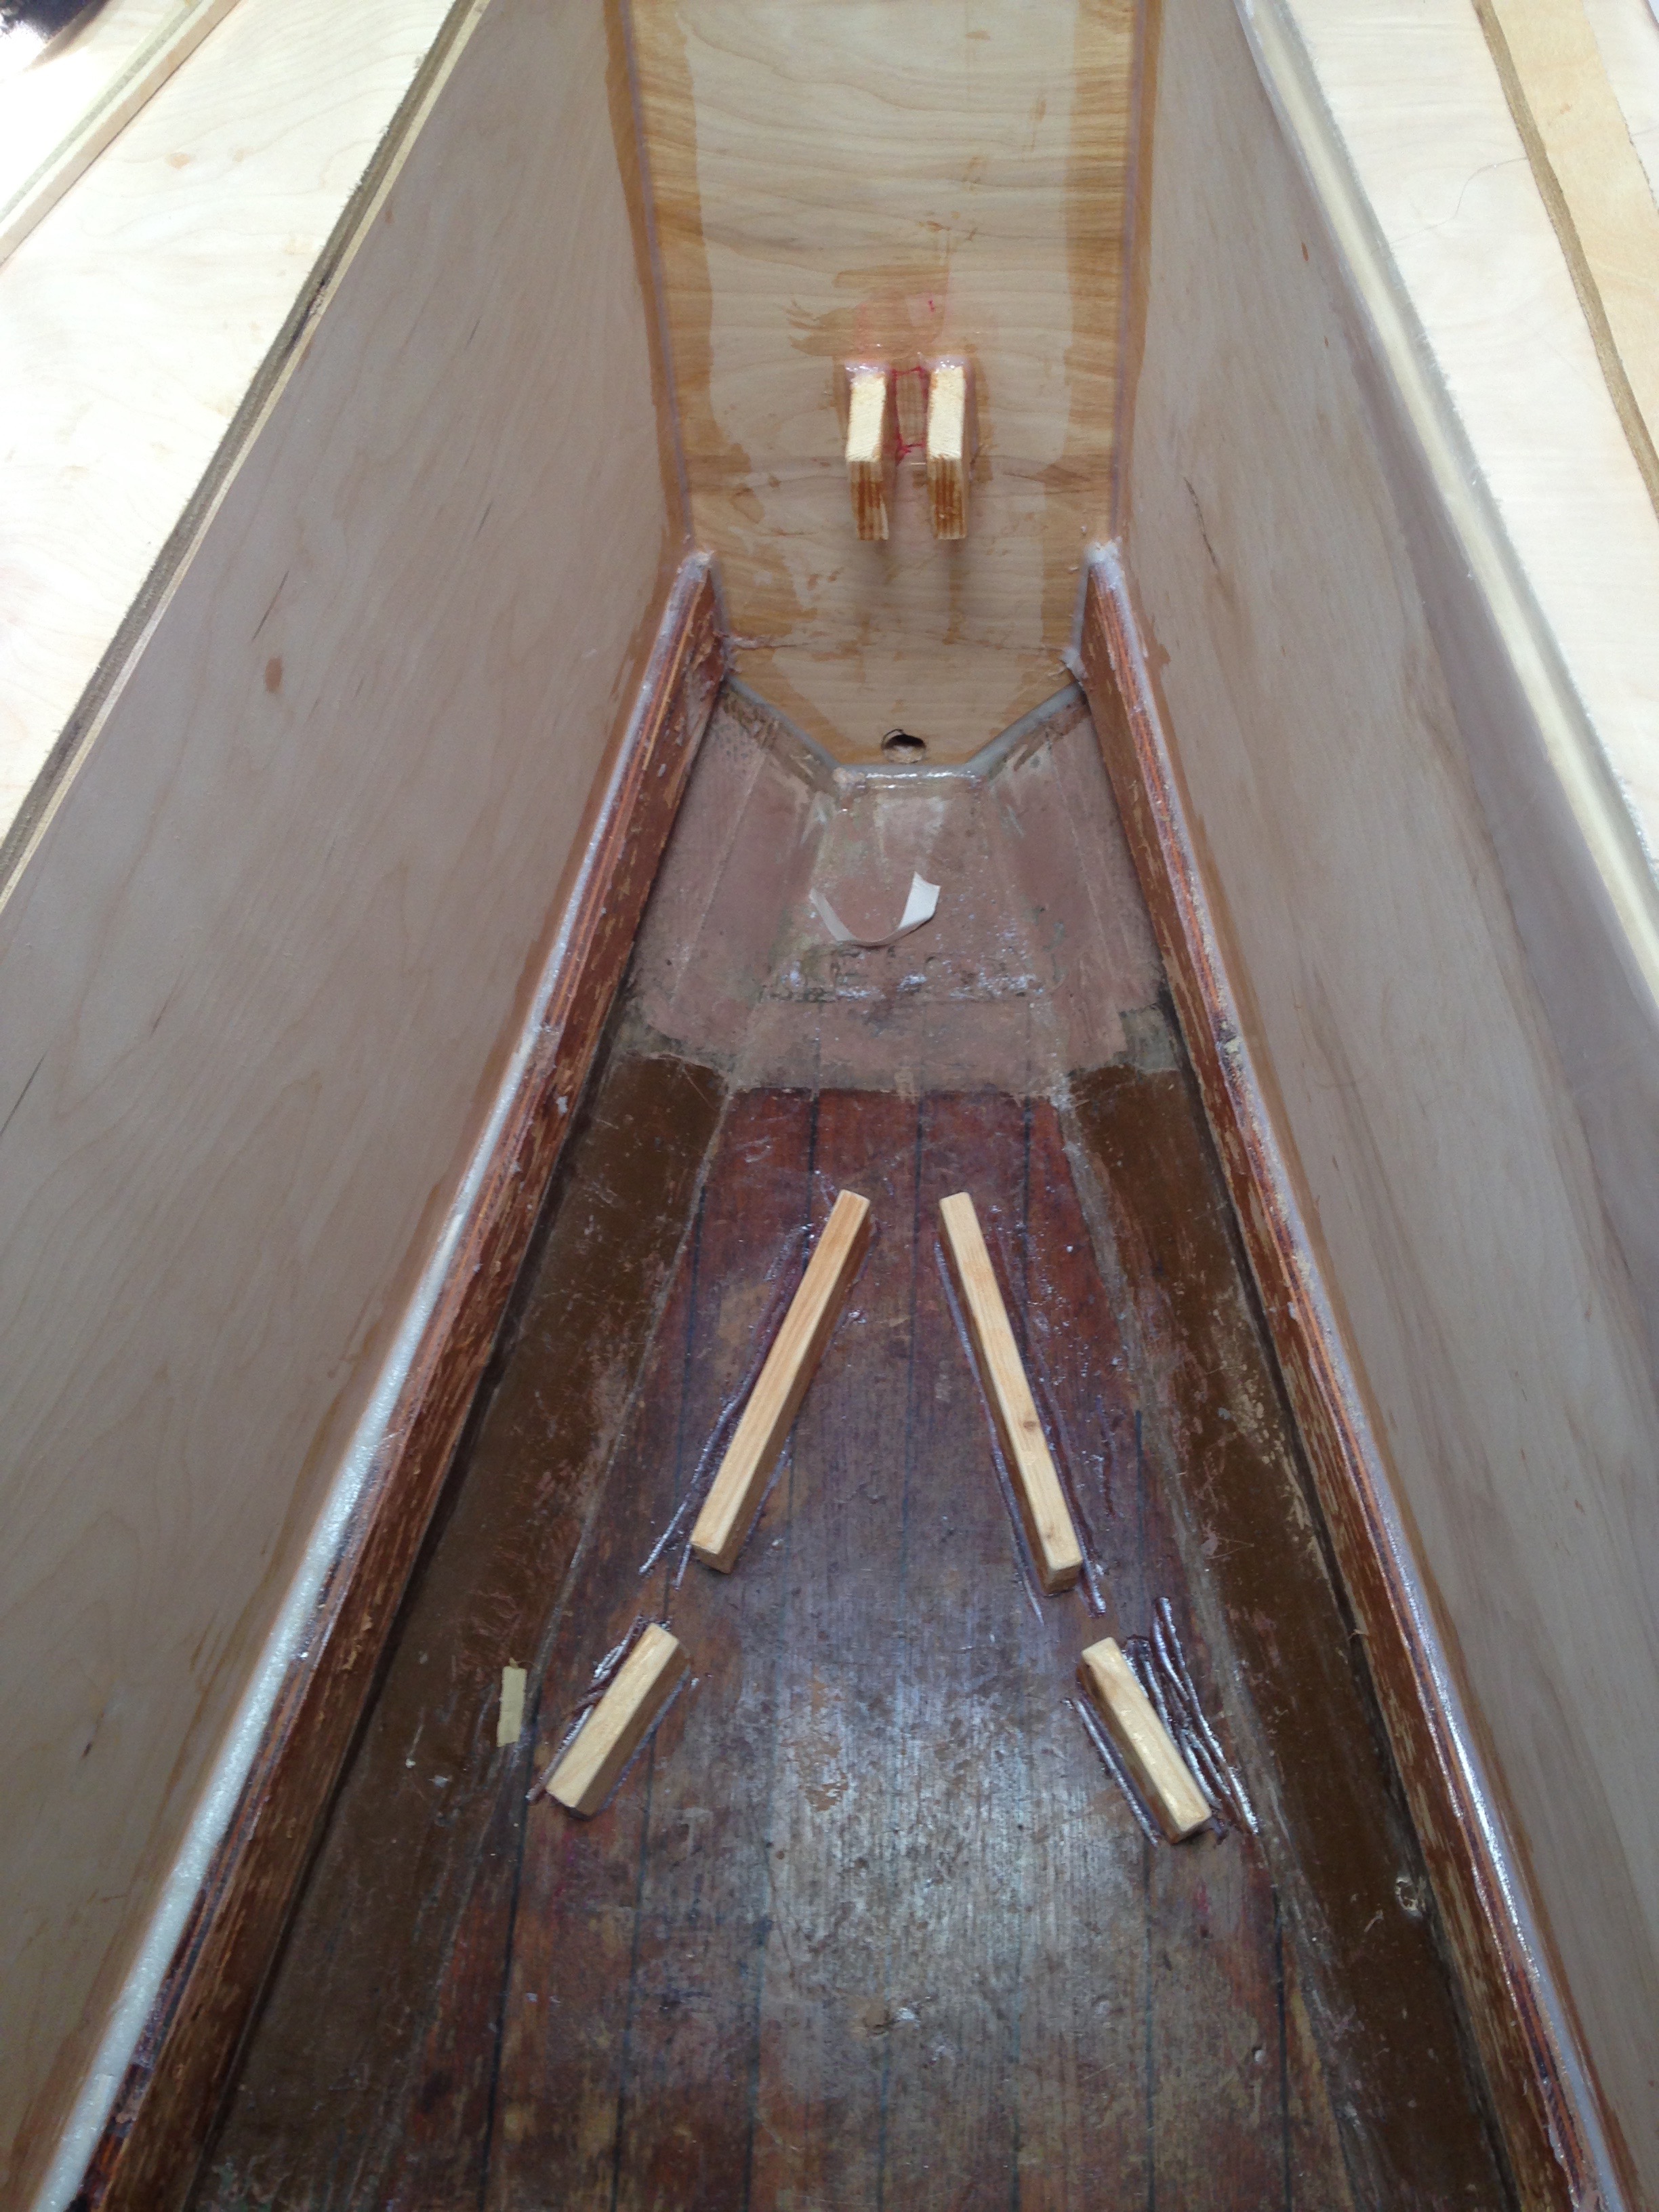
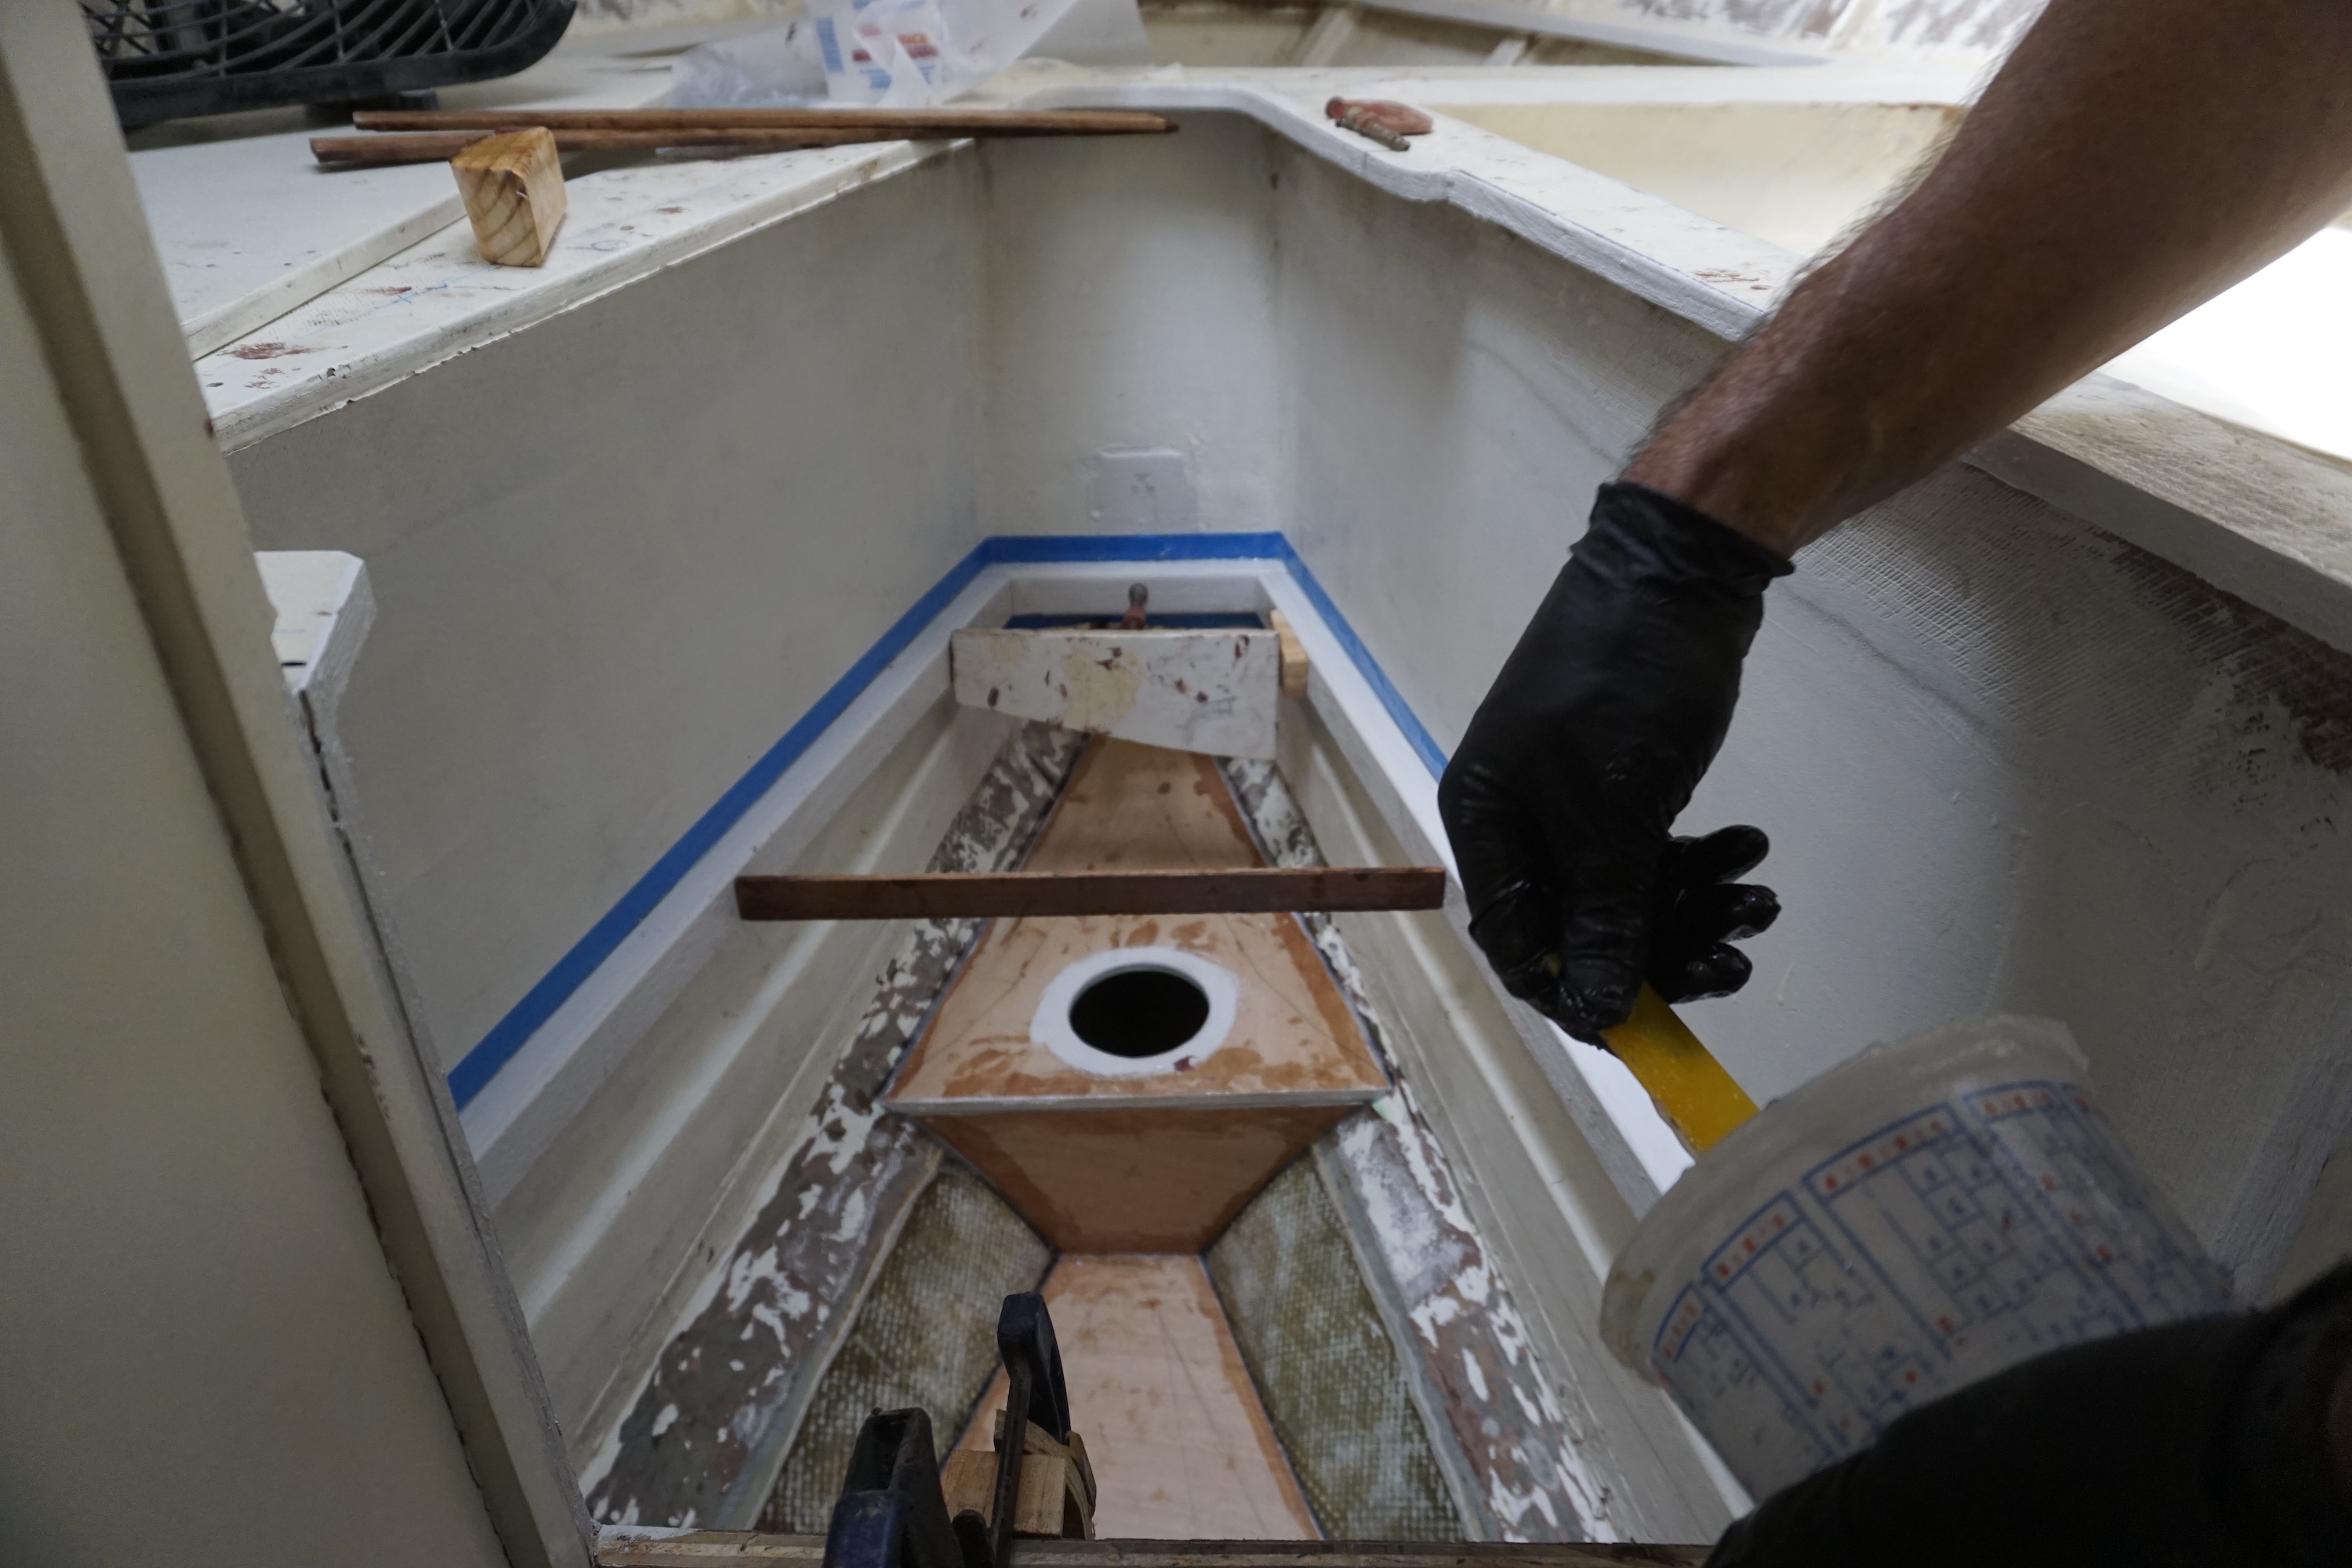
Just before we started reconstruction, Brian studied the space intently. He made a last-minute decision to cut out a section of the original plywood sole in the v-berth, in what had become the bottom of the anchor locker. He found more space for anchors under the sole, in the bilge.

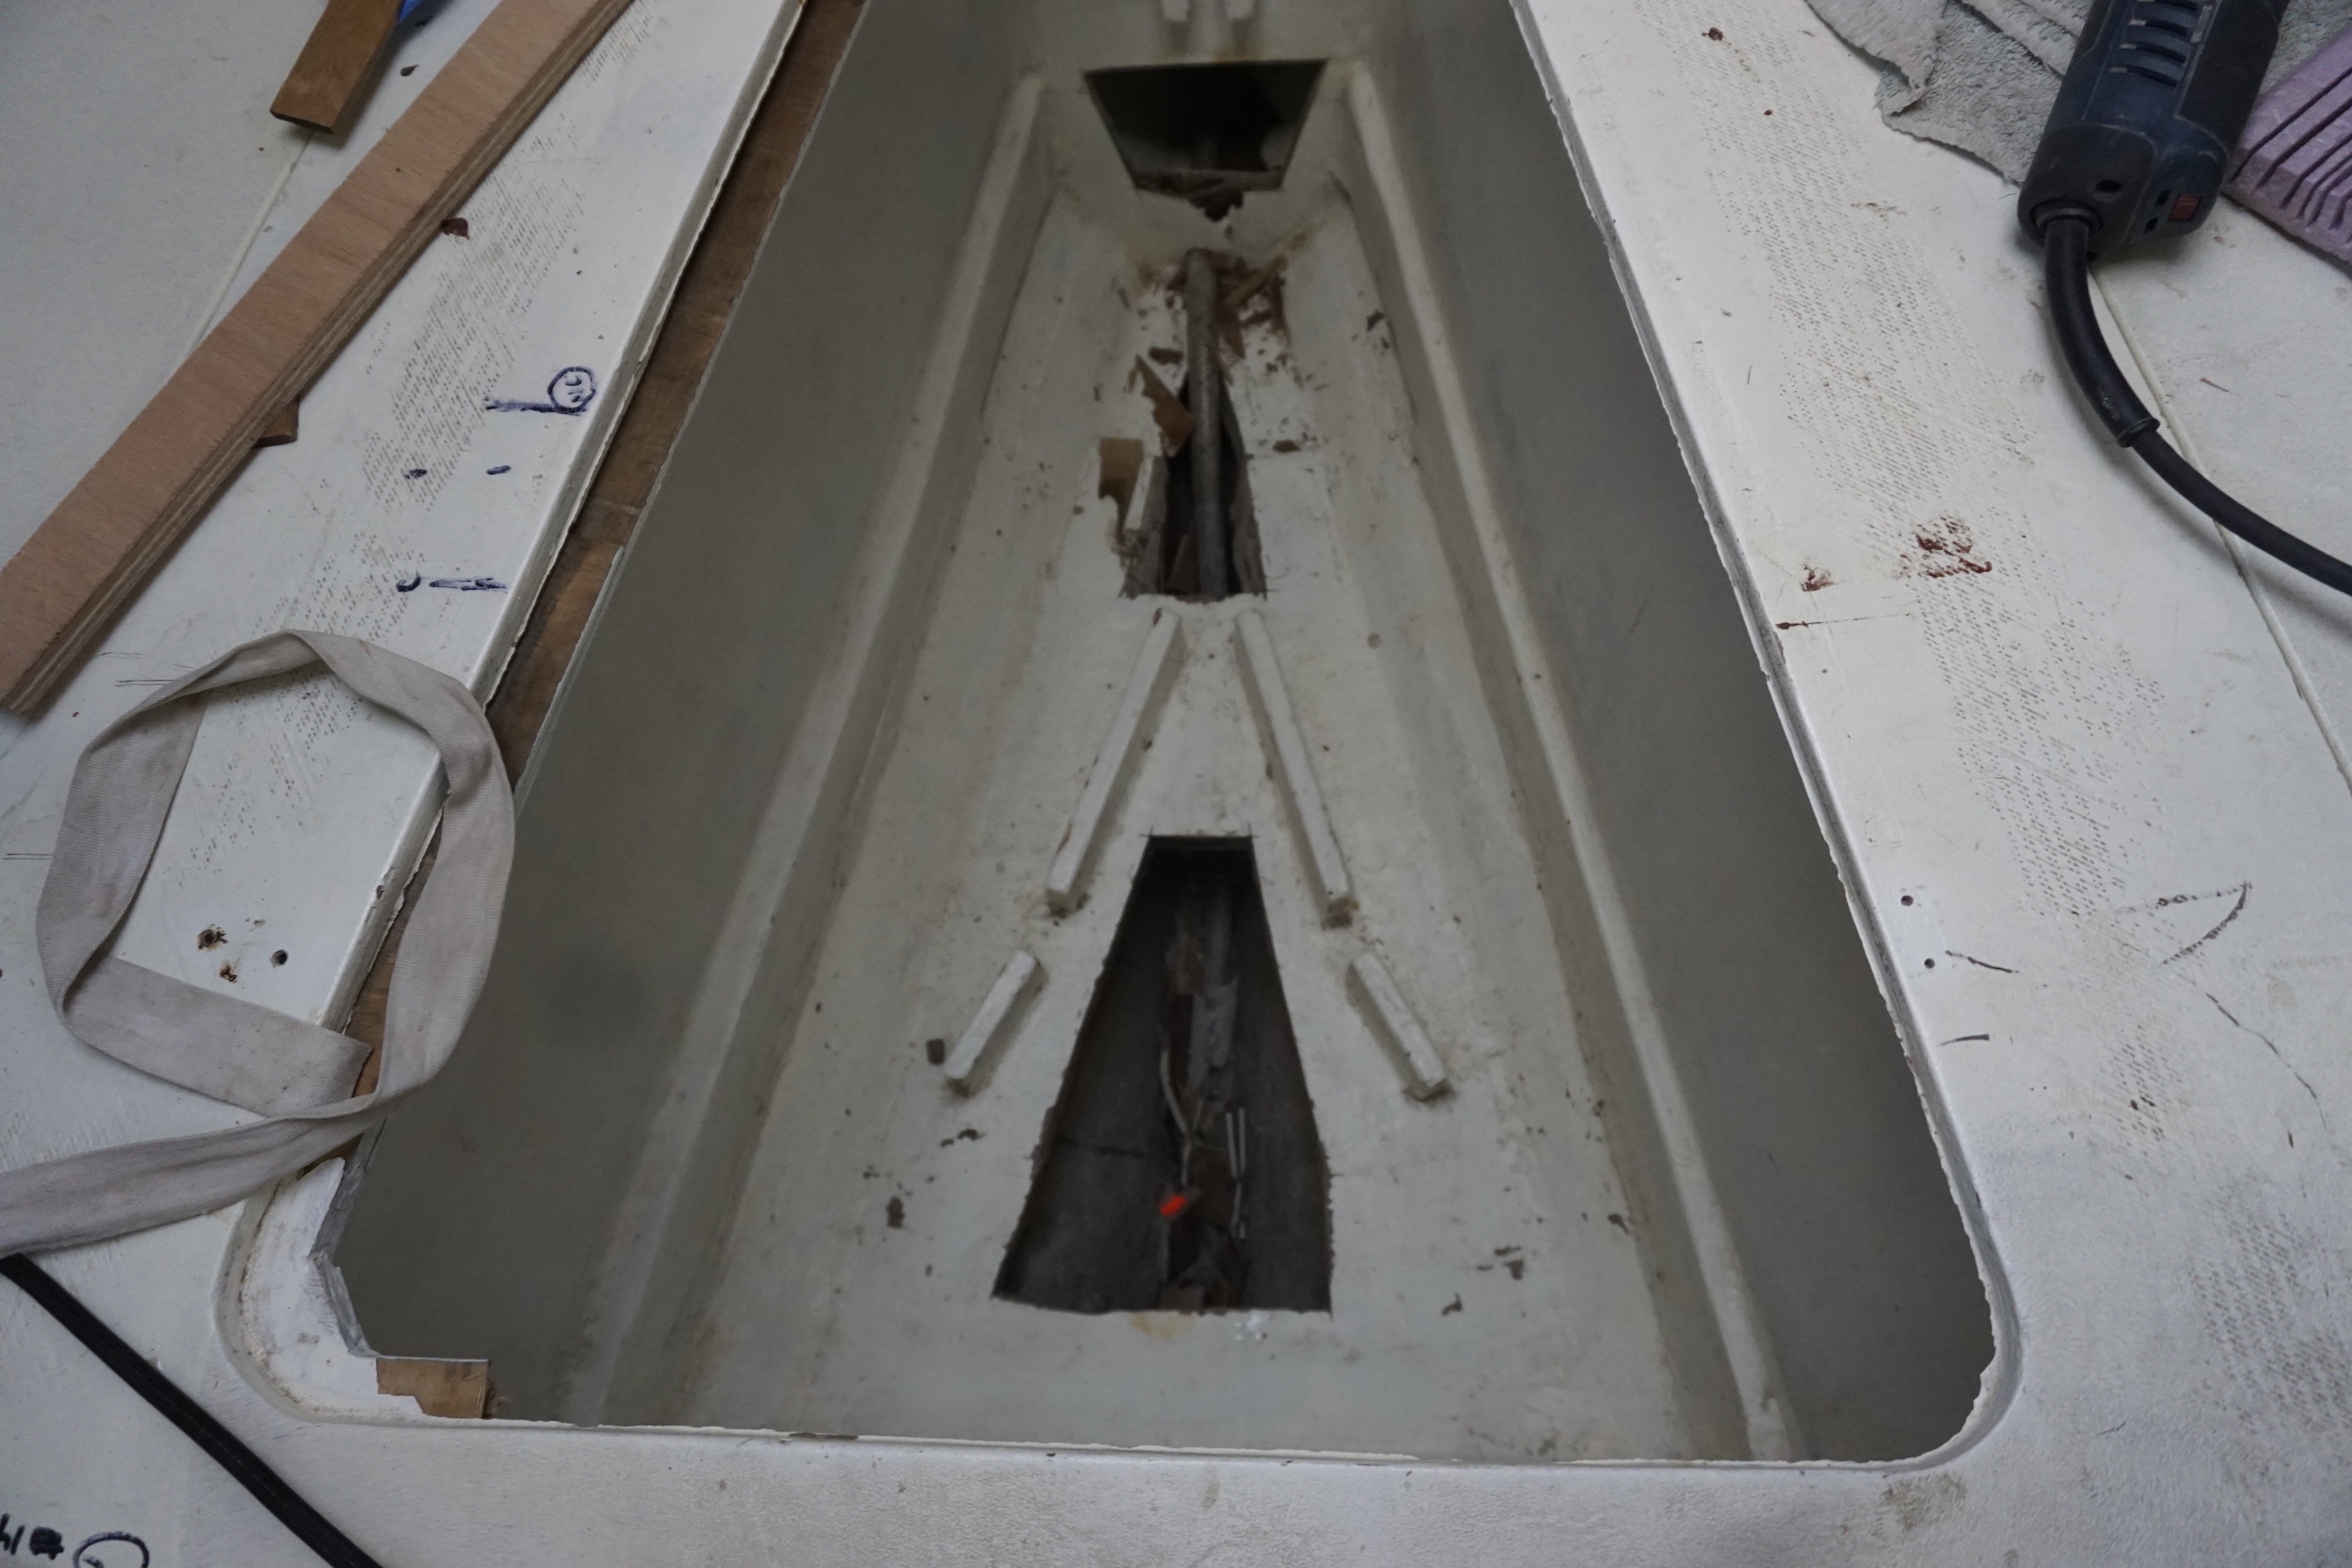
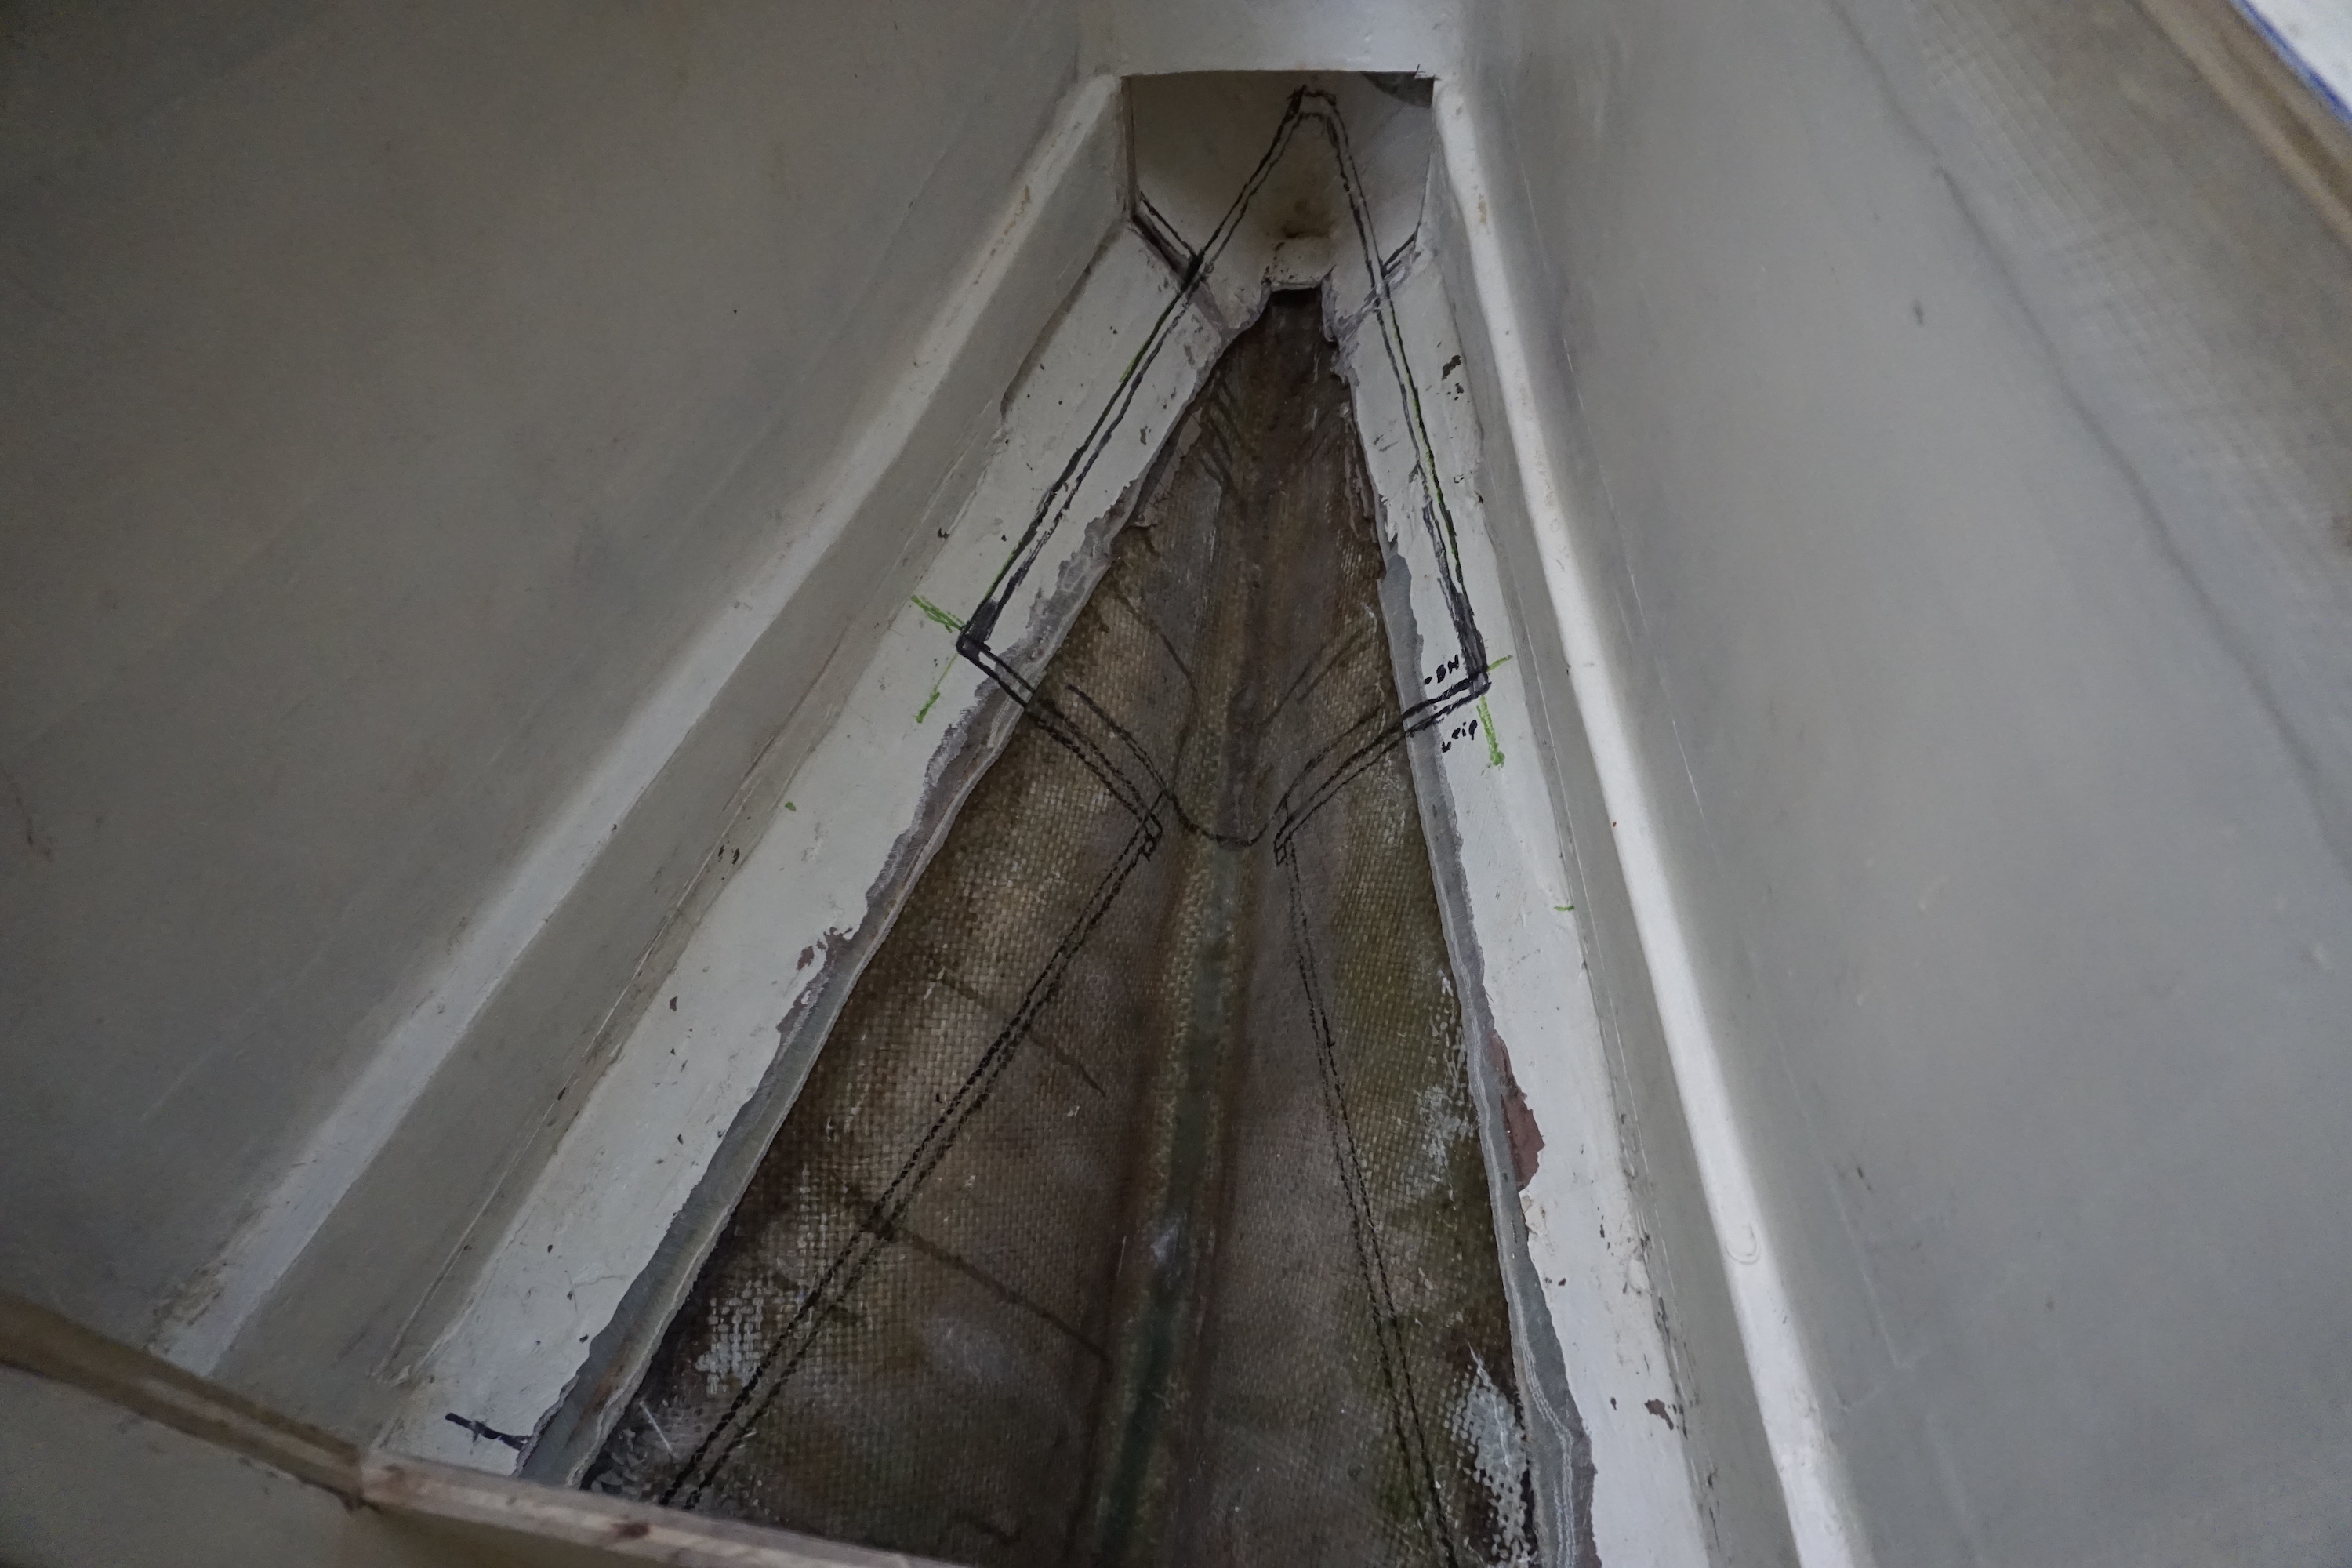
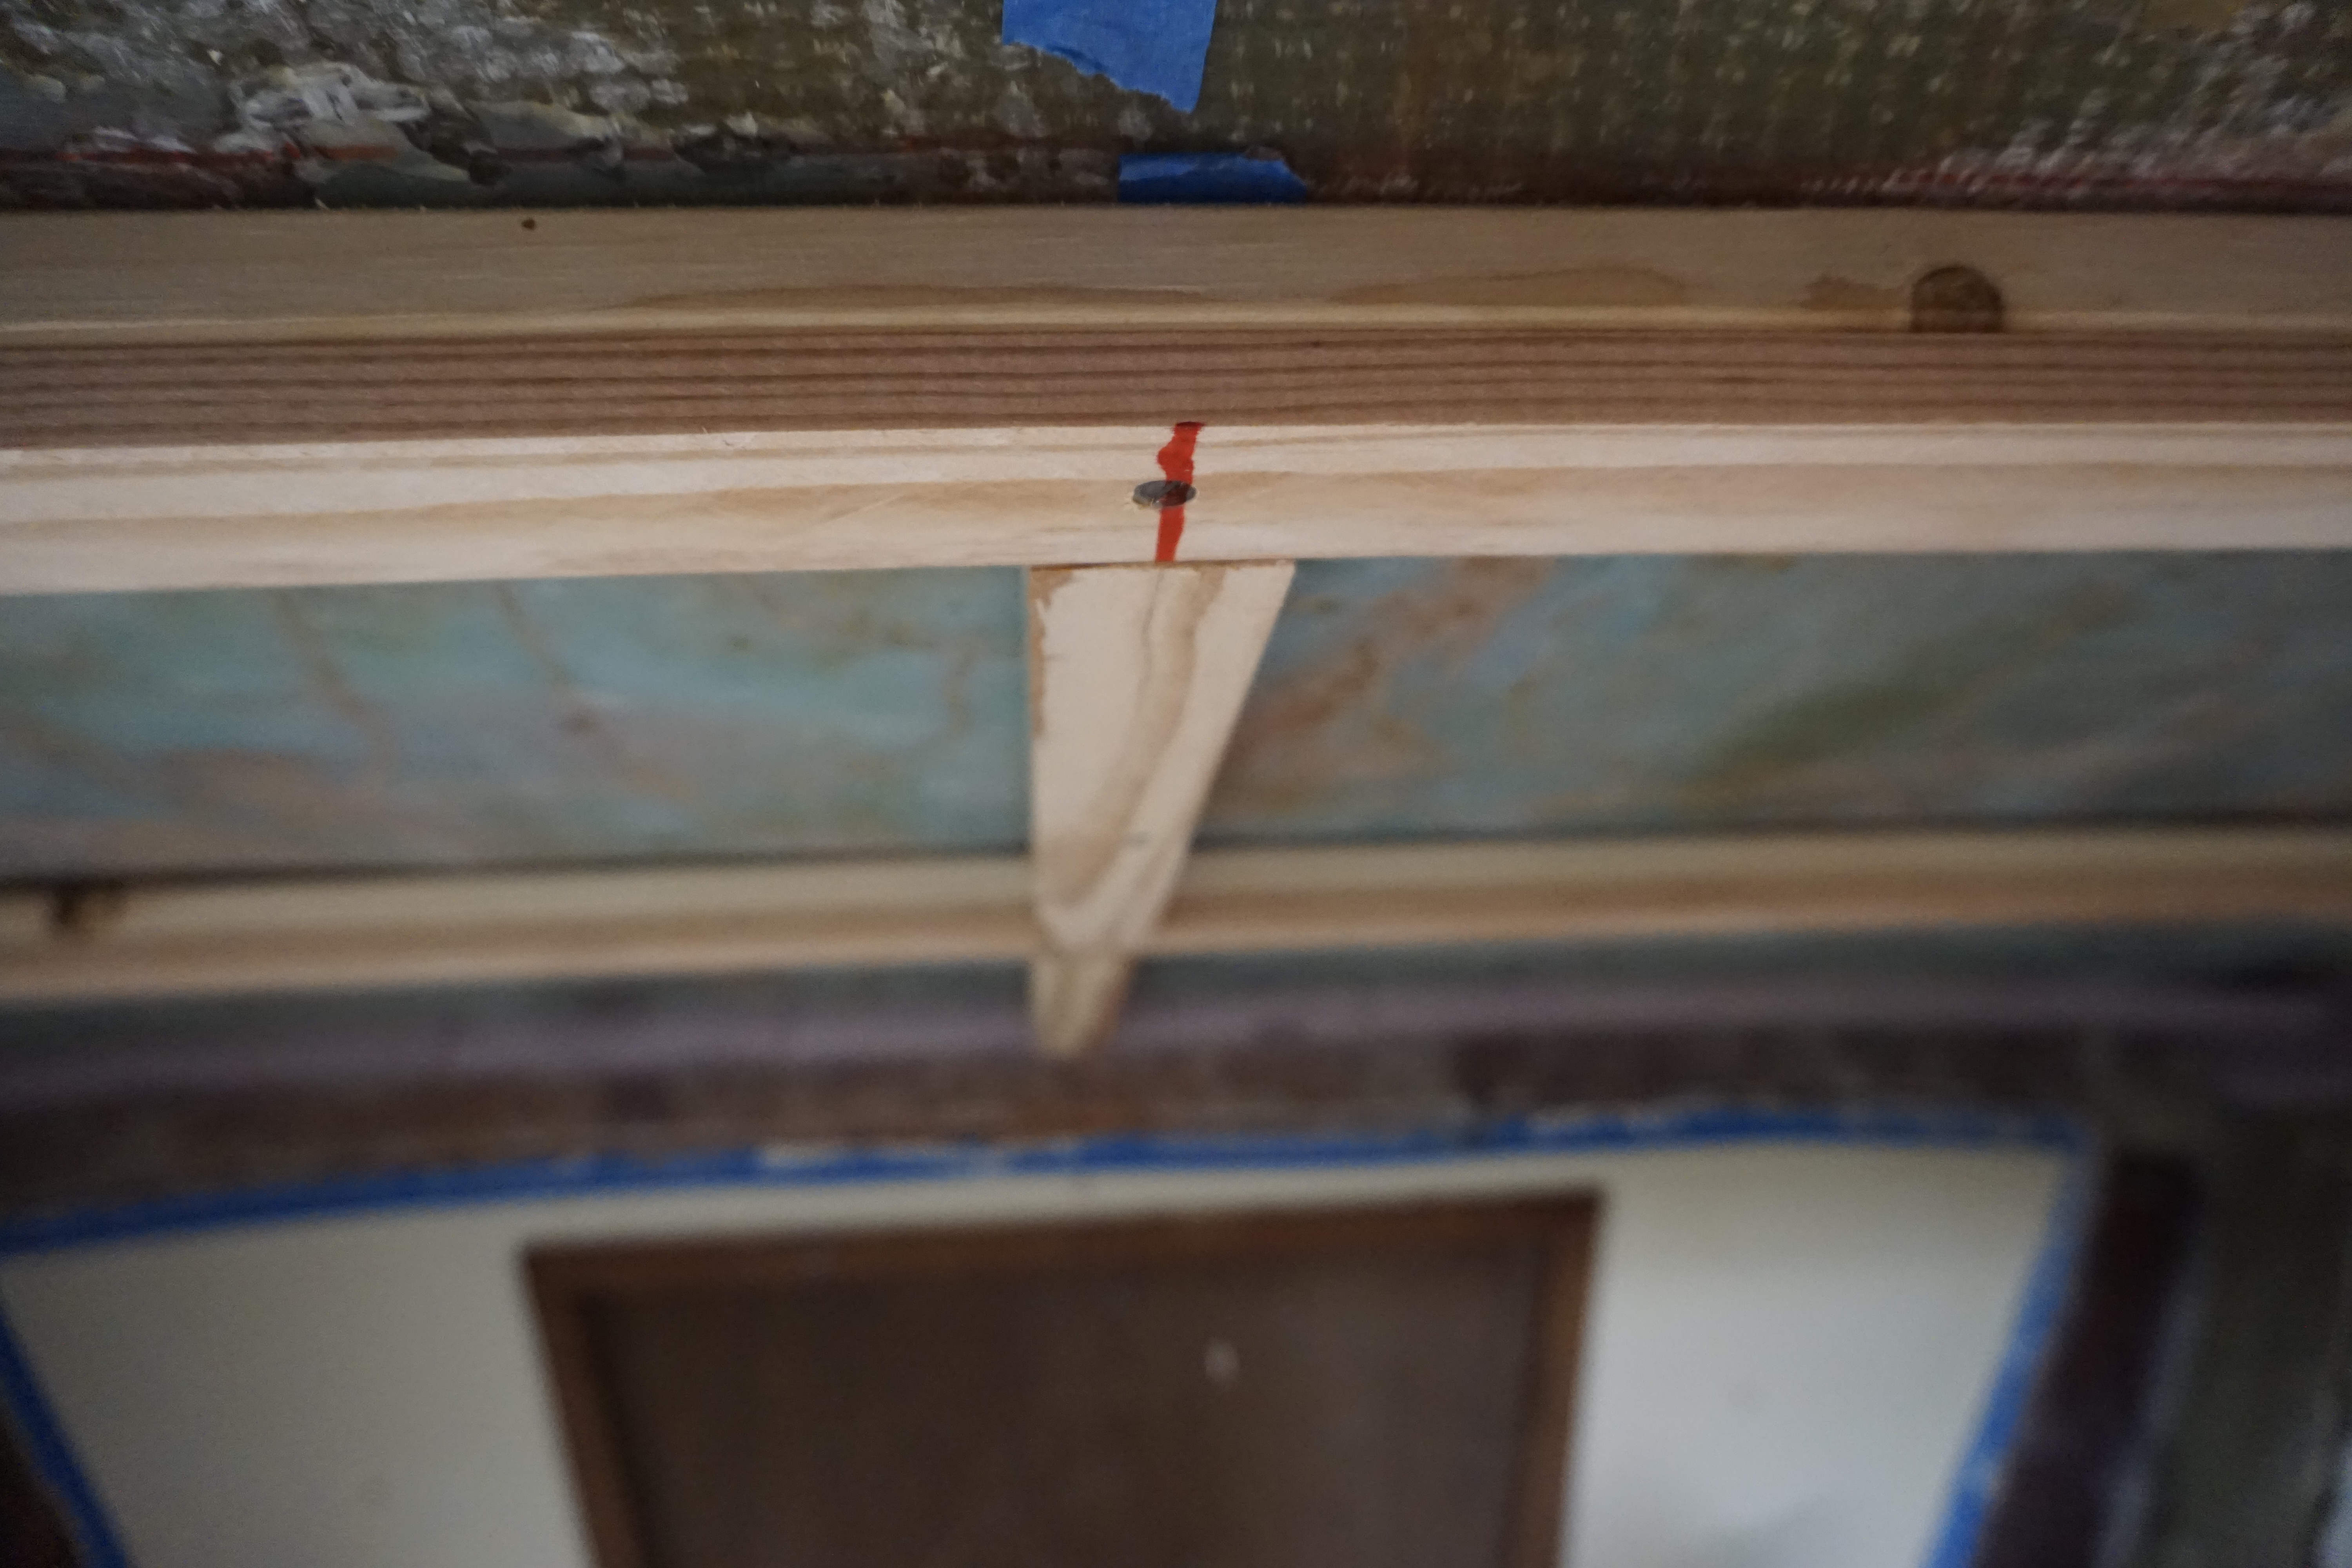
The next day we built steadily. We built the new base of the anchor locker lower by going 6 inches into the bilge. The aft bulkhead of the locker was transformed, from an obstacle into a 14 inch high step. 

Access to the v-berth improved dramatically. Now we step fluidly forward, onto the lid of the anchor locker. We also have space to swing our legs up and down, or in and out of bed—no more break-dancing. 

With the anchor locker complete, the weight of chain in the bow remained a nagging question. Finally, after several months of refitting the boat, we realized there was space for chain underneath the sole in the head. When practical, we can now move our heavier, primary rode into new compartments, located low and center. When we do, we plan to sail with a lighter, secondary rode in the bow locker.  

We built our first anchor locker in 2015 to solve a stowage problem. Unfortunately, the locker solved one problem and created another. We enjoyed the stowage solution and lived with its shortcomings for eight years. This time, we rebuilt to solve both problems. We preserved stowage and reclaimed access. We also got a little something extra in the refit process; we now have a new location for chain. We are counting the days until we put our solutions to the test, and the true testing ground is just a short trip in the travel lift, across the boatyard and into the sea. 

Blogging in the Boatyard

Dawn Treader has been on land for 20 months, and we’re finally cooking with gas. We lit our new propane stove for the first time last week, and were both impressed and slightly intimidated with the heat and power of the burners. The new propane stove is faster and quieter than our kerosene primus stove, and this improvement happened at the perfect moment.

Let’s say that channel fever, a restlessness many sailors experience towards the end of a journey, begins when a passage is approximately 80% to 90% complete. And let’s assume that this refit is an ongoing journey, a stationary voyage, that began with Dawn Treader’s haul out and will end with her splash. Now, with somewhere between a couple and a few months left, we are restless with channel fever.

I feel it, and cooking faster seems to help tamp down my precipitous emotions. Furthermore, cooking with gas represents the act of nearly completing the galley rebuild, which feels good. Almost all of our projects, and the refit at large, are nearly complete. Although this state has infected us with channel fever, being nearly complete is still better than our prior state: indefinitely slogging onward.

We have been in over our heads for 20 months, but we’ve been fine with that. We know how to tread water. This refit demands constant energy and effort, and we’ve delivered both. Our dream, our memory, of a simple life on the water keeps us motivated. The biggest weight, however, and the one thing that threatens to drown us, is time. Time frustrates us because we have been unable to accurately estimate how long things will take. A sailor here recently told us this is Hofstader’s law (named after Douglas Hofstader). The law states that a task will always take longer than you expect, even when Hofstadter’s law is taken into account. We see this happening all around us. It seems impossible for most sailors to predict the exact length of their complicated projects.

Time becomes an important player when you are paying rent, when you’re in a boat out of the water, and when you’re managing expectations. Time becomes a nuisance. Time facilitates stress. Before this refit, we had benched Time. It sat on the sidelines of our lives while other things played for the win, things like beauty, curiosity, wonder, and simplicity.

Keeping up this blog has always been difficult. When we’re away from civilization or land, it is not easy to stay in touch. I thought that being present in both, for so long, would make things easier. But, we still haven’t found our land legs, and I’m not sure we will. Awkwardness and difficulty adapting to a busy, noisy life on land have gotten in the way of blogging. These refit months have also been packed with design, labor, material procurement, and research, and this has limited our bandwidth for creating complete written sentences. 

Channel fever, however, has inspired impatience, and it seems wise to use this restless energy to blog, to connect and to share. Eventually, we’d like to show you some before and after pictures of our projects (whenever they are finished), and take you through our refit bit by bit. The transformation of our boat is almost complete. She’s not the tired, weathered old girl that sailed here. She’s almost ready for the next adventure. 

I look forward to writing about sailing and traveling again. But for now, thank you for sharing my break from boat work, to read something of what it’s like in the boatyard, aboard Dawn Treader, where we’re happy to be cooking with gas. 

Now Available for Deliveries

We have been on land since June of 2022. We would love to get back out on the water as soon as possible! 

Dawn Treader’s refit is going well, and we hope to finish work in the cabin in the coming months. We hope to launch Dawn Treader before the end of the year!

In the meantime, we are available to deliver yachts. One or both of us would be happy to join your boat as captain or crew. Please take a look at our contact page if you are interested. Please share the page with someone you know.


All the best,

Brian and Debbie 

V-Berth Insulation, Part 6, New Plywood Headliner

This job was a break from grinding, sanding, and sticky epoxy work. It felt like a vacation, making templates and cutting plywood.

Project Notes

The v-berth overhead was made from two sheets of 1/4” Okoume plywood. There are a couple of small, but usable offcuts leftover. The Okoume is lightweight, but pricy. One 1/4” sheet weighs in at 18 pounds and cost us $88 plus tax and transportation. It has been a nice material to work with. The swirls and patterns on each sheet are beautiful.

We made templates for each headliner section from plastic cardboard. We cut strips of the plastic from a big sheet, and then cut smaller pieces as we need them. We taped some pieces overhead, and then used hot melt glue to add more. The plastic frames were strong enough to hold their shape until we marked and cut the plywood to match. We gave ourselves plenty of data points to work with in tricky areas by adding more pieces. 

Brian used each template to mark the plywood, and then cut the wood with a jigsaw. After we fit each plywood section to the overhead frames, the plastic template was easily pulled apart and reused, again and again. 

Next steps are: to cut out port lights, to seal the plywood with paint or varnish, to countersink for fasteners, to add trim at all the seams, etc. The finishing details will take time, and we’ve got to keep going. We’ve got to gain momentum and work faster. But for just a moment we paused and looked at the panels, and how they fit together, and Brian said “If it were any more exact, it wouldn’t be our boat.”

V-Berth Insulation, Part 5, Epoxied Frames

This is a large scale project. We may be in the boatyard for up to a year. We have worked on Dawn Treader for long periods before, but this time our projects seem bigger and more numerous.

Dawn Treader has been in the boatyard for 13 weeks. We have worked solidly for 9 of those weeks. The time has passed steadily. The days have stretched, allowing for long hot days of work. If our year long refit plan becomes a reality, than we should be 25% of the way through our projects. Have we completed 25% of our to do list? Hardly. But, we are optimistic that we can increase our pace.

Last week, we made our first lasting addition. We used epoxy to coat the frames for the overhead in the V-Berth, and then used thickened epoxy to attach the wood pieces to Dawn Treader. The framework is strongly fixed in place. We cannot move the frames, even if we push and pull with all of our force. With the framework overhead, Dawn Treader feels like a tank, an armored or reinforced vehicle ready for combat. 

The framework is strong, but it is also as light as we could manage. Where there are larger panels, there are smaller cleats or foam hiding underneath. Light furring strips act as spacers for stronger heavier douglas fir. The plywood is either 3/16 inch thick teak or lightweight 1/2 inch okoume.

With the frames in place, we have sufficient room to add an inch of insulation overhead. Although we are not finished working on the frames, they want a bit of epoxy, some sanding, and a coat of paint, they are ready to act as supports. We will cut and dry fit a new overhead liner, 1/4 inch okoume plywood panels, to the frames in our next steps. 

Project Notes

We removed all the frames and coated them with epoxy. We made a mistake when mixing one of the pots of epoxy. We mixed Part A with Part A instead of A with B. The sticky pieces coated with this pot of epoxy had to be scraped and sanded, and then coated again. We continue to make mistakes. It is hot, our heads are muddled, and we still feel rusty when it comes to boat work.

We added thickened epoxy to each piece and glued them to the overhead. Screws and clamps held each piece in place until the epoxy set. Layers were laminated together and we were almost done. But, the awkward curved space on the upper cabin sides called for a more times consuming, unique approach. This is the only place where plywood will be fixed over a small volume of space, a space that we will not be able to access and insulate later. To insulate this gap, we used XPS foam and spray foam. We then epoxied 3/16 inch plywood atop the cleat that bordered the foam at its lower limit. 

Unfortunately, the polyurethane spray foam grew and pushed the tops of the plywood pieces out of place. Having never used the foam before, we thought it would expand and flow out of the gaps at the top of the plywood. Instead it expanded more uniformly, and its growth displaced the plywood. Brian made the quick decision to take the panels down before the epoxy set. The next day, he trimmed the foam, we sanded down the epoxy, and then we successfully installed this third layer, the second time around. 

We added frames to the tricky area, the overhead around the hatch, last. We used douglas fir around the hatch and installed easy to shape furring strips for six other frames: three to port, three to starboard. All of these pieces were installed to create an even support system for the new headliner panels. The frames were made into variable shapes to absorb the irregular surface of the overhead, so that the plywood can be placed overtop in a single plane. 

We also added wood around the port lights, to completely border them with wood. Brian then cut the blocks to shape using a jigsaw. Next, we will sand and epoxy the port light frames. We will do some finish work on all the frames: epoxy filler, sanding, and painting. But for now, we are going to move on to the next step in the project.

V-Berth Insulation, Part 4, Building Overhead Frames

There is a dead spot in the boat, in the forward v-berth, where the air is still. We plan to add vents to create more air movement there, but for now we added two box fans to the space. These fans make it bearable to be inside the v-berth on hot summer days in the boatyard, in Puerto Penasco, Mexico.

It took us a couple of weeks to figure out how to keep inching forward, to keep making progress in the v-berth, in the heat. But, now we gain a little in the v-berth every workday. We set our alarms for 0400 Monday – Saturday, and we walk to work during twilight. We spent the early hours working in the v-berth, and if it gets too hot to continue, we move outside to other jobs. We have hit our stride with this schedule. It is a slow stride, but it is a stride nonetheless. We were slow to design and execute our plan for the overhead frames too, but now we have some progress to show on this puzzling project. 

Project notes:

We took a step backwards and examined the fiberglass on the forward bulkhead. When we tabbed in the v-berth bulkhead, the thick 1708 fiberglass did not adhere well. So, Brian ground off parts of the 1708 fiberglass installation. With that out of the way, we laid up thinner, 10 ounce glass to complete the tabbing.

That done, we fiberglassed in foam along the hull where it meets the deck. We also fiberglassed in foam on the overhead along the forward bulkhead. The foam is a cheap, lightweight spacer. We intend to glue wood in on top of the foam where we need to attach the headliner and side panels in the future.

We narrowed our focus to the overhead for the next steps. We installed frames on two sections of the overhead.

First section: We added four framing layers on the cabin-top sides, where the port lights are. The layers include: 1/4 inch thick spacer pieces that were glued to low areas to create a level surface, two layers of 1/2 inch thick plywood that were dry fit in with screws, and one 3/16 inch layer that was screwed to the upper frames (not pictured, look for this in the next post). These four layers together are almost 1 1/2 inches thick. There will be space enough for insulation.

The widest piece of plywood overhangs the upright section by a 2 1/2 inches. This overhanging piece was key to helping us divide the overhead into workable sections. It will hide all the layers of the section below. We may trim it later in the project, but we left room to spare because we are dealing with uneven surfaces, and we are amateur joiners.

Second Section: The outlines of the second section were defined by the first (by the sides of the overhanging plywood). We dry fit two framing layers to this area: one layer of 3/4 inch whitewood furring strips and one layer of 1/2 inch douglas fir. The furring strips are lightweight spacers. They were installed in 3 pieces across the forward area. We cut them into pieces so that we could follow the shape of the overhead more easily and reduce gaps between the overhead and the frames.

The douglas fir is stronger, heavier material. We installed longer strips of douglas fir, intact, across the span of the forward area. These springy strips of wood give support to the deck above. Our deck is generally in good shape, but it does flex, just barely. These two layer frames will be multipurpose. They will create space 1 1/4 inch space for insulation, provide a place to mount the overhead liner panels, and support the deck.

We plan to remove everything so that we can coat all of the pieces in epoxy. Then we will laminate the layers together as we epoxy them to the overhead. When all these frames are firmly in place we will build upward and install frames on the last section of the v-berth overhead, where the overhead hatch is.  

Sailing Patagonia: Tierra del Fuego Archipelago

This short video is set to music by Lemont, “Take This Hand” from Songs of Our Friends EP. The images are from our year in Tierra del Fuego and the Beagle Channel.

V-Berth Insulation, Part 3, Tabbing Bulkheads and Hull-Deck Joint

We completed our first fiberglass job of this refit. The job had two parts. The first was to tab in the V-Berth bulkheads. We removed the original 2 inch fiberglass tabbing when we cut out the headliner. In order to add our own 6 inch tape, we had to chisel the formica off of the bulkheads, so that our tabs could better bond to the wood underneath. 

The second part was to fiberglass the  hull to the deck joint. Brian glassed this joint together from the outside several years ago. This time, we are adding fiberglass on the inside. We removed sections of the original cleats on the sides of the hull to make room for the 6 inch 1708 fiberglass tape. Then we ground down the relevant areas and roughed up the surfaces where the grinder could not reach with a hand file.

The fiberglass will have two roles: to strengthen the boat and to give us a foundation. We will build our frames on this foundation. We have to add frames for a number of reasons. They will be borders for insulation. They will also be shaped to strengthen the deck. Their third function will be to provide a place for us to anchor our new head liner panels. After we add the frames, insulation, and new liner panels, the overhead in the V-Berth will be complete.

We cut fiberglass and set up epoxy stations before diving into fiberglass work one hot afternoon. The thermometer read 98 degrees when we started. First, Brian added thickened epoxy to the 6 inch sections of the v-berth where we would add fiberglass. Then, I started mixing epoxy. I mixed consistently, 3 ounces at a time. Keeping the epoxy pots small helped us manage in the heat. We both worked the station where we added the epoxy and peel ply to the fiberglass. When a piece of glass was ready, Brian installed it in the v-berth.

We had a good rhythm to our work, but fiberglass jobs can be tricky. This job showed how rusty we were, and it did not go perfectly. The thick 1708 fiberglass did not adhere perfectly to the bulkheads. The formica on the bulkheads caused problems. Wherever fiberglass overlapped the formica, the 1/8th inch rise from the bare plywood to formica proved too much. The glass did not take the rise well. As Brian says in the video, we should have known better. But, oh well. What’s stuck is stuck. We’ll make the best of it, grind down what we need to, fair with thickened epoxy where we need to and move on.

The fiberglass work on the hull to deck joint turned out better than the installation on the bulkheads. There is better adhesion along the joint. All in all, both parts of the job went well enough for us to continue with next steps.

The weeks of the refit are rolling on. These past couple of weeks have felt busy. During week 8 we spent a most of our time at the boat, and we were happy to complete this first fiberglass job. Towards the end of the week, we started to focus on plywood procurement. And somehow, we started week 9 in the United States! We drove to California for okoume marine grade plywood! And we found a cargo trailer to transport it with in Arizona. Now, with the plywood on hand, and with a new place to store our tools, we can make progress on lots of projects. But, we’re also making a point to slow down, to take stock, and to reorganize our work site before we move forward. This first fiberglass job was a reminder for us to balance speed with precision as best we can. 

V-Berth Insulation, Part 1, Dismantle and Refit Plan

We spent the first few weeks of this refit period adjusting to life on land. We made trips away from the boat to see family. We gathered tools. We moved ourselves and everything off the boat. In week five, we took real action at Dawn Treader, and the boat was changed in a day.

Dawn Treader in the Boatyard

The V-Berth was dismantled. The side panels, insulation, port lights, and headliner were removed. The headliner was cut out with a multi-max. Roughly 70 percent of the liner now sits against the fence behind the boat. We were pleased that so much was removed so quickly. The liner was largely unattached to the deck above. We will remove the remaining sections of liner when we remove the thru-bolted handrails and stanchions on deck.

We found thin stripes of mold on the insulation when we removed the sealing strips of plywood on the sides of the V-Berth. We found mold behind the insulation when we removed the plastic panels and insulation above the shelves. We found mold on the backside of the headliner, around the border, the outside inch, when we cut out the liner in sections. Wherever air was able to flow a little bit, there was a little bit of mold. 

All of what we’re removing on the sides of the V-Berth, the insulation, panels, and sealing strips, we installed in 2015. This installation proved inadequate during three years sailing in colder climates. We made mistakes. We did not go far enough. We did not reimagine the V-Berth well for cold climates. As a result, we used this valuable living space for storage instead of sleeping. The mold in difficult to clean spaces was an issue, another was condensation. The original, uninsulated headliner created a large surface for condensation. Occasionally, we had rain inside. Big fat drops formed on the coachroof. We also had condensation problems on the overhead hatch, the hardware that held the side panels up, and on the metal port light frames.

Many sailors fight condensation and mold. We hope our time in the desert, drying out and refitting Dawn Treader, will better prepare us for these struggles. We have learned many lessons in the past few years, and now we are re ready to try again. Our efforts will be more complex and lengthy this time. Our plans include adding an insulation supporting framework under the deck, and more of everything: insulation, heat, ventilation, air circulation, and access (we plan to widen the opening to the V-Berth). We plan to install different port lights. We will also replace the V-Berth platform again. The plywood delaminated in the rainforest. Our primary goal is to make the V-Berth inhabitable in all climates. Let’s see how it goes…

Video: Sailing the Falkland Islands. Music “Songs of Our Friends” by Lemont.

We sailed to the Falkland Islands in December of 2019 from Uruguay. We were impressed with the people, wildlife, and the weather. Thanks to Lemont for loaning us their song (lemontmusic.com).