This is a large scale project. We may be in the boatyard for up to a year. We have worked on Dawn Treader for long periods before, but this time our projects seem bigger and more numerous.
Dawn Treader has been in the boatyard for 13 weeks. We have worked solidly for 9 of those weeks. The time has passed steadily. The days have stretched, allowing for long hot days of work. If our year long refit plan becomes a reality, than we should be 25% of the way through our projects. Have we completed 25% of our to do list? Hardly. But, we are optimistic that we can increase our pace.
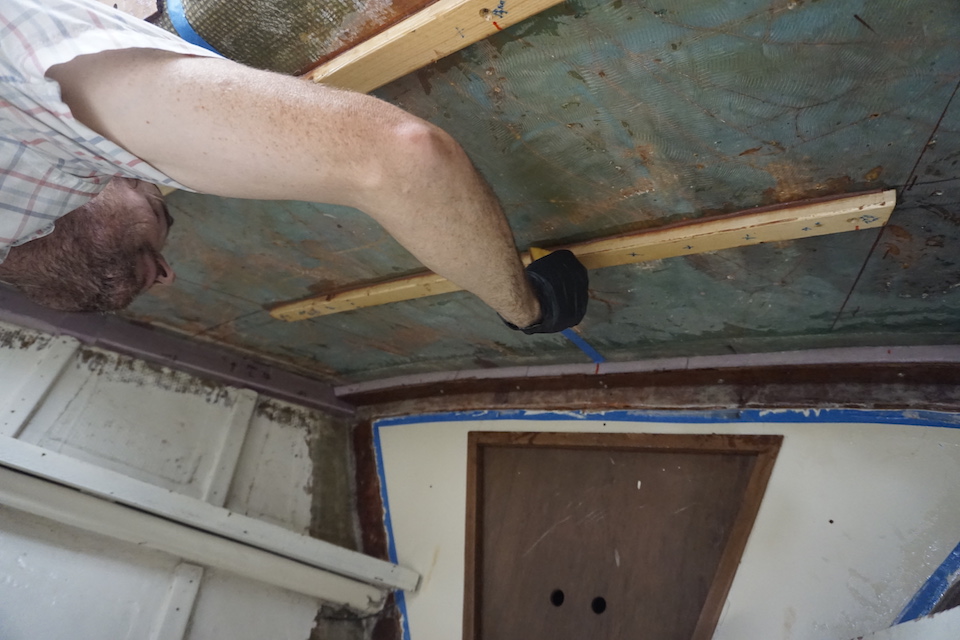
Last week, we made our first lasting addition. We used epoxy to coat the frames for the overhead in the V-Berth, and then used thickened epoxy to attach the wood pieces to Dawn Treader. The framework is strongly fixed in place. We cannot move the frames, even if we push and pull with all of our force. With the framework overhead, Dawn Treader feels like a tank, an armored or reinforced vehicle ready for combat.
The framework is strong, but it is also as light as we could manage. Where there are larger panels, there are smaller cleats or foam hiding underneath. Light furring strips act as spacers for stronger heavier douglas fir. The plywood is either 3/16 inch thick teak or lightweight 1/2 inch okoume.
With the frames in place, we have sufficient room to add an inch of insulation overhead. Although we are not finished working on the frames, they want a bit of epoxy, some sanding, and a coat of paint, they are ready to act as supports. We will cut and dry fit a new overhead liner, 1/4 inch okoume plywood panels, to the frames in our next steps.
Project Notes


We removed all the frames and coated them with epoxy. We made a mistake when mixing one of the pots of epoxy. We mixed Part A with Part A instead of A with B. The sticky pieces coated with this pot of epoxy had to be scraped and sanded, and then coated again. We continue to make mistakes. It is hot, our heads are muddled, and we still feel rusty when it comes to boat work.


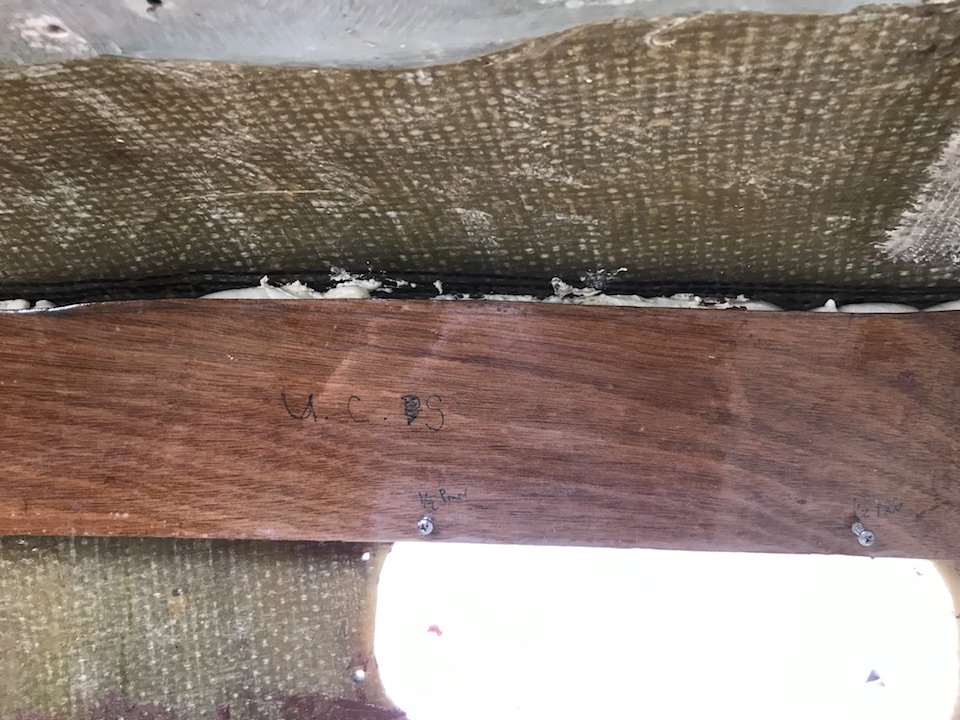
We added thickened epoxy to each piece and glued them to the overhead. Screws and clamps held each piece in place until the epoxy set. Layers were laminated together and we were almost done. But, the awkward curved space on the upper cabin sides called for a more times consuming, unique approach. This is the only place where plywood will be fixed over a small volume of space, a space that we will not be able to access and insulate later. To insulate this gap, we used XPS foam and spray foam. We then epoxied 3/16 inch plywood atop the cleat that bordered the foam at its lower limit.
Unfortunately, the polyurethane spray foam grew and pushed the tops of the plywood pieces out of place. Having never used the foam before, we thought it would expand and flow out of the gaps at the top of the plywood. Instead it expanded more uniformly, and its growth displaced the plywood. Brian made the quick decision to take the panels down before the epoxy set. The next day, he trimmed the foam, we sanded down the epoxy, and then we successfully installed this third layer, the second time around.


We added frames to the tricky area, the overhead around the hatch, last. We used douglas fir around the hatch and installed easy to shape furring strips for six other frames: three to port, three to starboard. All of these pieces were installed to create an even support system for the new headliner panels. The frames were made into variable shapes to absorb the irregular surface of the overhead, so that the plywood can be placed overtop in a single plane.


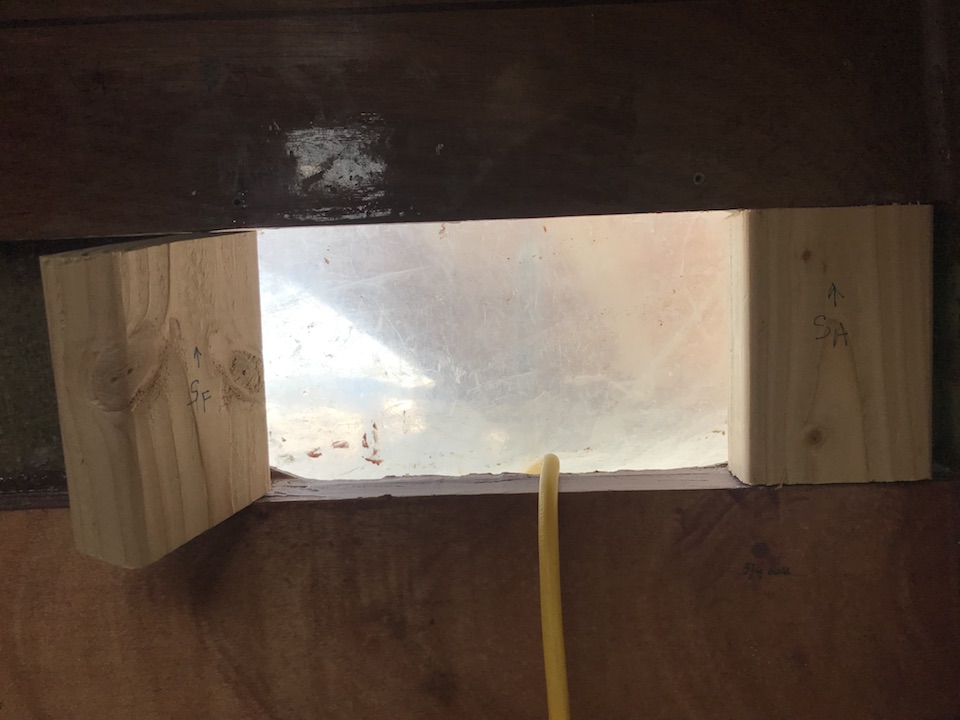
We also added wood around the port lights, to completely border them with wood. Brian then cut the blocks to shape using a jigsaw. Next, we will sand and epoxy the port light frames. We will do some finish work on all the frames: epoxy filler, sanding, and painting. But for now, we are going to move on to the next step in the project.


Oh my gosh guys I love following you! Hope things go well and hope to see you in 2023 (I know it is doubtful for 2022). Love you both!
LikeLiked by 1 person
Thanks for letting us know that you like the posts A. Lynn! It makes us feel good. And I think maybe we’ll see you this year! Love you too!
LikeLike
I like the detailed descriptions of the work being done. Good job! I’m sure it will be great once it’s all complete.
LikeLike
Thanks Steve. Great to hear from you. I’m just telling my wife about the old days on the rig, and what an ET is.
LikeLike