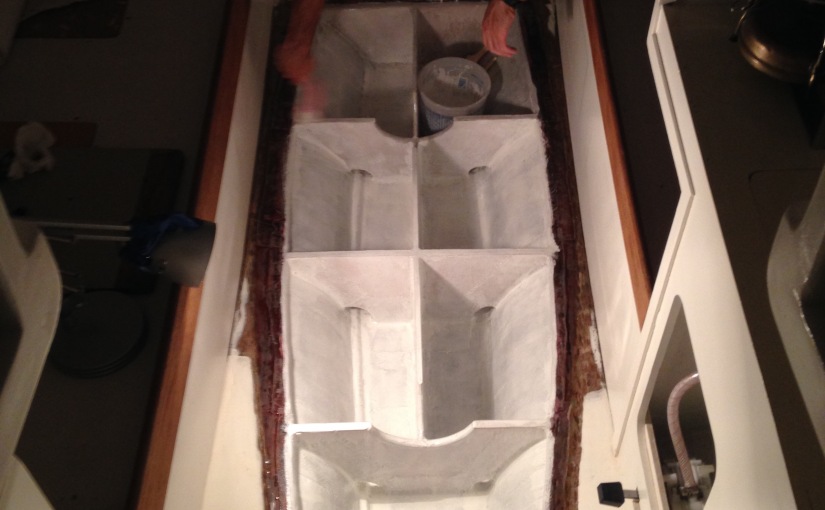
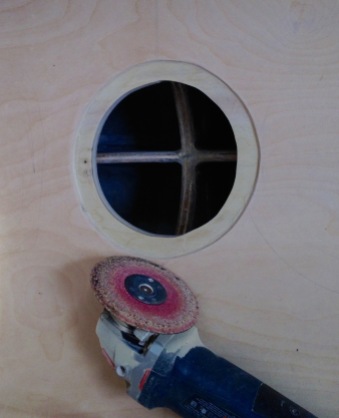
200 hours later, we finished the water tank! Parts 1 (Building an Integral Water Tank) and 2 combined for a rewarding job; now we have double the water capacity (65 gallons), more storage, and an easy to clean cabin sole.
After finishing the brew coat (a food grade epoxy coating), we prepared to epoxy the forward sole section and the main cabin sole/tank top into position. We applied epoxy to the tops of the flange from the old cabin sole, and to the new floors and baffles in the water tank.
We finished the project by filling and painting the border of our new sole. Our water system works great! Check out our galley post to see our bucket sink, foot pump, and water filter.


First stop Isla Mujeres. The Contigo is calling your name😎
LikeLiked by 1 person
It looks great! Not that my untrained eyes know what it should look like but t looks very clean! Nice work 🙂
LikeLiked by 1 person
Those last two pics…….SO SLEEK!!!!!!! LOVE IT. Great job, Dawn Treaders!
LikeLiked by 1 person
Nice Job! How many gallons of Brew Coat did you guys use for the tank? Is it holding up well over time?
LikeLike
We used one gallon of brew coat on the tank in 2015. We have since rebuilt the tank. The plywood did not hold up. This year, we rebuilt the tank with Coosa board. This time we used just over one gallon of brew coat again. The kit from SS Coatings comes in a 2 gallon amount, and we have split it with other cruisers both times that we’ve used it.
LikeLike
Awesome, good to know about the coverage for that product.Thanks for the reply!
LikeLike